Flutter Flow: Google Map Custom Markers with Firebase
I have previously shown how to create Google Maps with custom Markers using local data and Supabase.
Flutter Flow: Adding Custom Markers for Google Maps
Flutter Flow: Use Supabase to show custom markers on Google Maps
I will show you how to create a Google Map with custom Markers using Firebase Firestore.
Custom development
I get a lot of requests for custom tweaks of Google Maps with Flutter.
I have created a form to better understand everyone’s needs. You can also request custom Flutter Flow development and/or Flutter Flow training.
https://coffeebytez.com/contact-me/
I will focus on the most highly requested items first, which will be available on my substack. I will also post exclusive in-depth tutorials there.
Please subscribe to my substack here:
https://coffeebytez.substack.com/?r=gdmkm&utm_campaign=pub-share-checklist
If you have urgent specific requests, please leave your contact information in the survey.
Set Up Firebase
If you haven’t already, follow Flutter Flows docs on setting up a new Firebase Project with Flutter Flow.
Firebase Setup | FlutterFlow Docs
Also, make sure to enable and configure your Firestore Database. These are different links, although the preview is the same.
Firebase Setup | FlutterFlow Docs
Add Data to your Firestore Database
Next, let’s add data to a Firestore Database. For this example, I am going to manually add data.
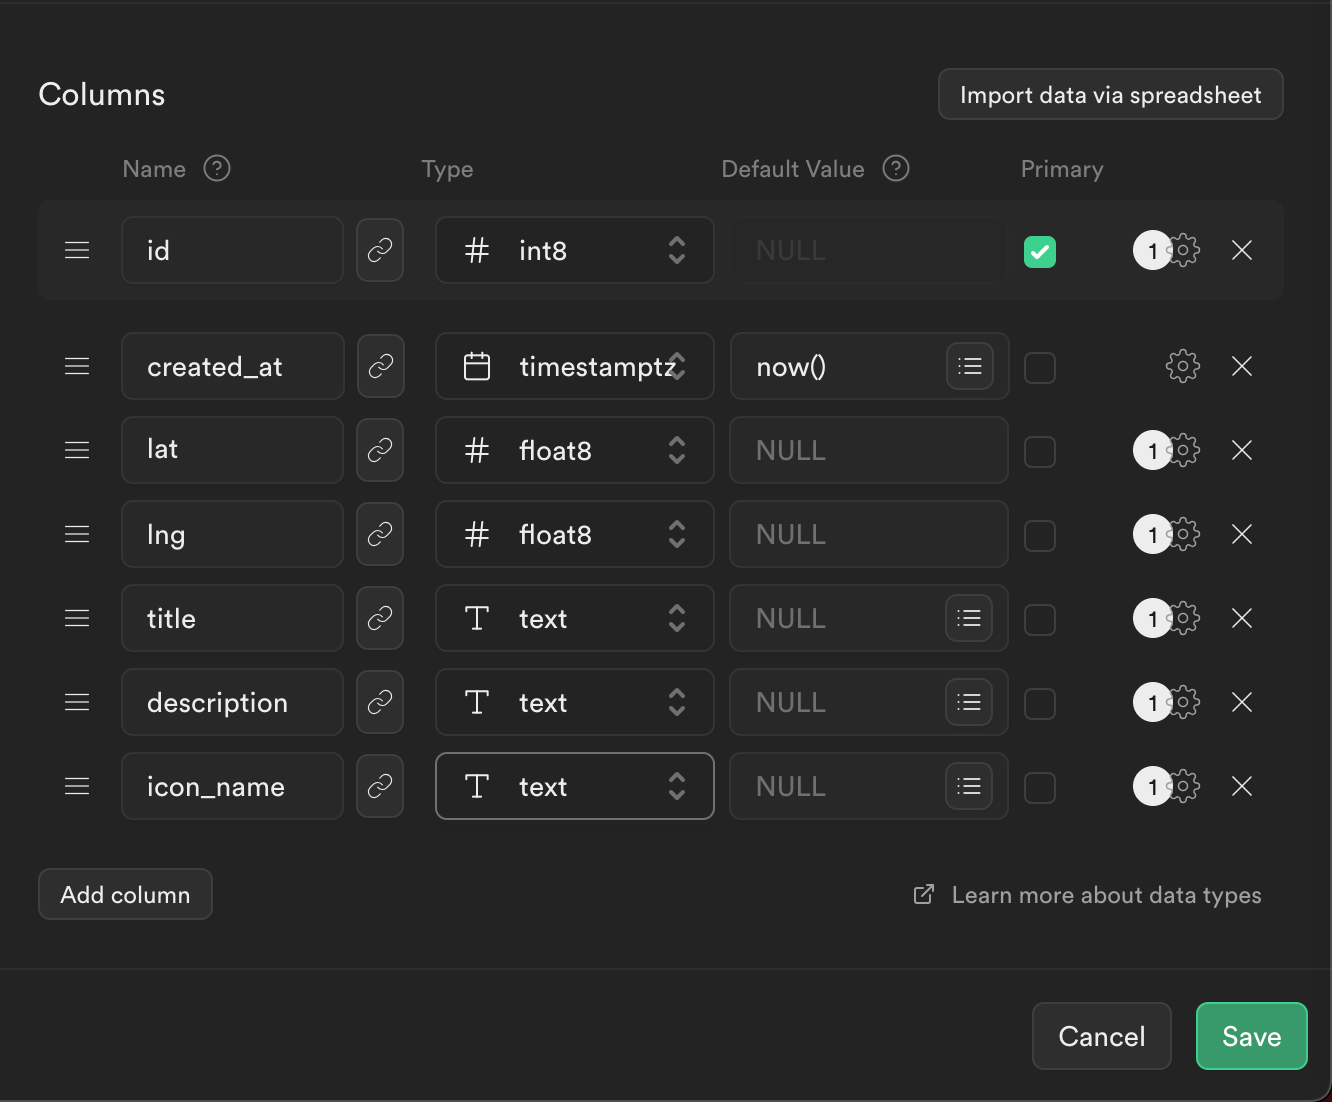
Create a collection called place, give it a unique Document ID, and add the following fields
- title: This is the title that shows on the popup when clicking the marker. Give it the string data type
- description: This is the description that shows on the popup when clicking the marker. Give it the string data type
- latitude : This will hold our latitude for each marker. Give it the number data type
- longitude : This will hold our longitude for each marker. Give it the number data type.
- image_url: This will be our image name including the file extension. You can also specify an url for network images. Give it the string data type

Click Save
Create Firestore Schema in Flutter Flow
Next, in Flutter Flow, go to the Firestore menu on the far left.
Next, add a place schema with the same fields as our Firestore document in our Firestore place collection. The only difference here is we will use double as the data type for longitude and latitude.

Using Geopoint
This is optional, but probably the preferred way.
Firestore also has a geopoint field. So instead we can also set it in Firestore like that.

In the place schema, add another field as LatLng with the same name you used in Firestore. In this case, it’s geopoint.

Create a Custom Widget
Next we will create a new custom Widget in Flutter Flow.
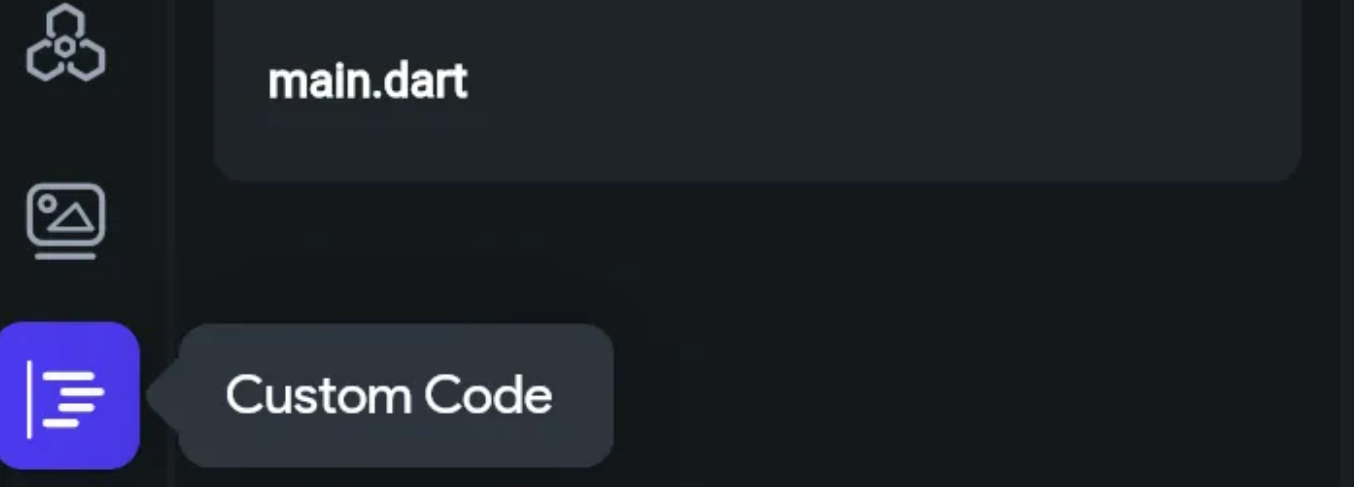
Click the Custom Code menu
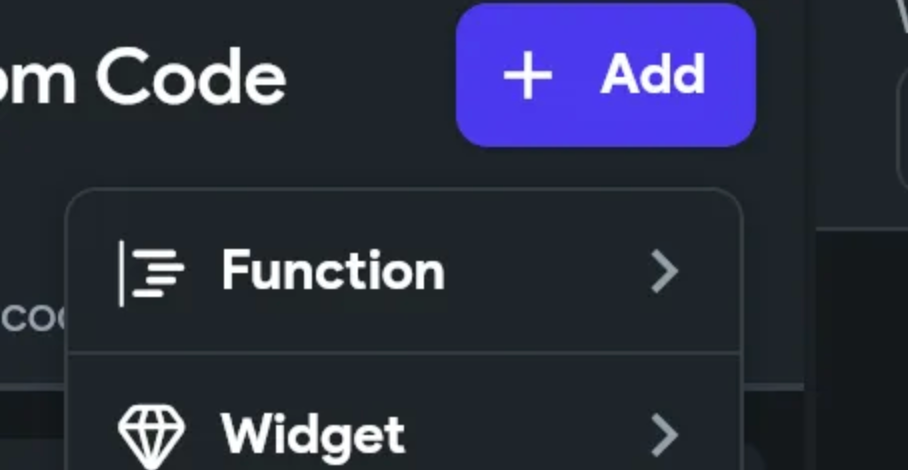
Click Add > Widget
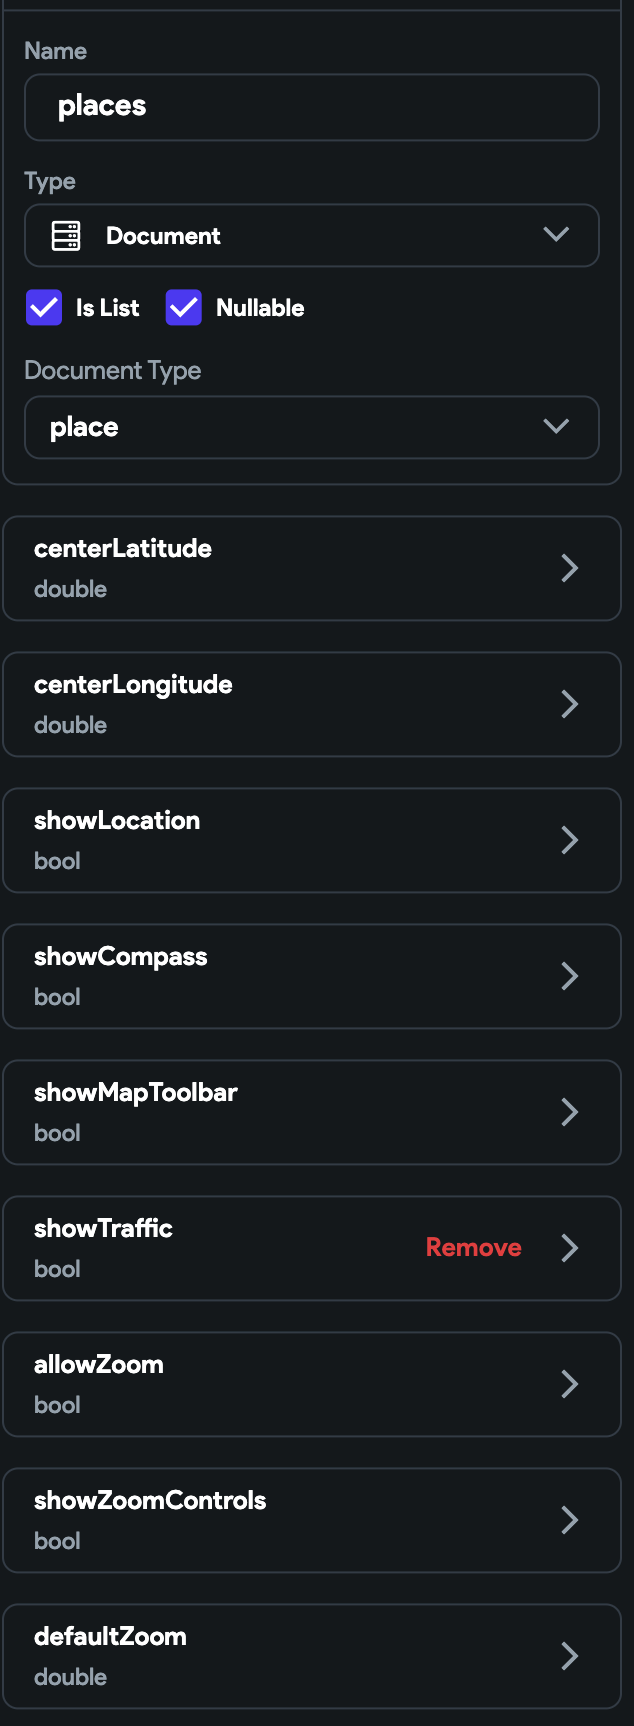
Give the new widget a name such as Firestore Map

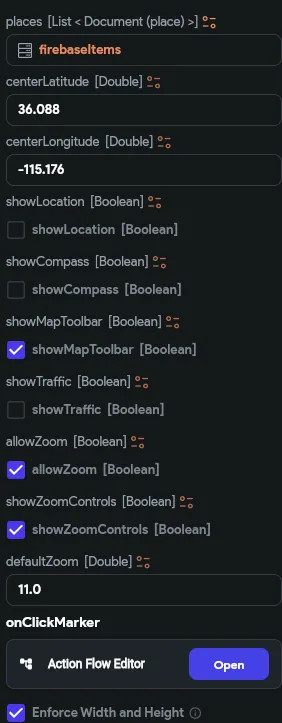
Now lets add some parameters. The first parameter is places, where we will pass a list of Firestore **Documents. **All of the other parameters are straight forward. For the double and bool parameters, make sure to uncheck Nullable
Now let’s add one lasts parameter, onClickMarker, which is an Action Type with an Action Parameter of Type Document. The Document Type is **place. **We will use this to save the Document to Page or Widget state whenever a Marker is clicked.

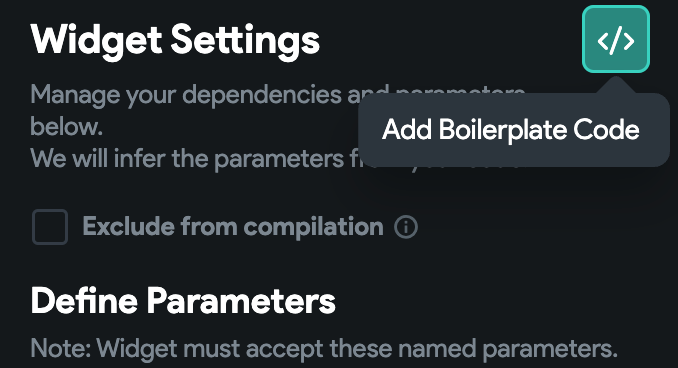
Now click the green Add Boilerplate button to add the default code for this Custom Widget.
Now let’s add the following dependencies.
Note: Adding dependencies is no longer required
google_maps_flutter: ^2.5.0
google_maps_flutter_web: ^0.5.2
google_maps_flutter_platform_interface: ^2.4.1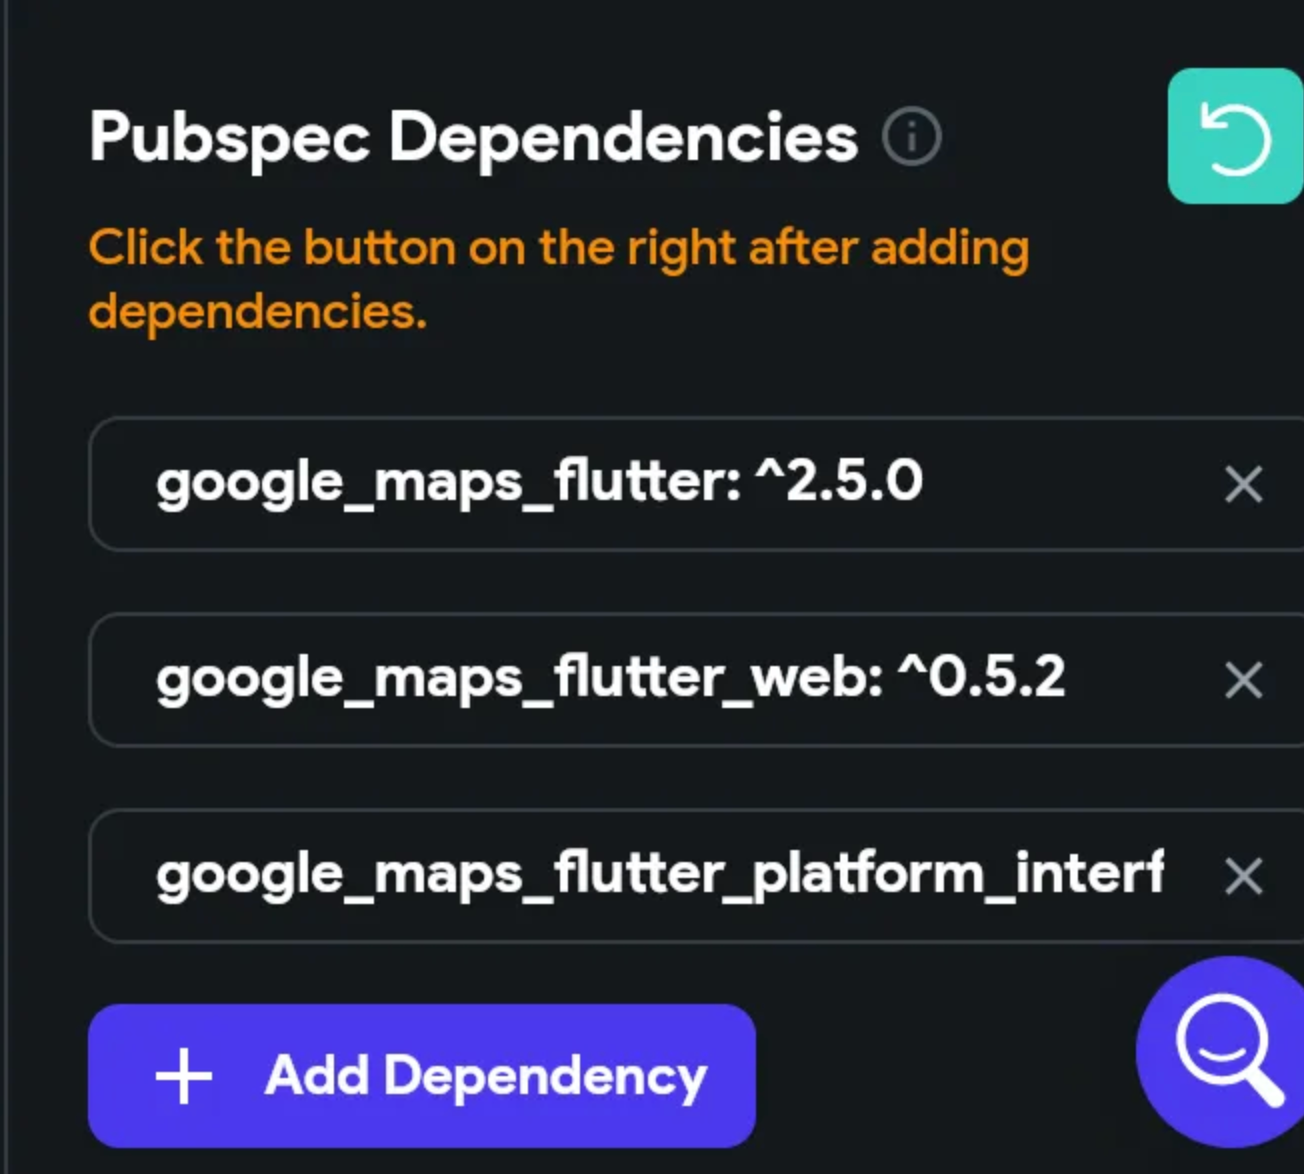
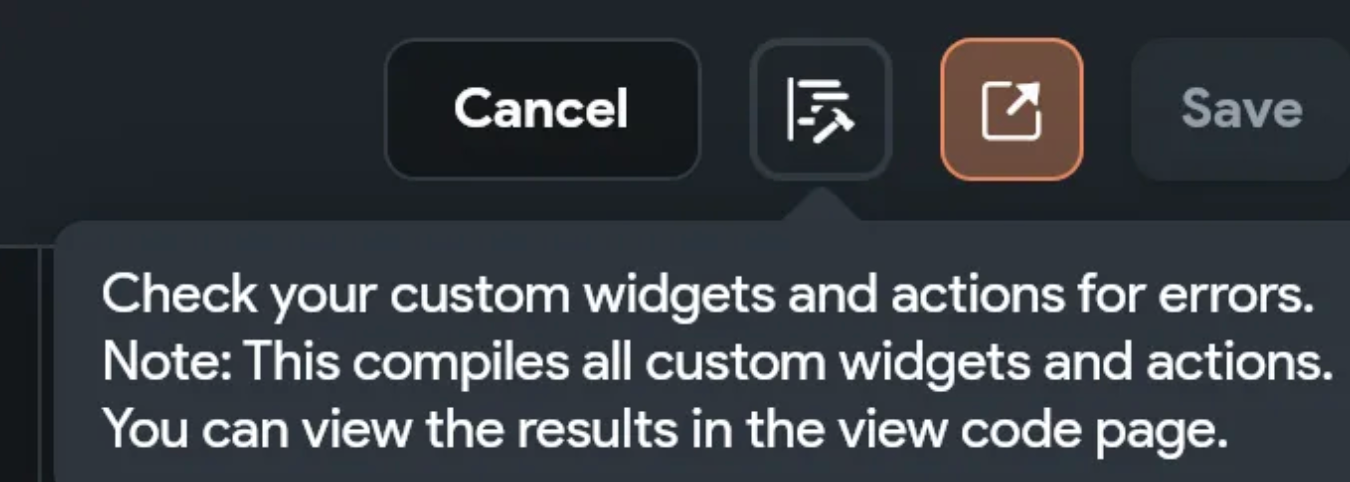
Click Save, then click the compile button (button with a hammer)
Add Custom Code
Now let’s add the Custom Code. It is almost the same as the Supabase Version.
Flutter Flow: Google Maps Custom Marker Actions
The only difference is the parameter types of PlaceRecord (Firestore Document) instead of Place Row (Supabase Row).
Get the full code here
// Automatic FlutterFlow imports
import '/backend/backend.dart';
import '/flutter_flow/flutter_flow_theme.dart';
import '/flutter_flow/flutter_flow_util.dart';
import '/custom_code/widgets/index.dart'; // Imports other custom widgets
import '/flutter_flow/custom_functions.dart'; // Imports custom functions
import 'package:flutter/material.dart';
// Begin custom widget code
// DO NOT REMOVE OR MODIFY THE CODE ABOVE!

import 'package:google_maps_flutter/google_maps_flutter.dart'
    as google_maps_flutter;
import '/flutter_flow/lat_lng.dart' as latlng;
import 'dart:async';
export 'dart:async' show Completer;
export 'package:google_maps_flutter/google_maps_flutter.dart' hide LatLng;
export '/flutter_flow/lat_lng.dart' show LatLng;
import 'package:google_maps_flutter_platform_interface/google_maps_flutter_platform_interface.dart';
import 'dart:ui';

class FirestoreMap extends StatefulWidget {
  const FirestoreMap({
    super.key,
    this.width,
    this.height,
    this.places,
    required this.centerLatitude,
    required this.centerLongitude,
    required this.showLocation,
    required this.showCompass,
    required this.showMapToolbar,
    required this.showTraffic,
    required this.allowZoom,
    required this.showZoomControls,
    required this.defaultZoom,
    this.onClickMarker,
  });

  final double? width;
  final double? height;
  final List<PlaceRecord>? places;
  final double centerLatitude;
  final double centerLongitude;
  final bool showLocation;
  final bool showCompass;
  final bool showMapToolbar;
  final bool showTraffic;
  final bool allowZoom;
  final bool showZoomControls;
  final double defaultZoom;
  final Future Function(PlaceRecord? placeRow)? onClickMarker;

  @override
  State<FirestoreMap> createState() => _FirestoreMapState();
}

class _FirestoreMapState extends State<FirestoreMap> {

  ...

   @override
   void didUpdateWidget(FirestoreMap oldWidget) {
       super.didUpdateWidget(oldWidget);
       if (oldWidget.places != widget.places) {
           _loadMarkerIcons();
       }
   }

  Future<void> _loadMarkerIcons() async {
    Set<String?> uniqueIconPaths =
        widget.places?.map((data) => data.imageUrl).toSet() ??
            {}; // Extract unique icon paths

    for (String? path in uniqueIconPaths) {
      if (path != null && path.isNotEmpty) {
        if (path.contains("https")) {
          Uint8List? imageData = await loadNetworkImage(path);
          if (imageData != null) {
            google_maps_flutter.BitmapDescriptor descriptor =
                await google_maps_flutter.BitmapDescriptor.fromBytes(imageData);
            _customIcons[path] = descriptor;
          }
        } else {
          google_maps_flutter.BitmapDescriptor descriptor =
              await google_maps_flutter.BitmapDescriptor.fromAssetImage(
            const ImageConfiguration(devicePixelRatio: 2.5),
            "assets/images/$path",
          );
          _customIcons[path] = descriptor;
        }
      }
    }

    _updateMarkers(); // Update markers once icons are loaded
  }

...

  Set<google_maps_flutter.Marker> _createMarkers() {
    var tmp = <google_maps_flutter.Marker>{};
    for (int i = 0; i < (widget.places ?? []).length; i++) {
      var place = widget.places?[i];

      final google_maps_flutter.LatLng googleMapsLatLng =
          google_maps_flutter.LatLng(
              place?.latitude ?? 0.0, place?.longitude ?? 0.0);
      google_maps_flutter.BitmapDescriptor icon =
          _customIcons[place?.imageUrl] ??
              google_maps_flutter.BitmapDescriptor.defaultMarker;

      final google_maps_flutter.Marker marker = google_maps_flutter.Marker(
        markerId:
            google_maps_flutter.MarkerId('${place?.title ?? "Marker"}_$i'),
        // Use index to ensure uniqueness
        position: googleMapsLatLng,
        icon: icon,
        infoWindow: google_maps_flutter.InfoWindow(
            title: place?.title, snippet: place?.description),
        onTap: () async {
          final callback = widget.onClickMarker;
          if (callback != null) {
            await callback(place);
          }
        },
      );
...
}
Again, click Save, then click the compile button (button with a hammer).
Geopoint Code
There is one small change to make it work with Geopoints. change the line that sets the coordinate variable to the one below.
 final latlng.LatLng coordinates = latlng.LatLng(
          place?.geopoint?.latitude ?? 0.0, place?.geopoint?.longitude ?? 0.0);
Using our New Custom Map Widget
Let’s use our new custom Widget. On the page I want to use my map on go to the widget tree menu and click the top level widget.

Also click on State Management to create a Local Page State Variable. Remember in our custom Widget we created a parameter to return a placeRow for the customer Marker that was clicked. We will be storing it here.

Click Add Field, set the Field name as place, of Type Document, and Collection Type place

Create another page state variable such as firebaseItems.

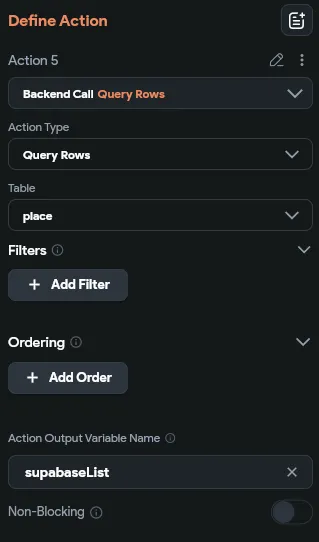
Now click Add Query

Choose Query Collection, choose the place Collection, and set Query Type as List of Documents. Click Confirm

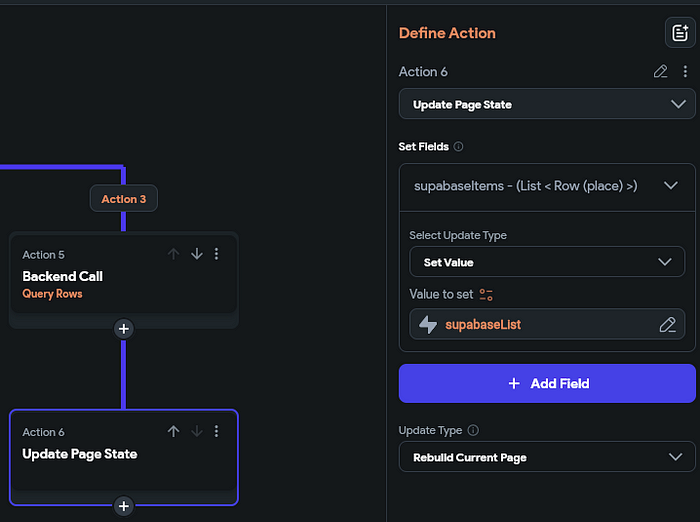
Chain an action to the Firestore Query to update the page state using the firebaseList action output.

Define the Update Page State action

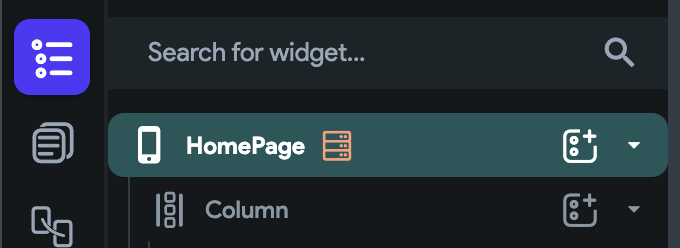
Find your custom Widget in the Widget Pallete.

I have a new project, so by default I have a column in my page. I dropped my custom widget here.

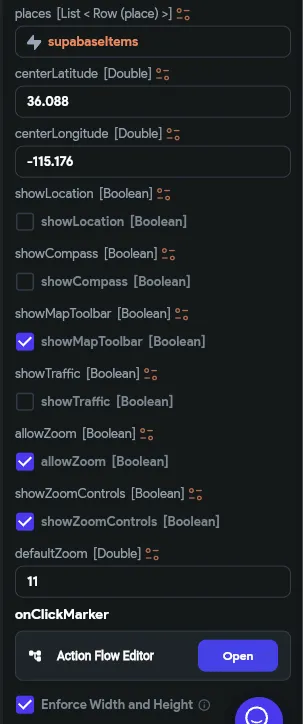
Now click on your custom Widget and update the parameters.
For the places parameter, you can click the orange icon setting and you will see firebaseItems Documents from Page State. This is from our Firestore Collection query we created earlier.
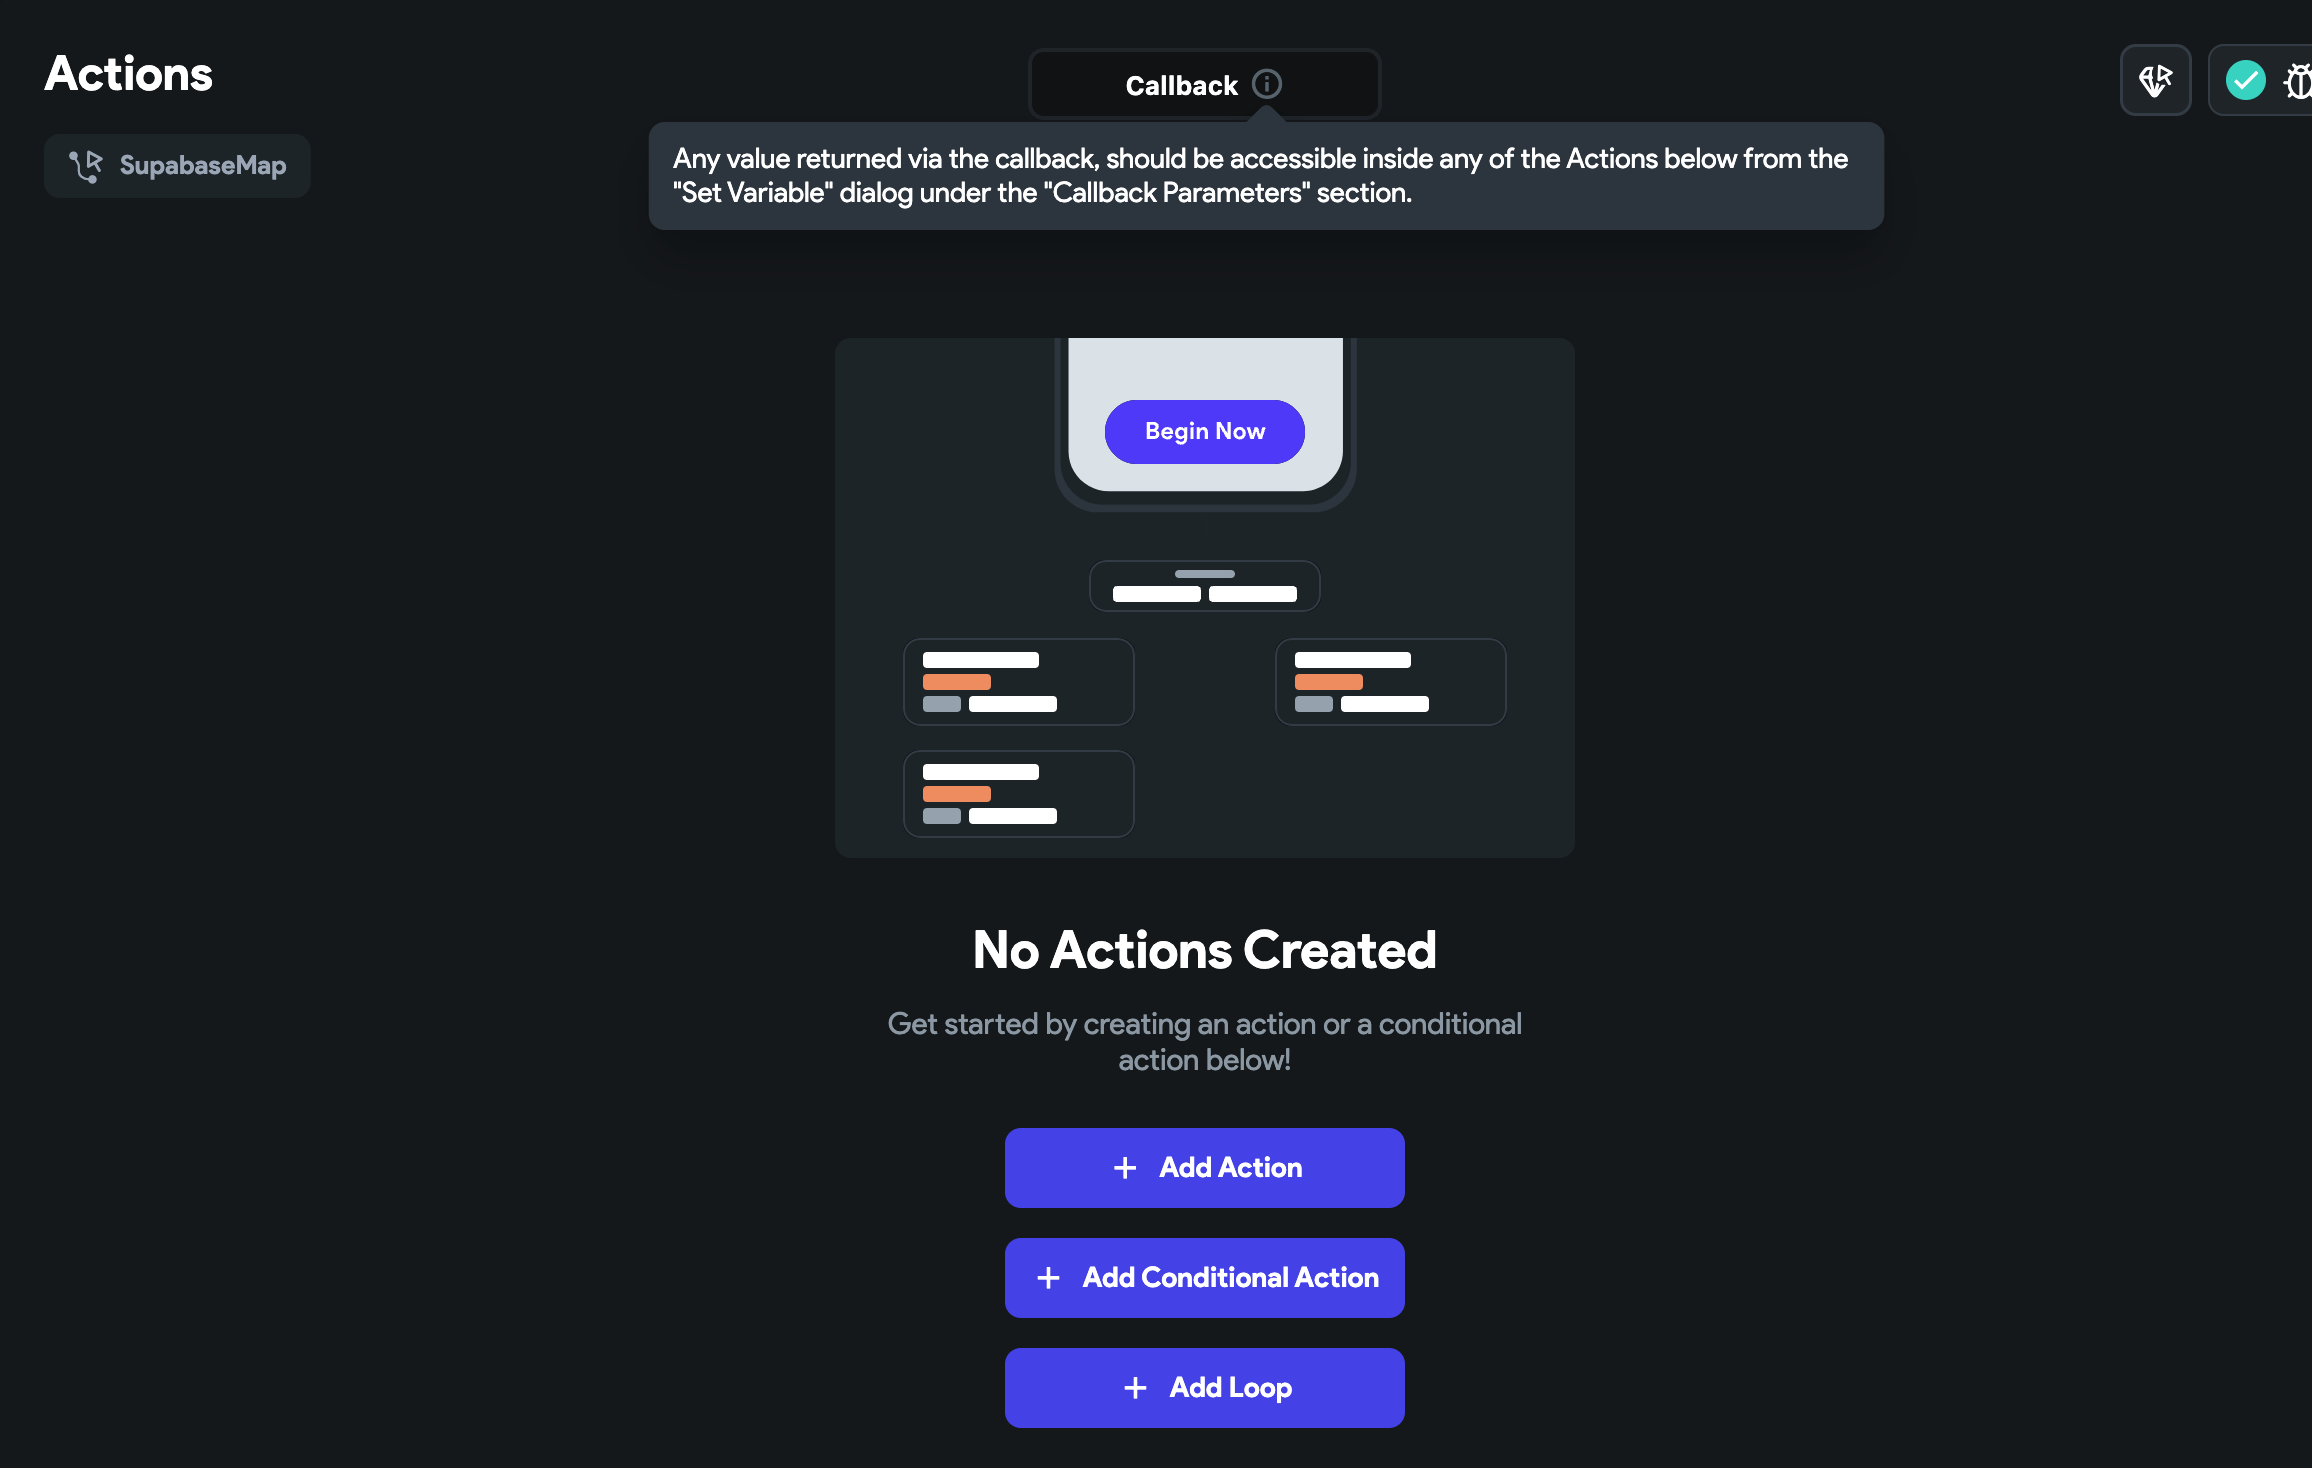
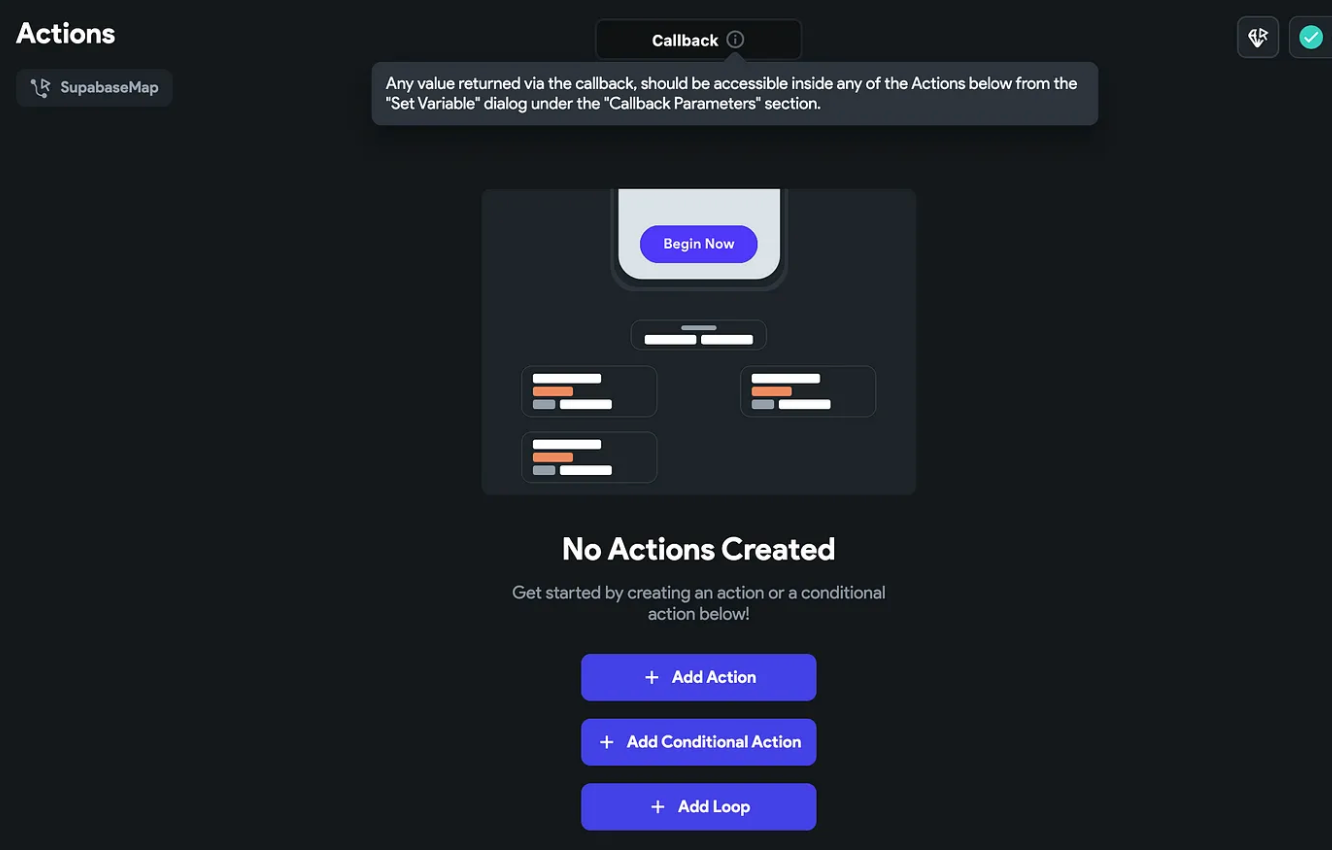
I also have defaultZoom and an action to set our page parameter when a custom marker is clicked. Click the Open button to create your action

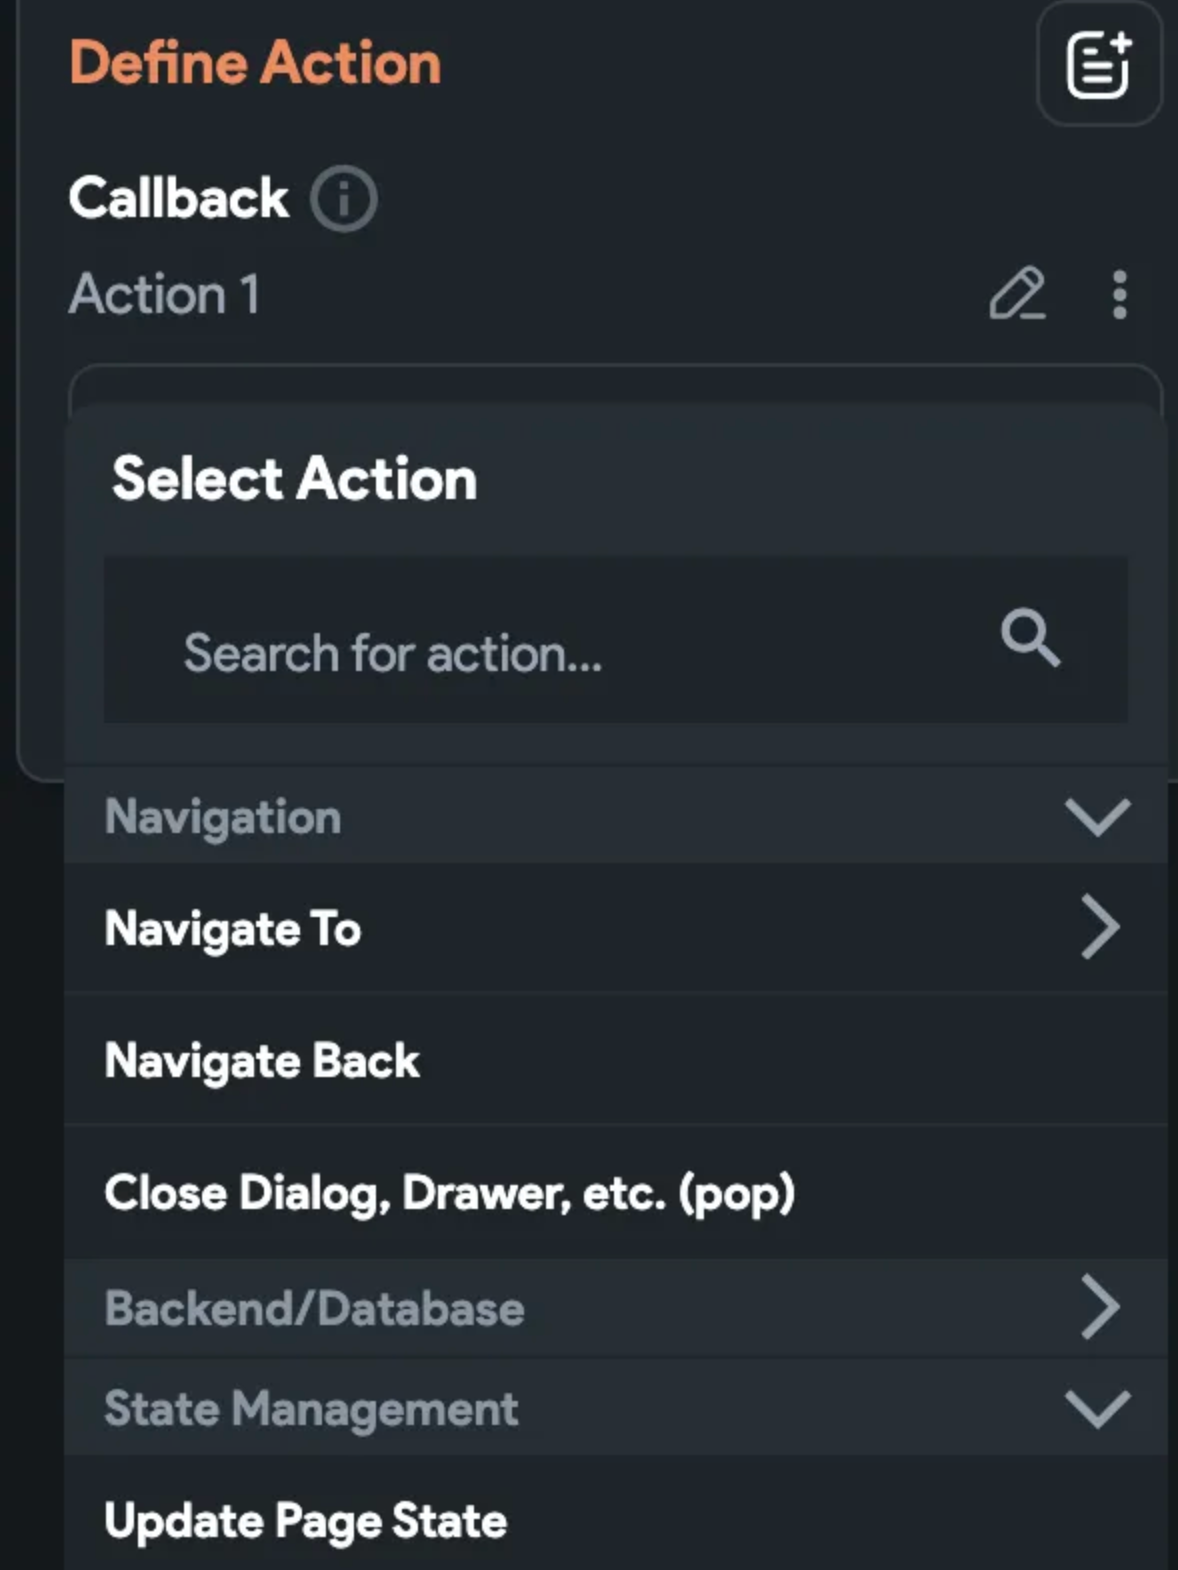
Notice at the top of the popup it mentions it’s a callback. This simply means we are able to get an value back from any action. Click Add Action
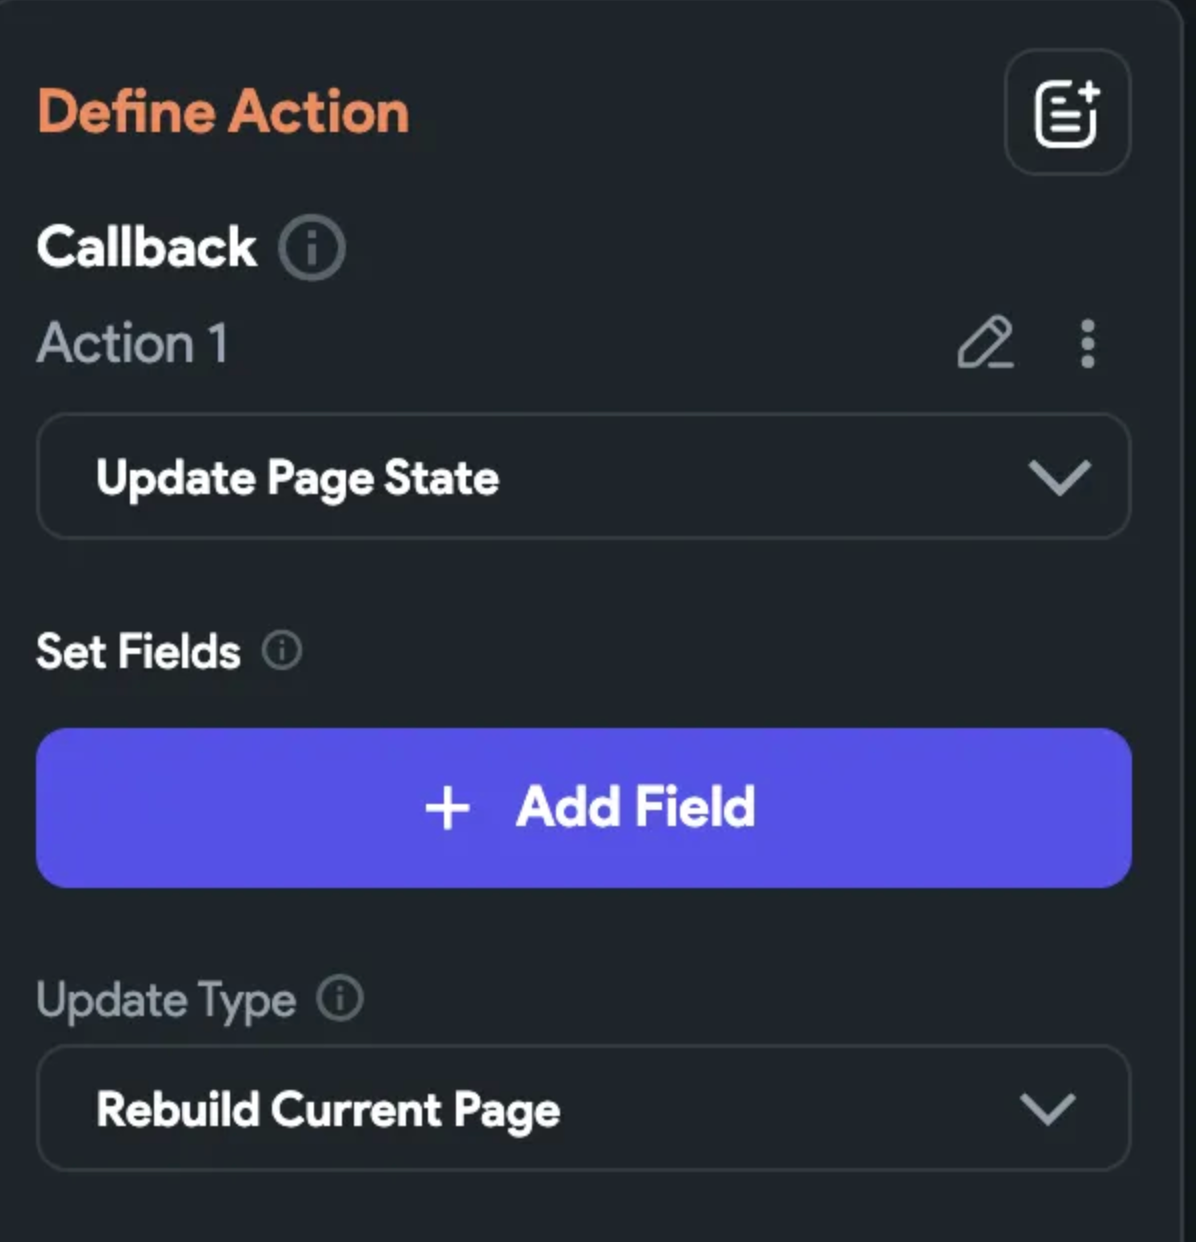
Under State Management choose Update Page State
Click Add Field
Click our page state place from the popup.

Set update type to Set Value
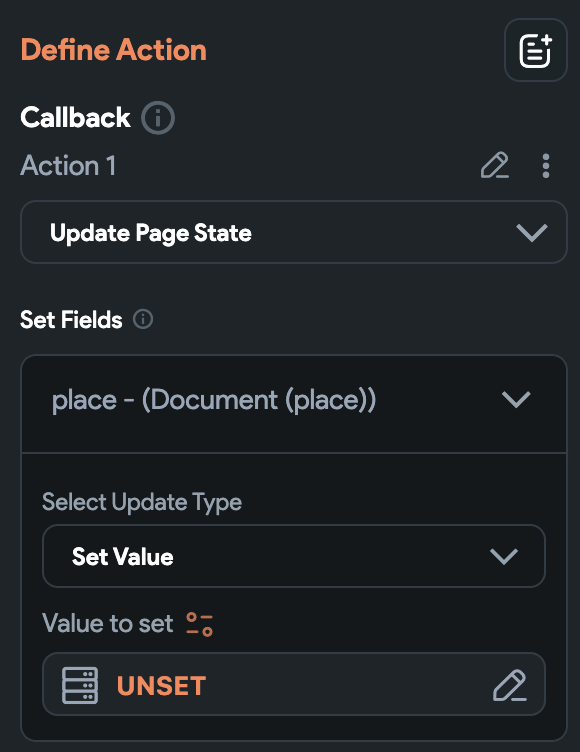
For Value to set, under Callback Parameters choose placeRow. This is our Action parameter in our custom Widget.
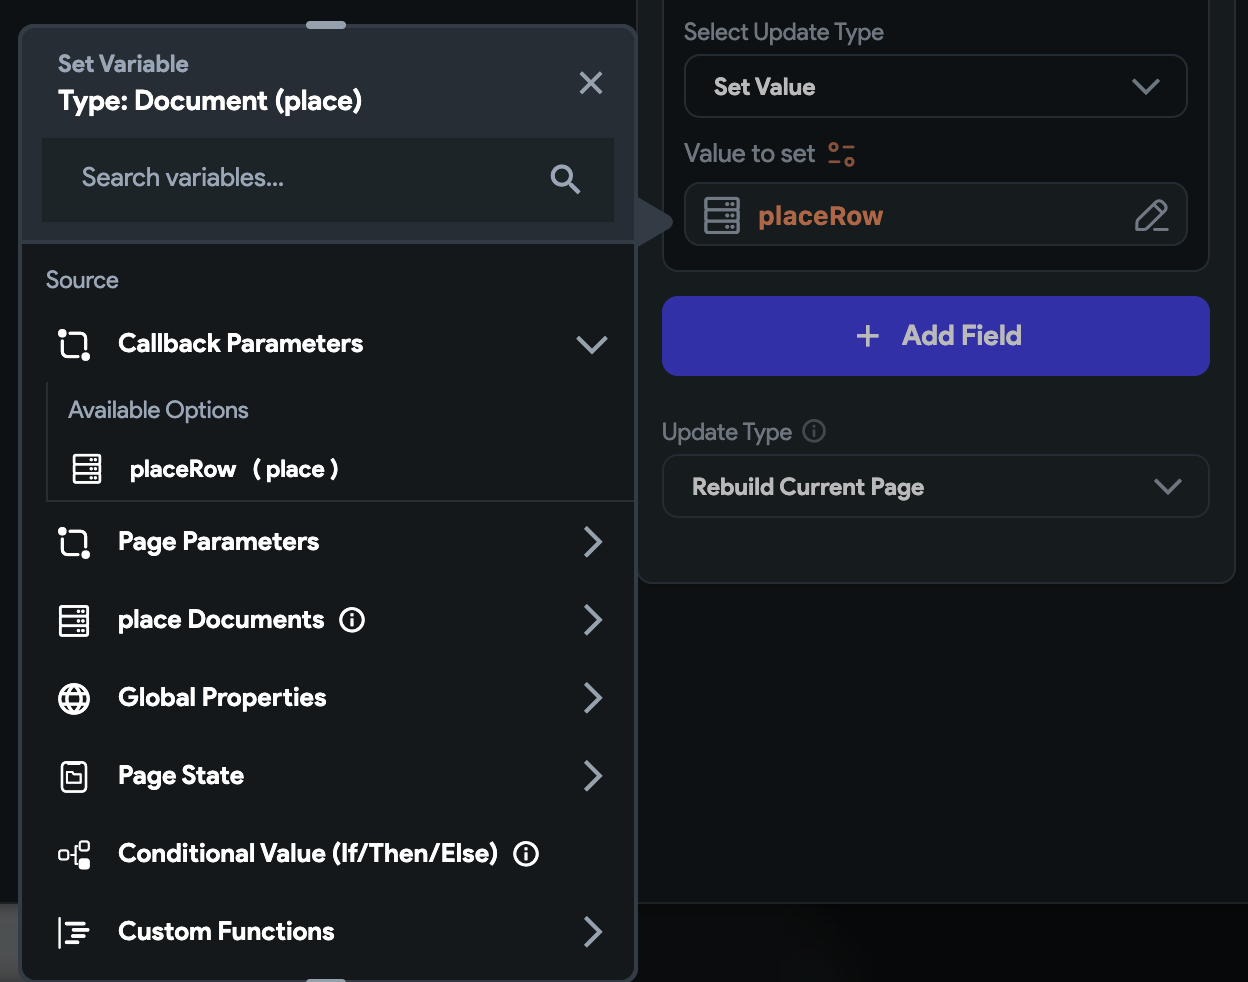
Close and save the action.
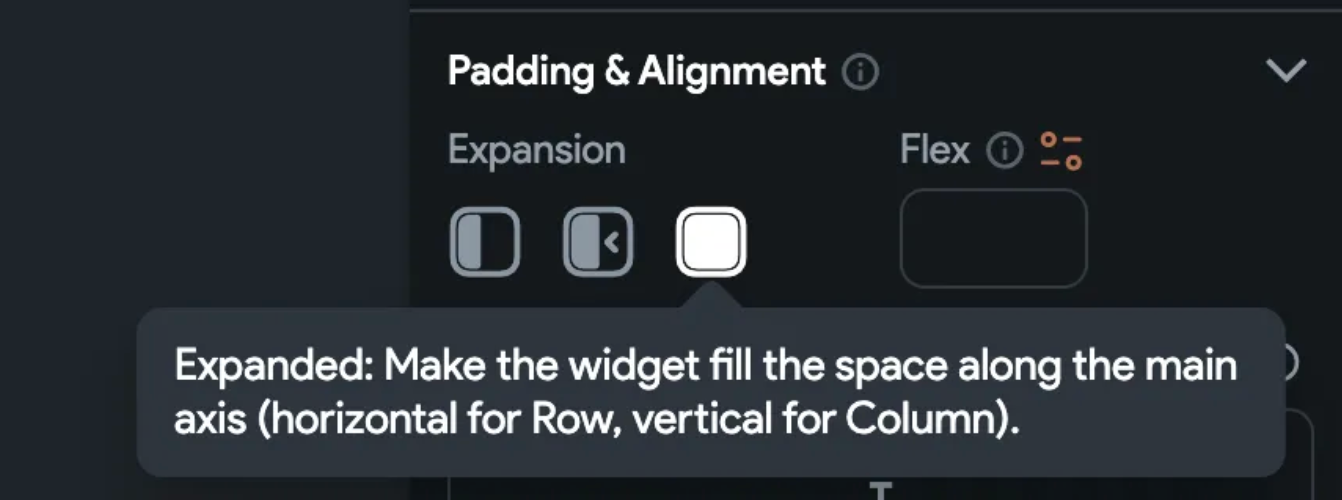
For our custom Widget, under Padding & Alignment, I also chose Expanded .
Including Google Map API Key and local images for our Custom Widget
There are some minor limitations when using Google Maps and images in Flutter Flow. They won’t include the Google Map API key and local images if it does not see the Flutter Flow Google Map and Flutter Flow ImageView on any page.
In our case we might want to load a local asset image by specifying the name in the database.
To get around this create a blank page and drop Flutter Flows Google Map and ImageViews with the images you want to be included. You don’t have to have any navigation to these pages.
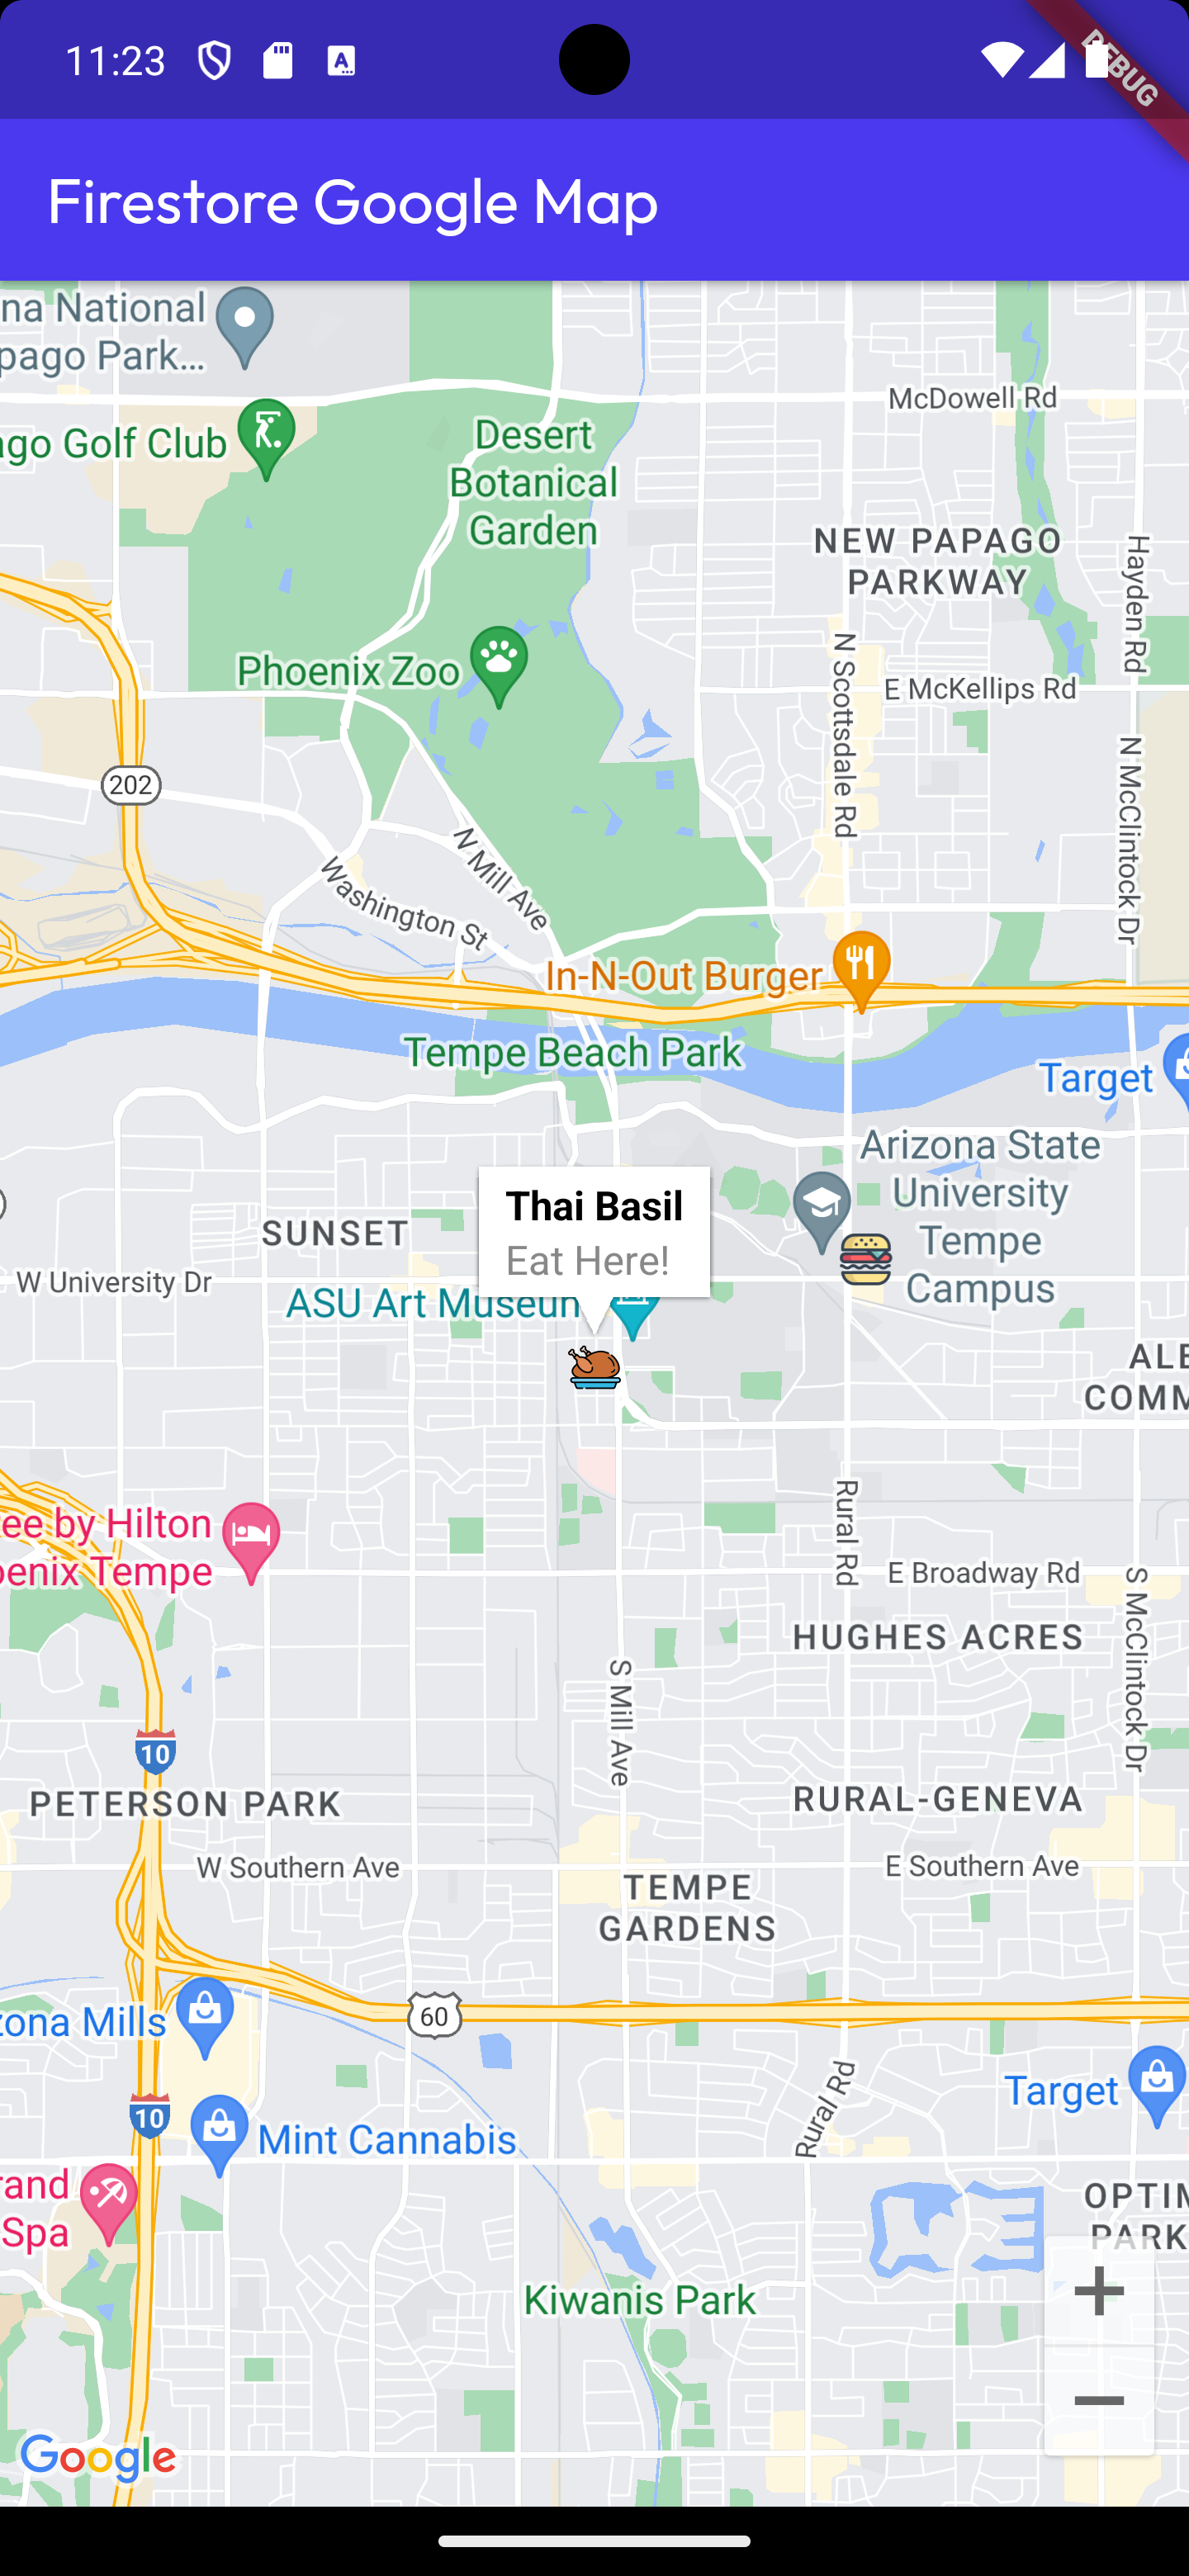
Test the custom Google Map with custom Markers
In my previous articles, at the time the custom Google Map wouldn’t render in Test Mode. With Flutter Flow’s latest updates it now loads our custom Google Map!
There is still one downside, the custom markers still don’t load in Test Mode. In all other modes it should work, I always download the project anyway.
What’s Next?
If you want to get better at custom Flutter development I recommend this book
Congratulations on implementing your new custom Google Map!