
How To Get a Free SSL/TLS Cert for Your Server
Free SSL certificate with free hosting

In this article, I will discuss how to set up an Ubuntu server with free SSL. Although I’m using Digital Ocean in this tutorial, you can use the same steps on any hosting platform.
You can get a $100 Digital Ocean credit using my **referral link** or do a Google search for “Digital Ocean Credit”.
Create A Digital Ocean Project
This step is optional but will help keep your servers and domains organized.
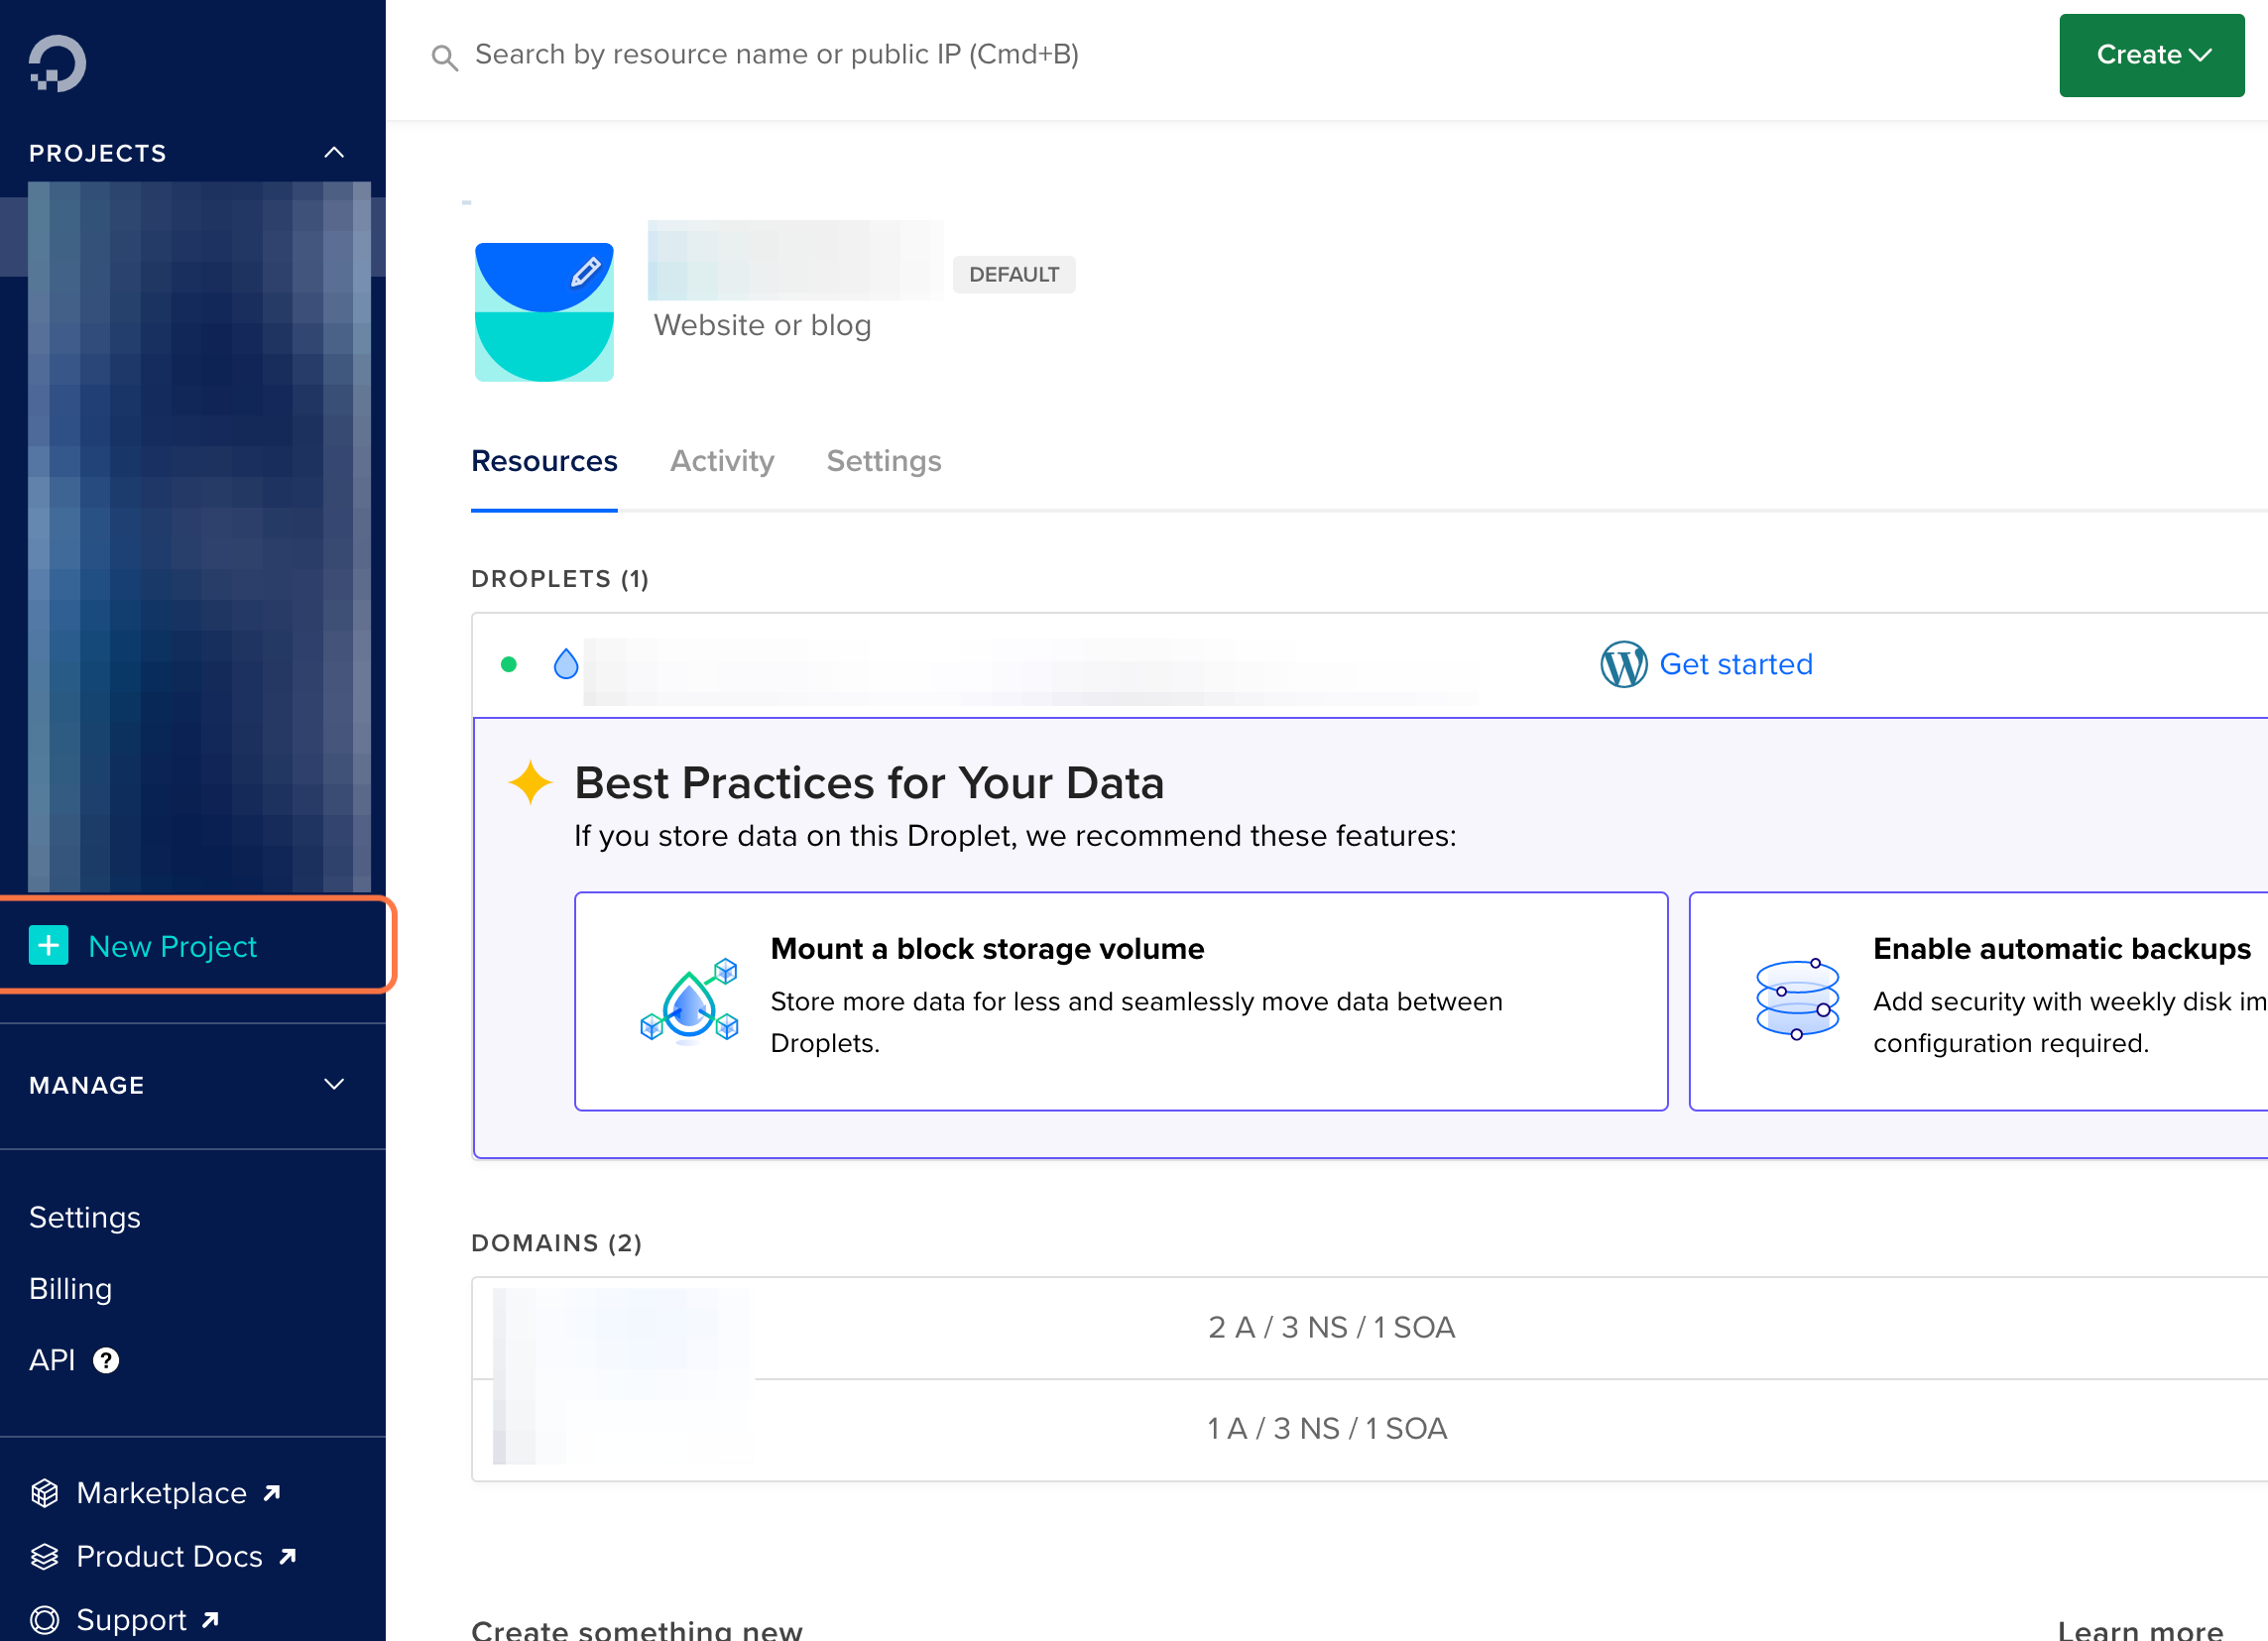
In the Digital Ocean Dashboard, click New Project.
Now give your project a name, select a project purpose, and click Create Project

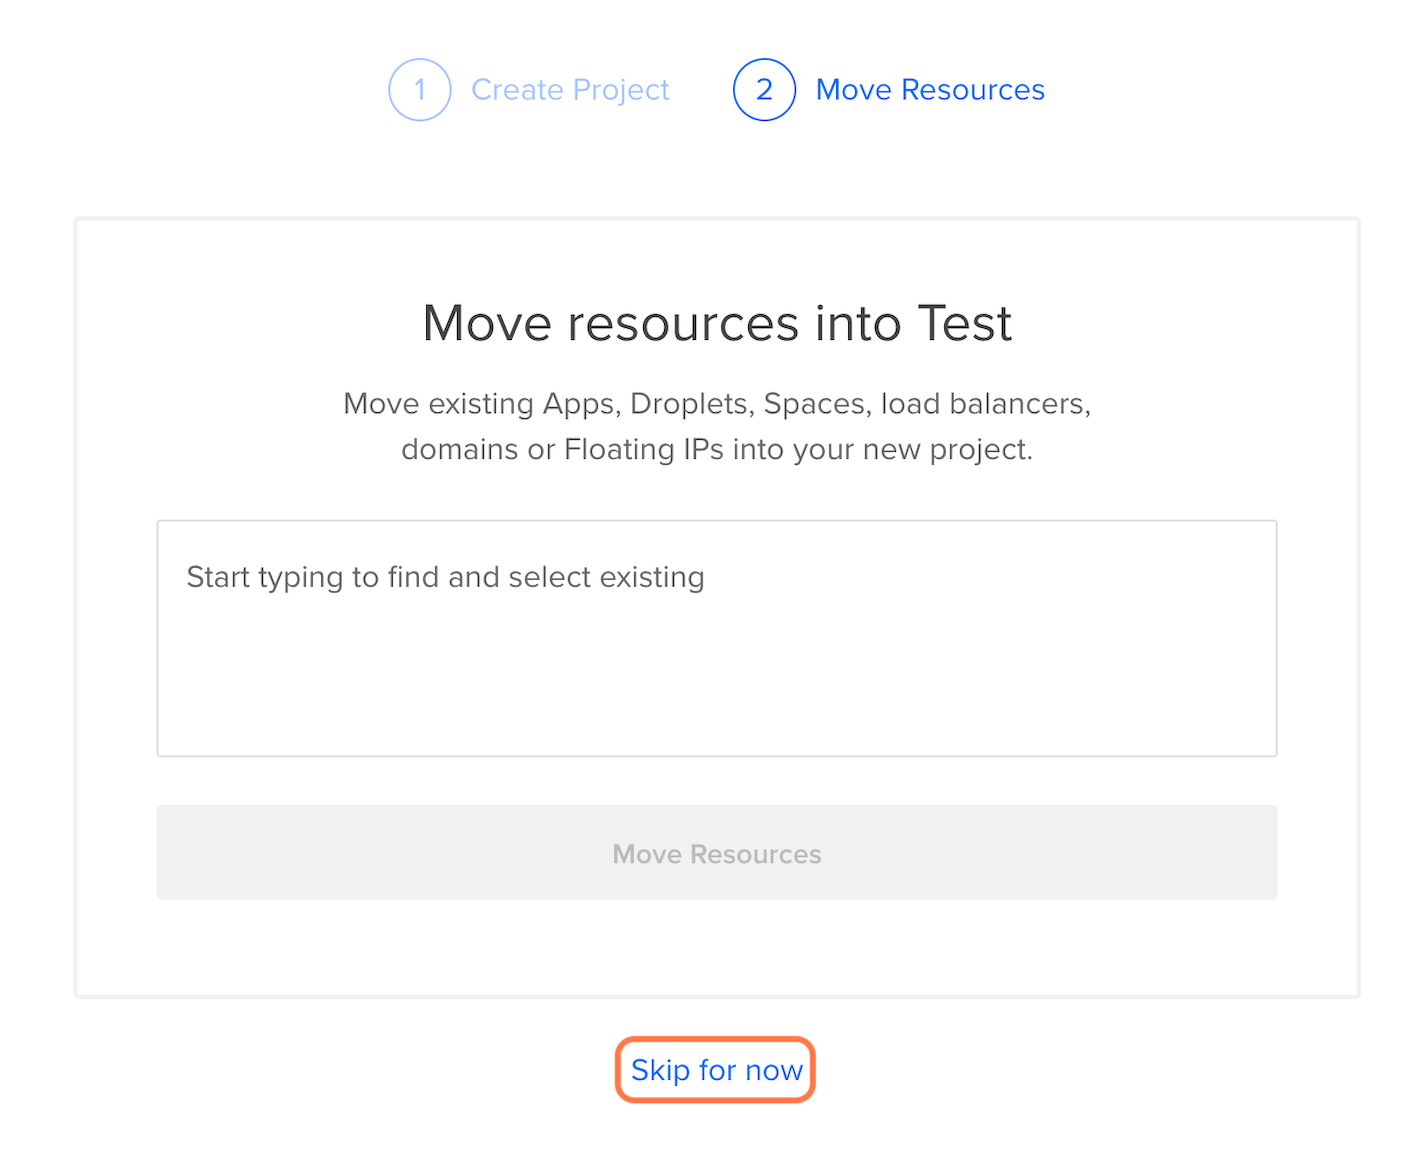
On the Move Resources step, you can click Skip for now, since we don’t haven’t created the droplet (Digital Ocean server).
On the next page, click the Create button.
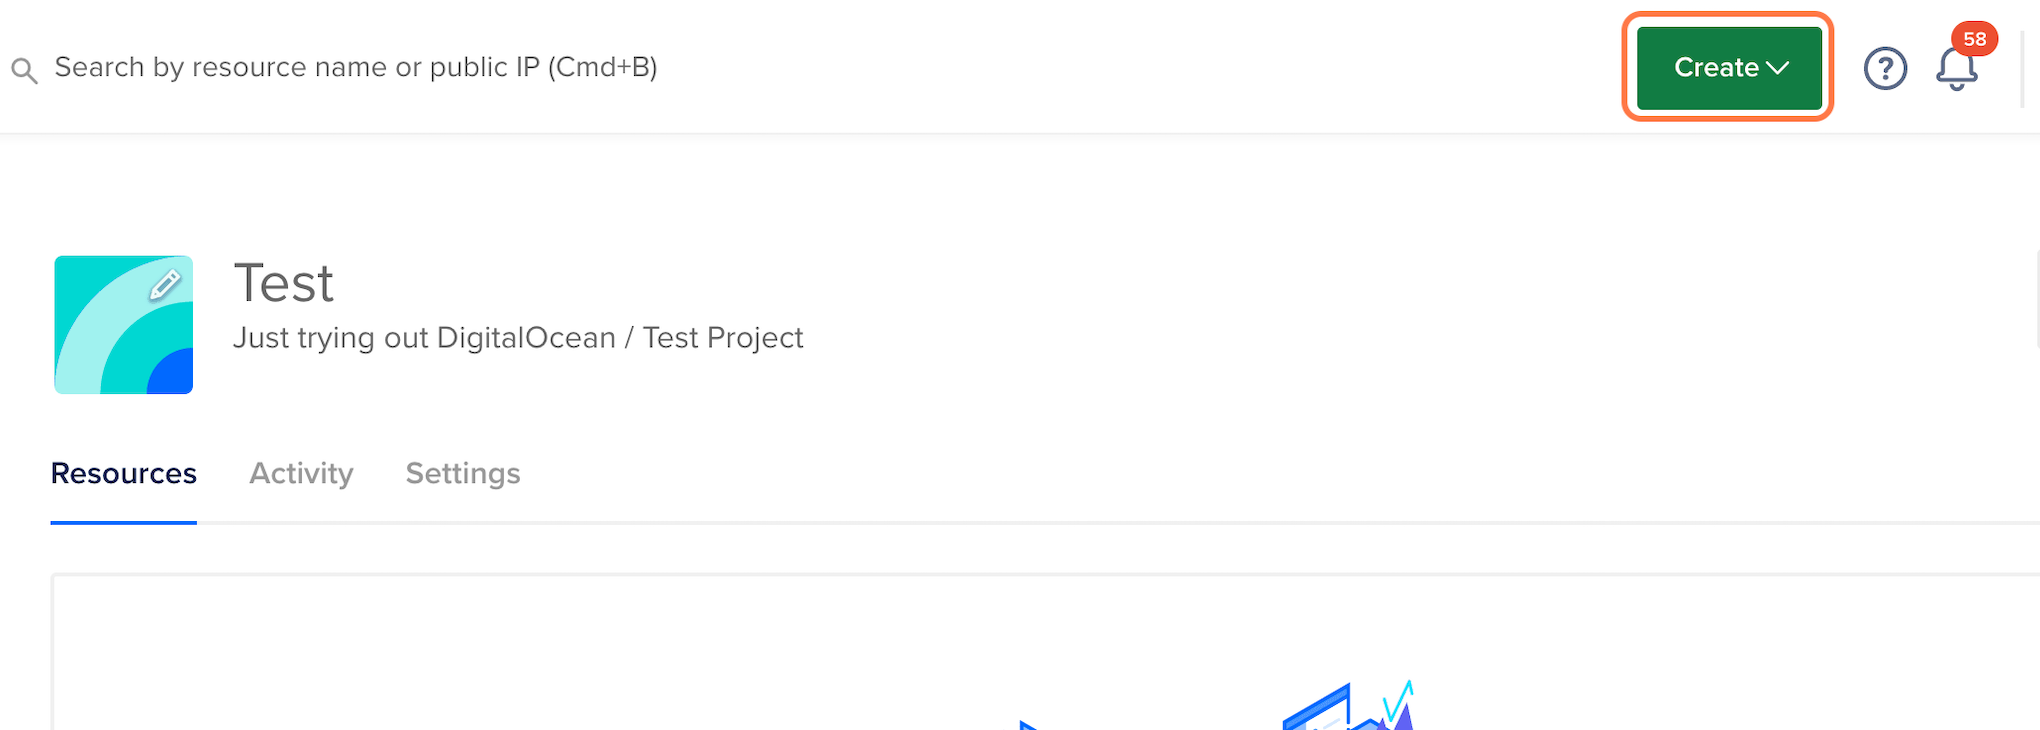
Click on Droplets

On the next page, the distribution should already have the latest Ubuntu version selected. For testing purposes, I am going to click the Regular with SSD radio button and choose the $5/month option. Prices may differ when you read this.

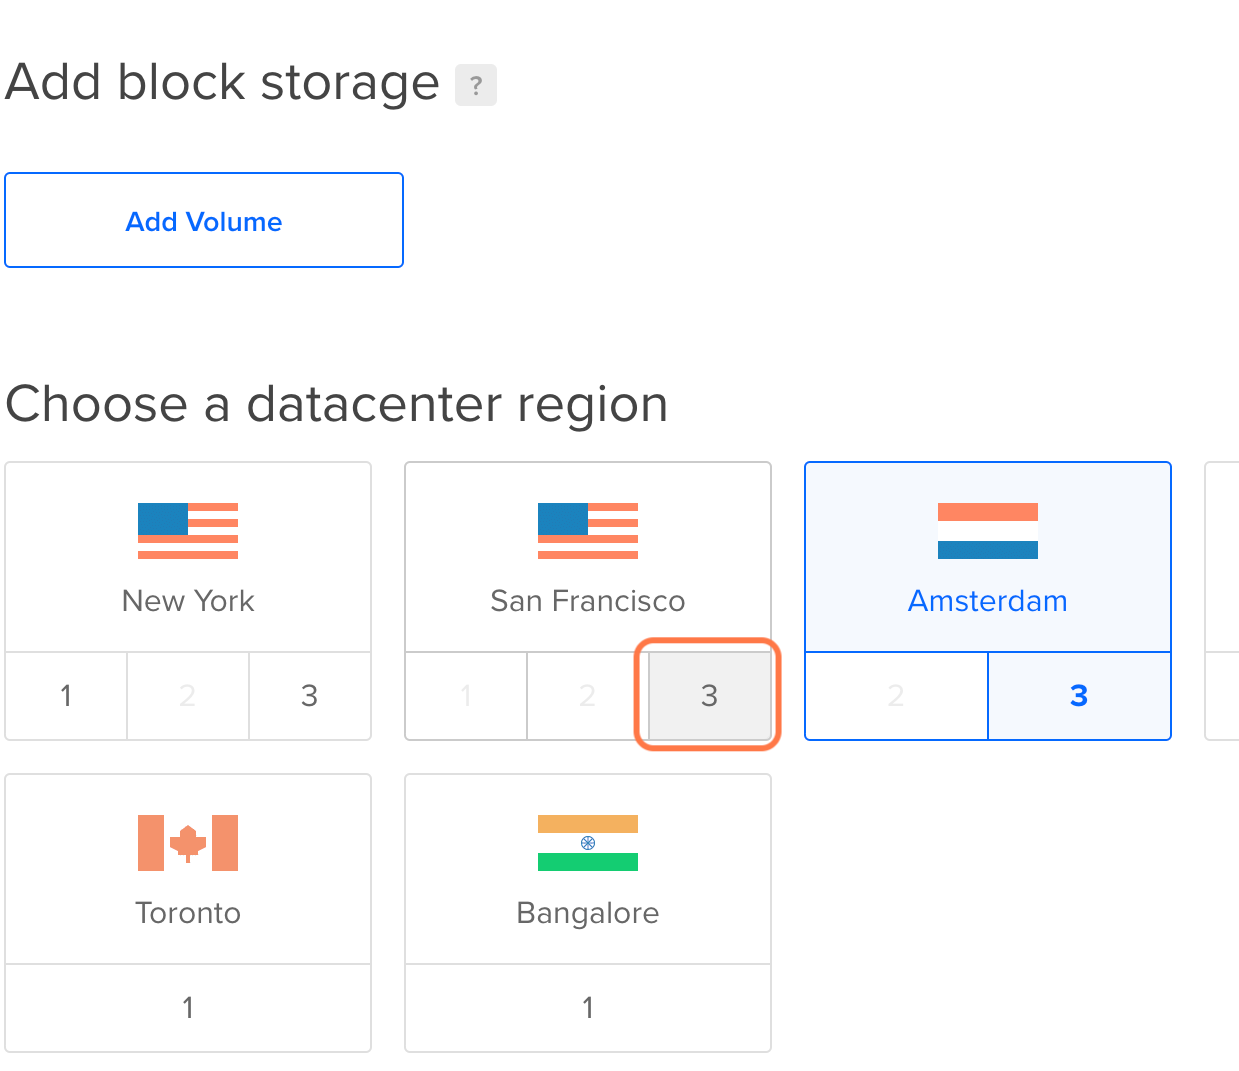
Scroll down and choose your desired data center region.
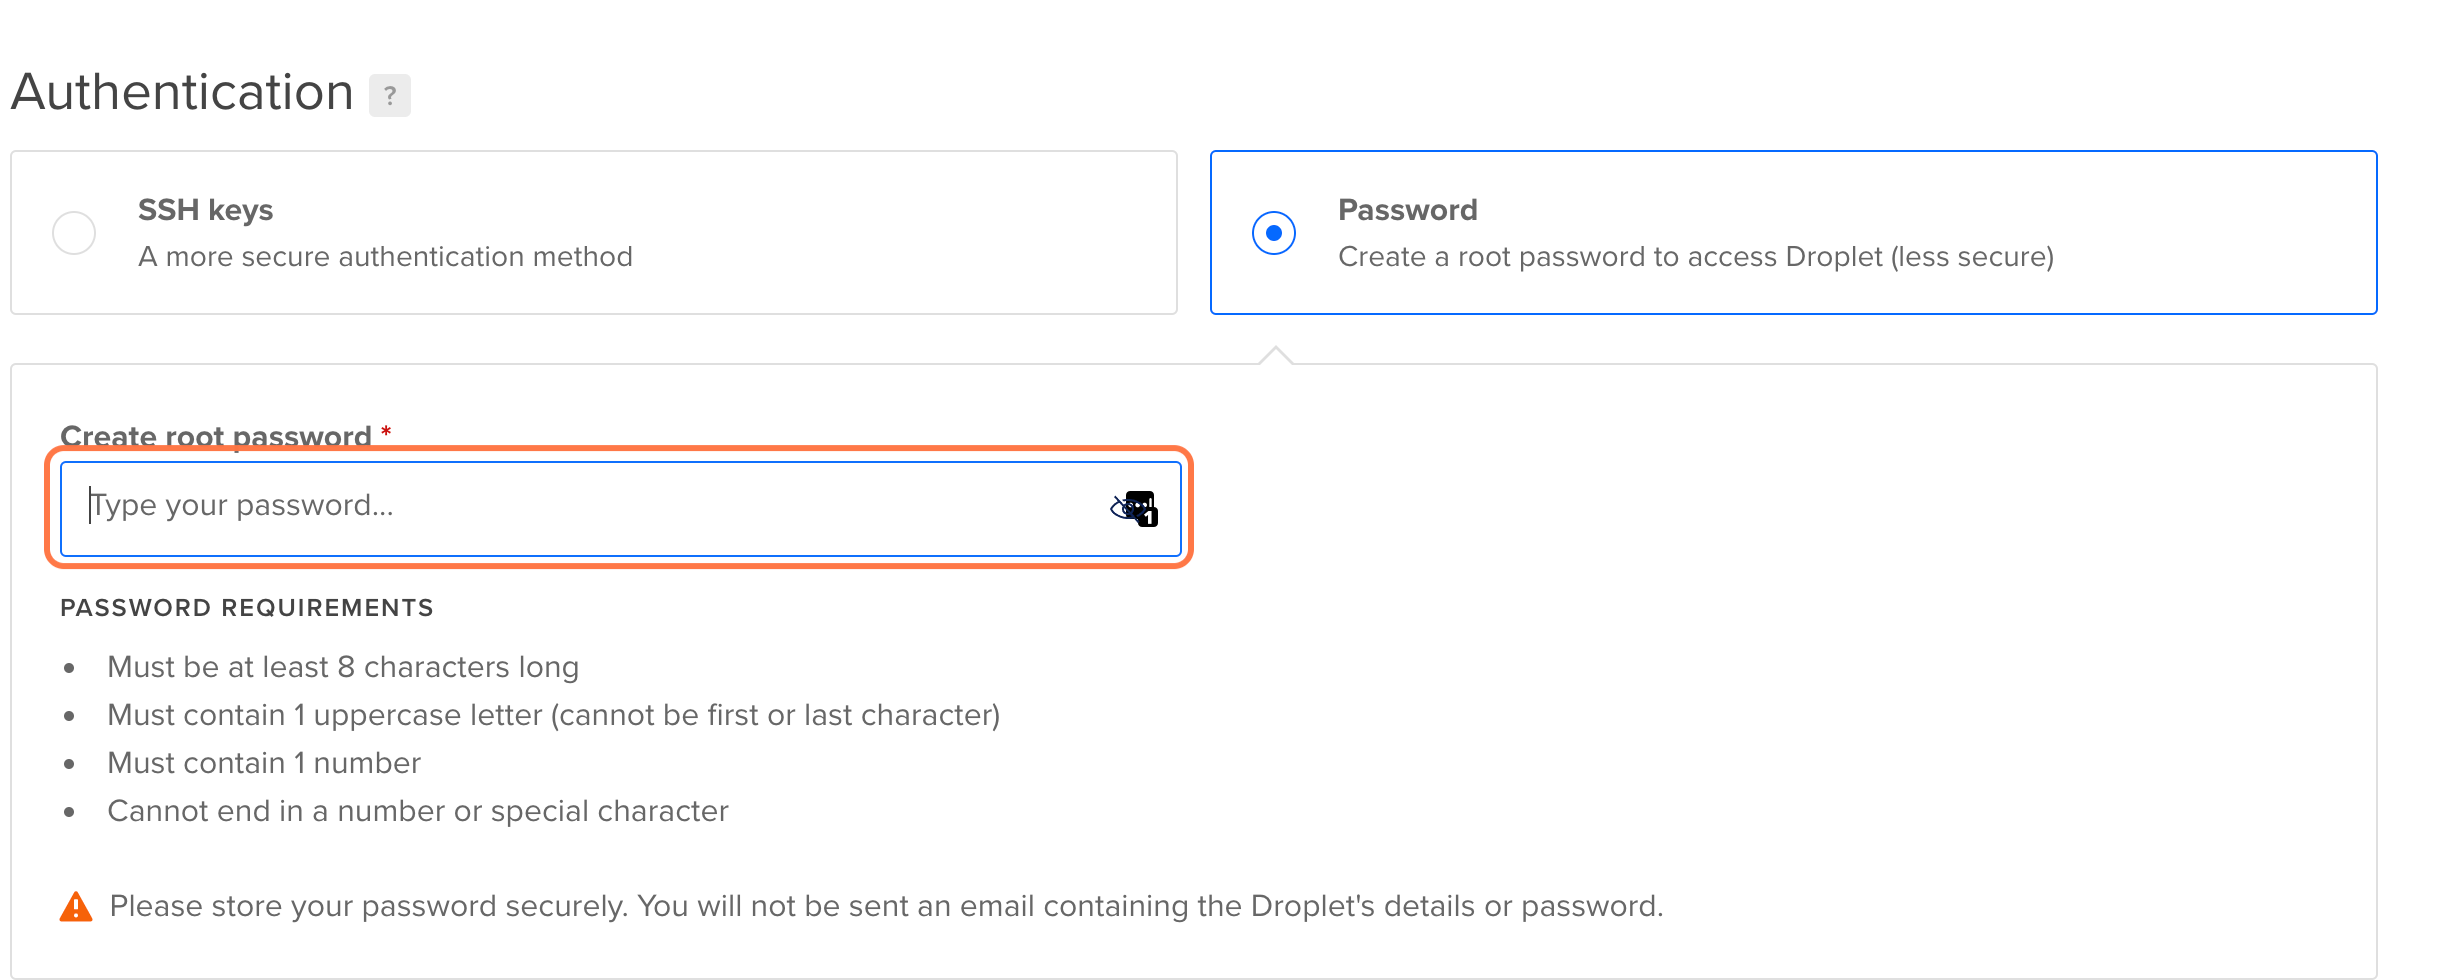
Next, scroll down and choose your authentication method. I always choose the ssh option but you may also choose to create your password.
Now scroll down and choose a hostname. For this example, I will choose ubuntu-test.

Now click the green Create Droplet button.

This may take a while depending on the size of your server.
Point Your Domain Name to Digital Ocean
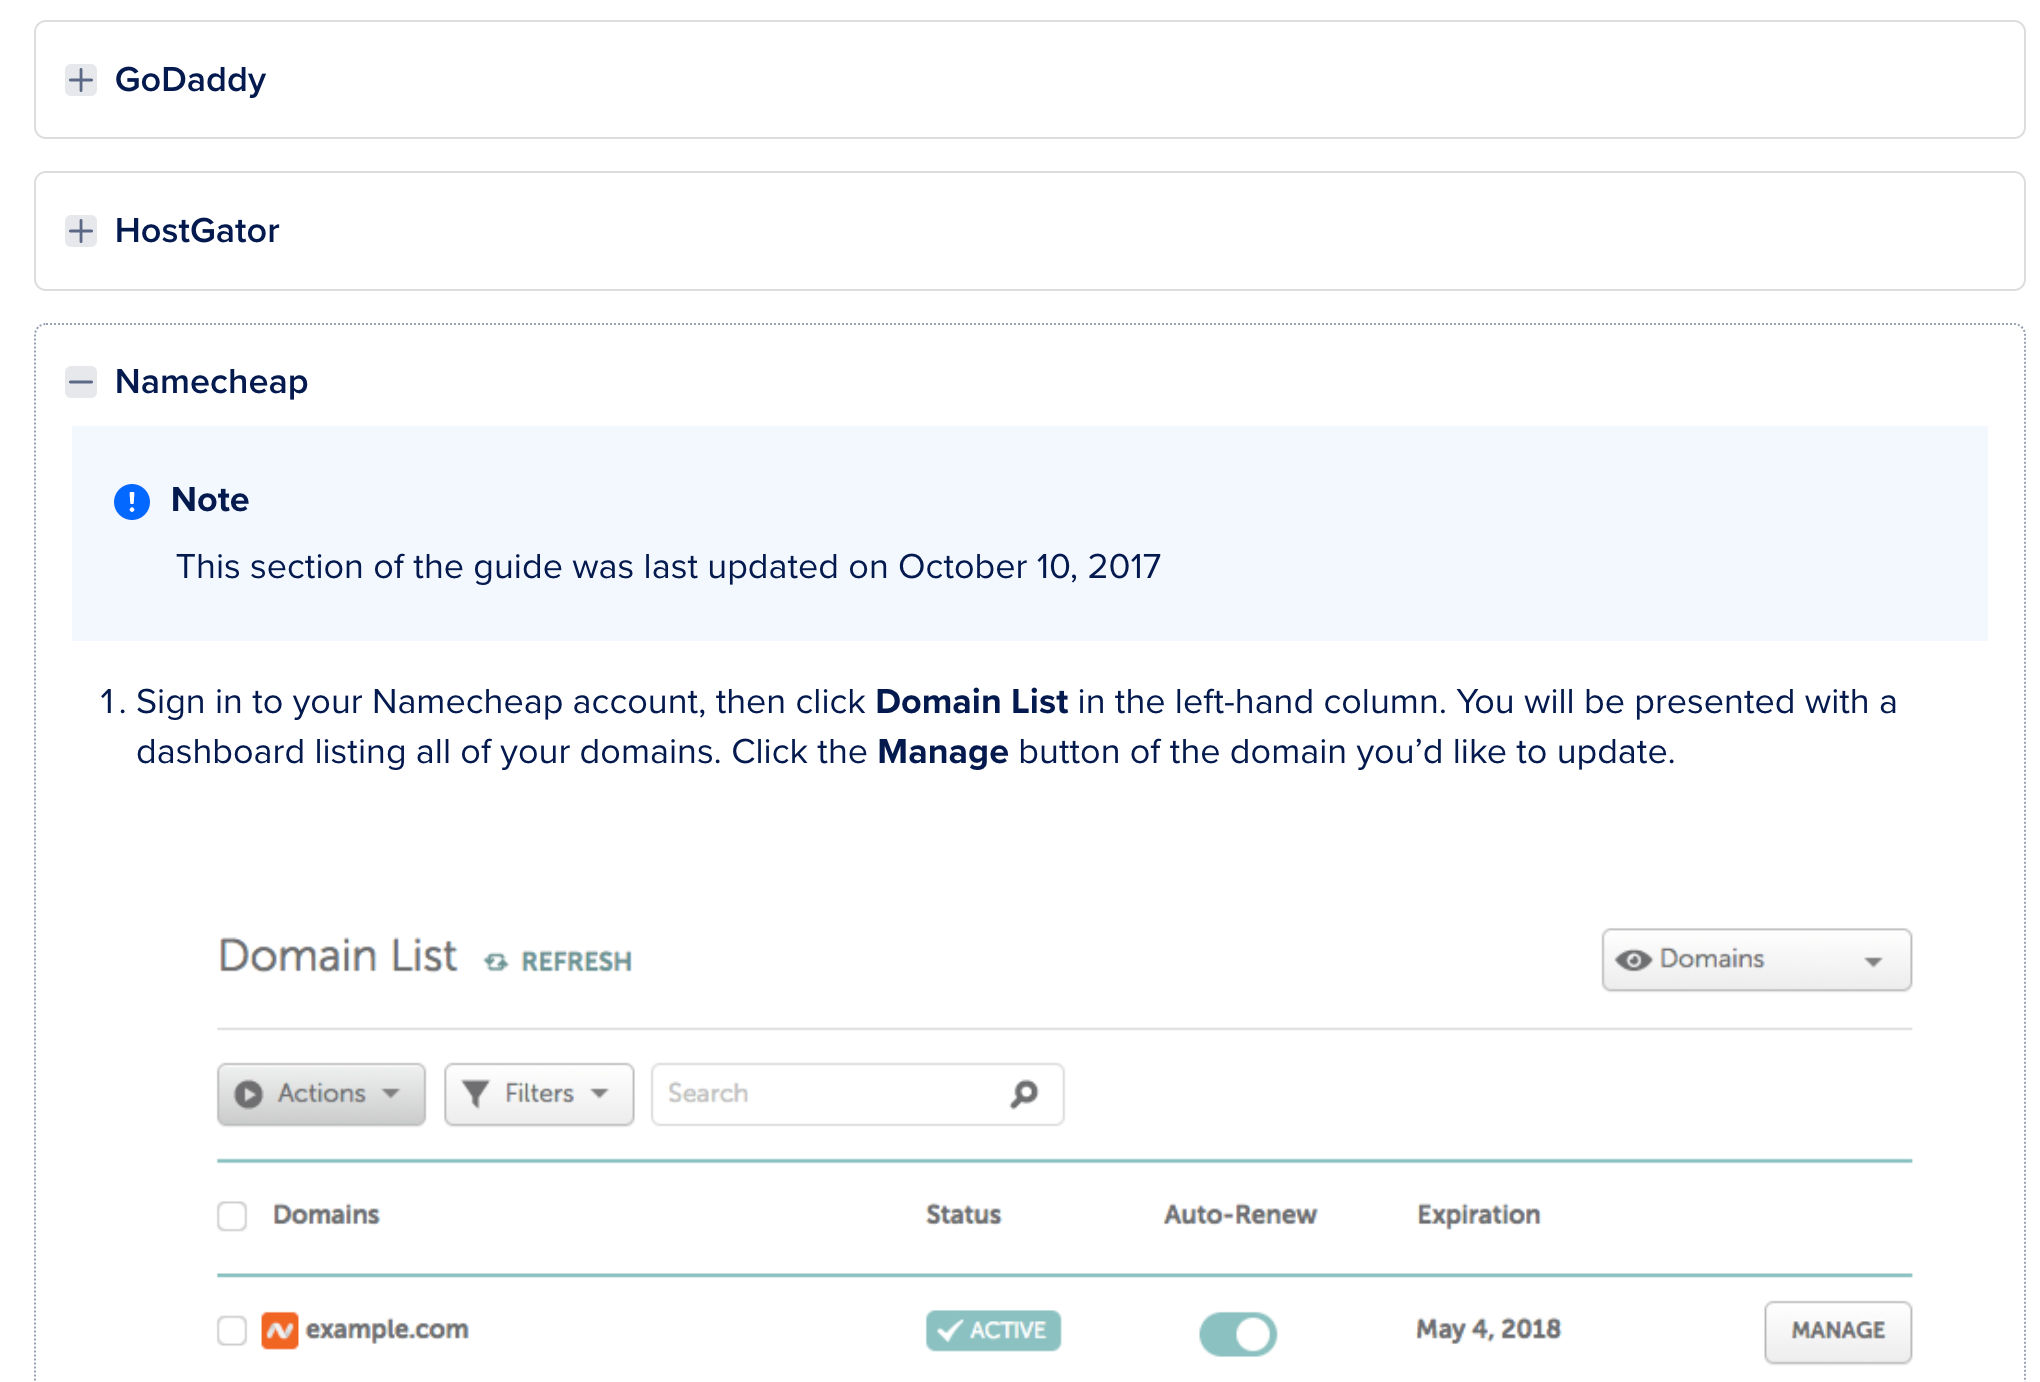
Next, we need to point our domain name to Digital Ocean. Digital Ocean provides a step-by-step guide for the popular domain registrars. Point to DigitalOcean Nameservers From Common Domain Registrars | DigitalOcean Documentation
Click on the name of the domain registrar for instructions.
Login to your Ubuntu Server
Now we will need to do some initial setup of the server. Login into your server using the following command in the terminal.
ssh root@your_server_ip
You may also use PuTTY on Windows computers. Download PuTTY - a free SSH and telnet client for Windows
The best practice for a new server is not to use the root account, so let's create a new user with admin privileges.
Now that we are logged in to our server, enter the following command to create a new user. I chose ubuntutest as my username, but you may choose anything.
adduser ubuntutest
Now let’s grant our user admin privileges by entering the following command as root.
usermod -aG sudo ubuntutest
Set up firewall
We will also set up a basic firewall using the following commands as root. We will use ufw, which is a built-in program. The following command ensures we are able to connect over SSH.
ufw allow OpenSSH
We will enable ufw using the following command.
ufw enable
You can also check the status of ufw using ufw status.
Now log out of root and try to log in using your new user.
ssh ubuntutest@your_server_ip
Set Up A Web Server
Next, we will set up a web server. For this example, I will use NGINX, but you may use Apache or any other server.
While logged in to your server with your non root account, enter these commands:
sudo apt update
sudo apt install nginx
This will do any updates and also install NGINX.
Let’s also set a firewall rule for port 80 for now, using the following command.
sudo ufw allow 'Nginx HTTP'
Go to http://your_server_ip and you should see something similar to the following below.

Installing Your Free SSL/TLS Cert
Now we need to install certbot to install and manage our cert. Enter the following command.
sudo apt install certbot python3-certbot-nginx
We will now edit the file default on your server at the location :
/etc/nginx/sites-available/default
You may use VI/VIM, nano, or an ftp application (FileZilla) to change this file.
You will need to change the server_name property from the underscore, to your domain name. Check out the screenshot below:

Note: yourdomain-name.com is just an example. It’s preferred that you don’t use a domain name with a dash. A lot of social media platforms will block your domain name if it has a dash in it.
Save the file and run this command on your server to make sure there are not any errors:
sudo nginx -t
If everything is fine, restart Nginx using this command:
sudo systemctl restart nginx
Now let’s alter our firewall again using ufw. Enter the two commands below to remove the previous HTTP rule and add a rule for HTTPS and Nginx.
sudo ufw allow 'Nginx Full'
sudo ufw delete allow 'Nginx HTTP'
You may verify the status of ufw using the following command.
sudo ufw status
Now enter the command below to add your free SSL/TLS cert.
sudo certbot --nginx -d yourdomain-name.com
You will get many prompts asking for information for details. The most important one is the redirection question:
Please choose whether or not to redirect HTTP traffic to HTTPS, removing HTTP access.
- - - - - - - - - - - - - - - - - - - - - - - - - - - - - - - - - - - - - - - -
1: No redirect - Make no further changes to the webserver configuration.
2: Redirect - Make all requests redirect to secure HTTPS access. Choose this for
new sites, or if you're confident your site works on HTTPS. You can undo this
change by editing your web server's configuration.
- - - - - - - - - - - - - - - - - - - - - - - - - - - - - - - - - - - - - - - -
Select the appropriate number [1-2] then [enter] (press 'c' to cancel):
I usually choose to redirect my http traffic to https.
Go to your website name and you should see the same page as when you checked the website using the public IP address.
Congratulations on setting up your first Ubuntu server with free SSL!