Flutter: Onboarding Using ShowcaseView
Flutter User Onboarding using ShowCaseView

I have used Intro.js in the past to help onboard new users on React.js and Angular applications. This feature allows us to walk the user through the features in our app. While searching for a flutter equivalent I found a similar library on pub.dev, ShowCaseView:
 showcaseview | Flutter Package
I will create a small example app demonstrating this. First, let's create a blank Flutter app. I will be using Android Studio but you may also use Visual Studio Code.
We will use the default counter template it gives us: {% gist https://gist.github.com/cmcoffeedev/426f4f977519969cebd0efe72ba70416.js %} First, let’s add the ShowCaseView package as a library using this command in your terminal:
flutter pub add showcaseview
We will “install” the package using this command in the terminal:
flutter pub get
For simplicity we are going to use the default code the template gives us. In the stateless MyApp widget, wrap the home parameter of the Material App to with ShowcaseWidget.
home: ShowCaseWidget(
  builder: Builder(
      builder: (context) =>
          const MyHomePage(title: 'Flutter Demo Home Page')),
),
Note for this package to work correctly, the parent widget must use ShowCaseWidget.
Next lets wrap the floating action button and the counter text with “Showcase” widgets. The “Showcase” widget takes a key and description. Add these variables below the _counter variable.
final GlobalKey _floatingActionKey = GlobalKey();
final GlobalKey _counterKey = GlobalKey();

final String _incrementDescription = "Press this button to increment the count";

final String _counterTextDescription = "This text shows how many times you have pressed the button";
Next, let’s wrap the counter text with the Showcase widget:
Showcase(
  key: _counterKey,
  description: _counterTextDescription,
  child: Text(
    '$_counter',
    style: Theme.*of*(context).textTheme.headline4,
  ),
),
Now, let’s wrap the floating action button with a showcase widget:
floatingActionButton: Showcase(
  key: _floatingActionKey,
  description: _incrementDescription,
  child: FloatingActionButton(
    onPressed: _incrementCounter,
    tooltip: 'Increment',
    child: const Icon(Icons.*add*),
  ),
),
The following code will start the tutorial for the user:
ShowCaseWidget.*of*(context)
          ?.startShowCase([_floatingActionKey, _counterKey]));
Notice we are passing the keys in the order we want the widgets to be hightlighted.
Let’s put this in a function:
void _startTutorial(){
  ShowCaseWidget.*of*(context)?.startShowCase([_floatingActionKey, _counterKey]);
}
If we want to start this tutorial automatically, we must add this code to initState like so:
@override
void initState() {
  super.initState();
  WidgetsBinding.*instance*?.addPostFrameCallback((_) => _startTutorial());
}
Alternatively, to start this on a button click. Let’s create a TextButton under the counter Showcase widget:
TextButton(
    onPressed: _startTutorial,
    child: const Text("Restart Tutorial")
)
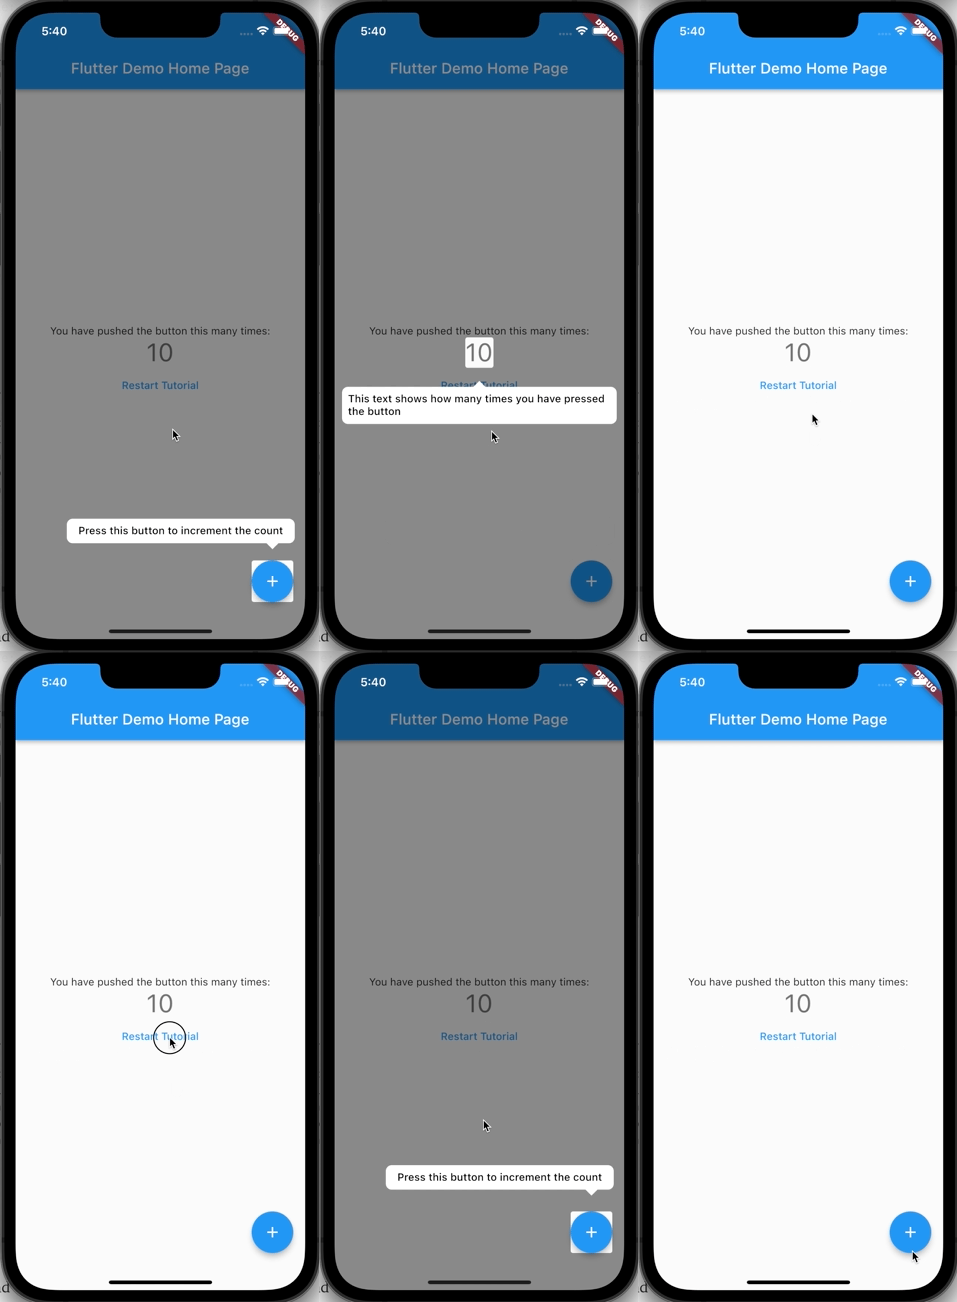
This is the full source code: {% gist https://gist.github.com/cmcoffeedev/4ab34e439f3b14185d125d434b9eb678.js %} Run the app and this should be your result:

Thank you for taking the time to read this article!