Flutter Flow: How to screenshot any widget
I built a new tool using Next.js and an AI API to generate custom Flutter widgets.
To test it out, I started searching the Flutter Flow community and found this post: screenshot of a widget
I saw Ahmed wanted to capture a specific widget and not the whole screen.

Adding custom widget code to Flutter Flow
So I gave my generator this prompt and it generated the following code
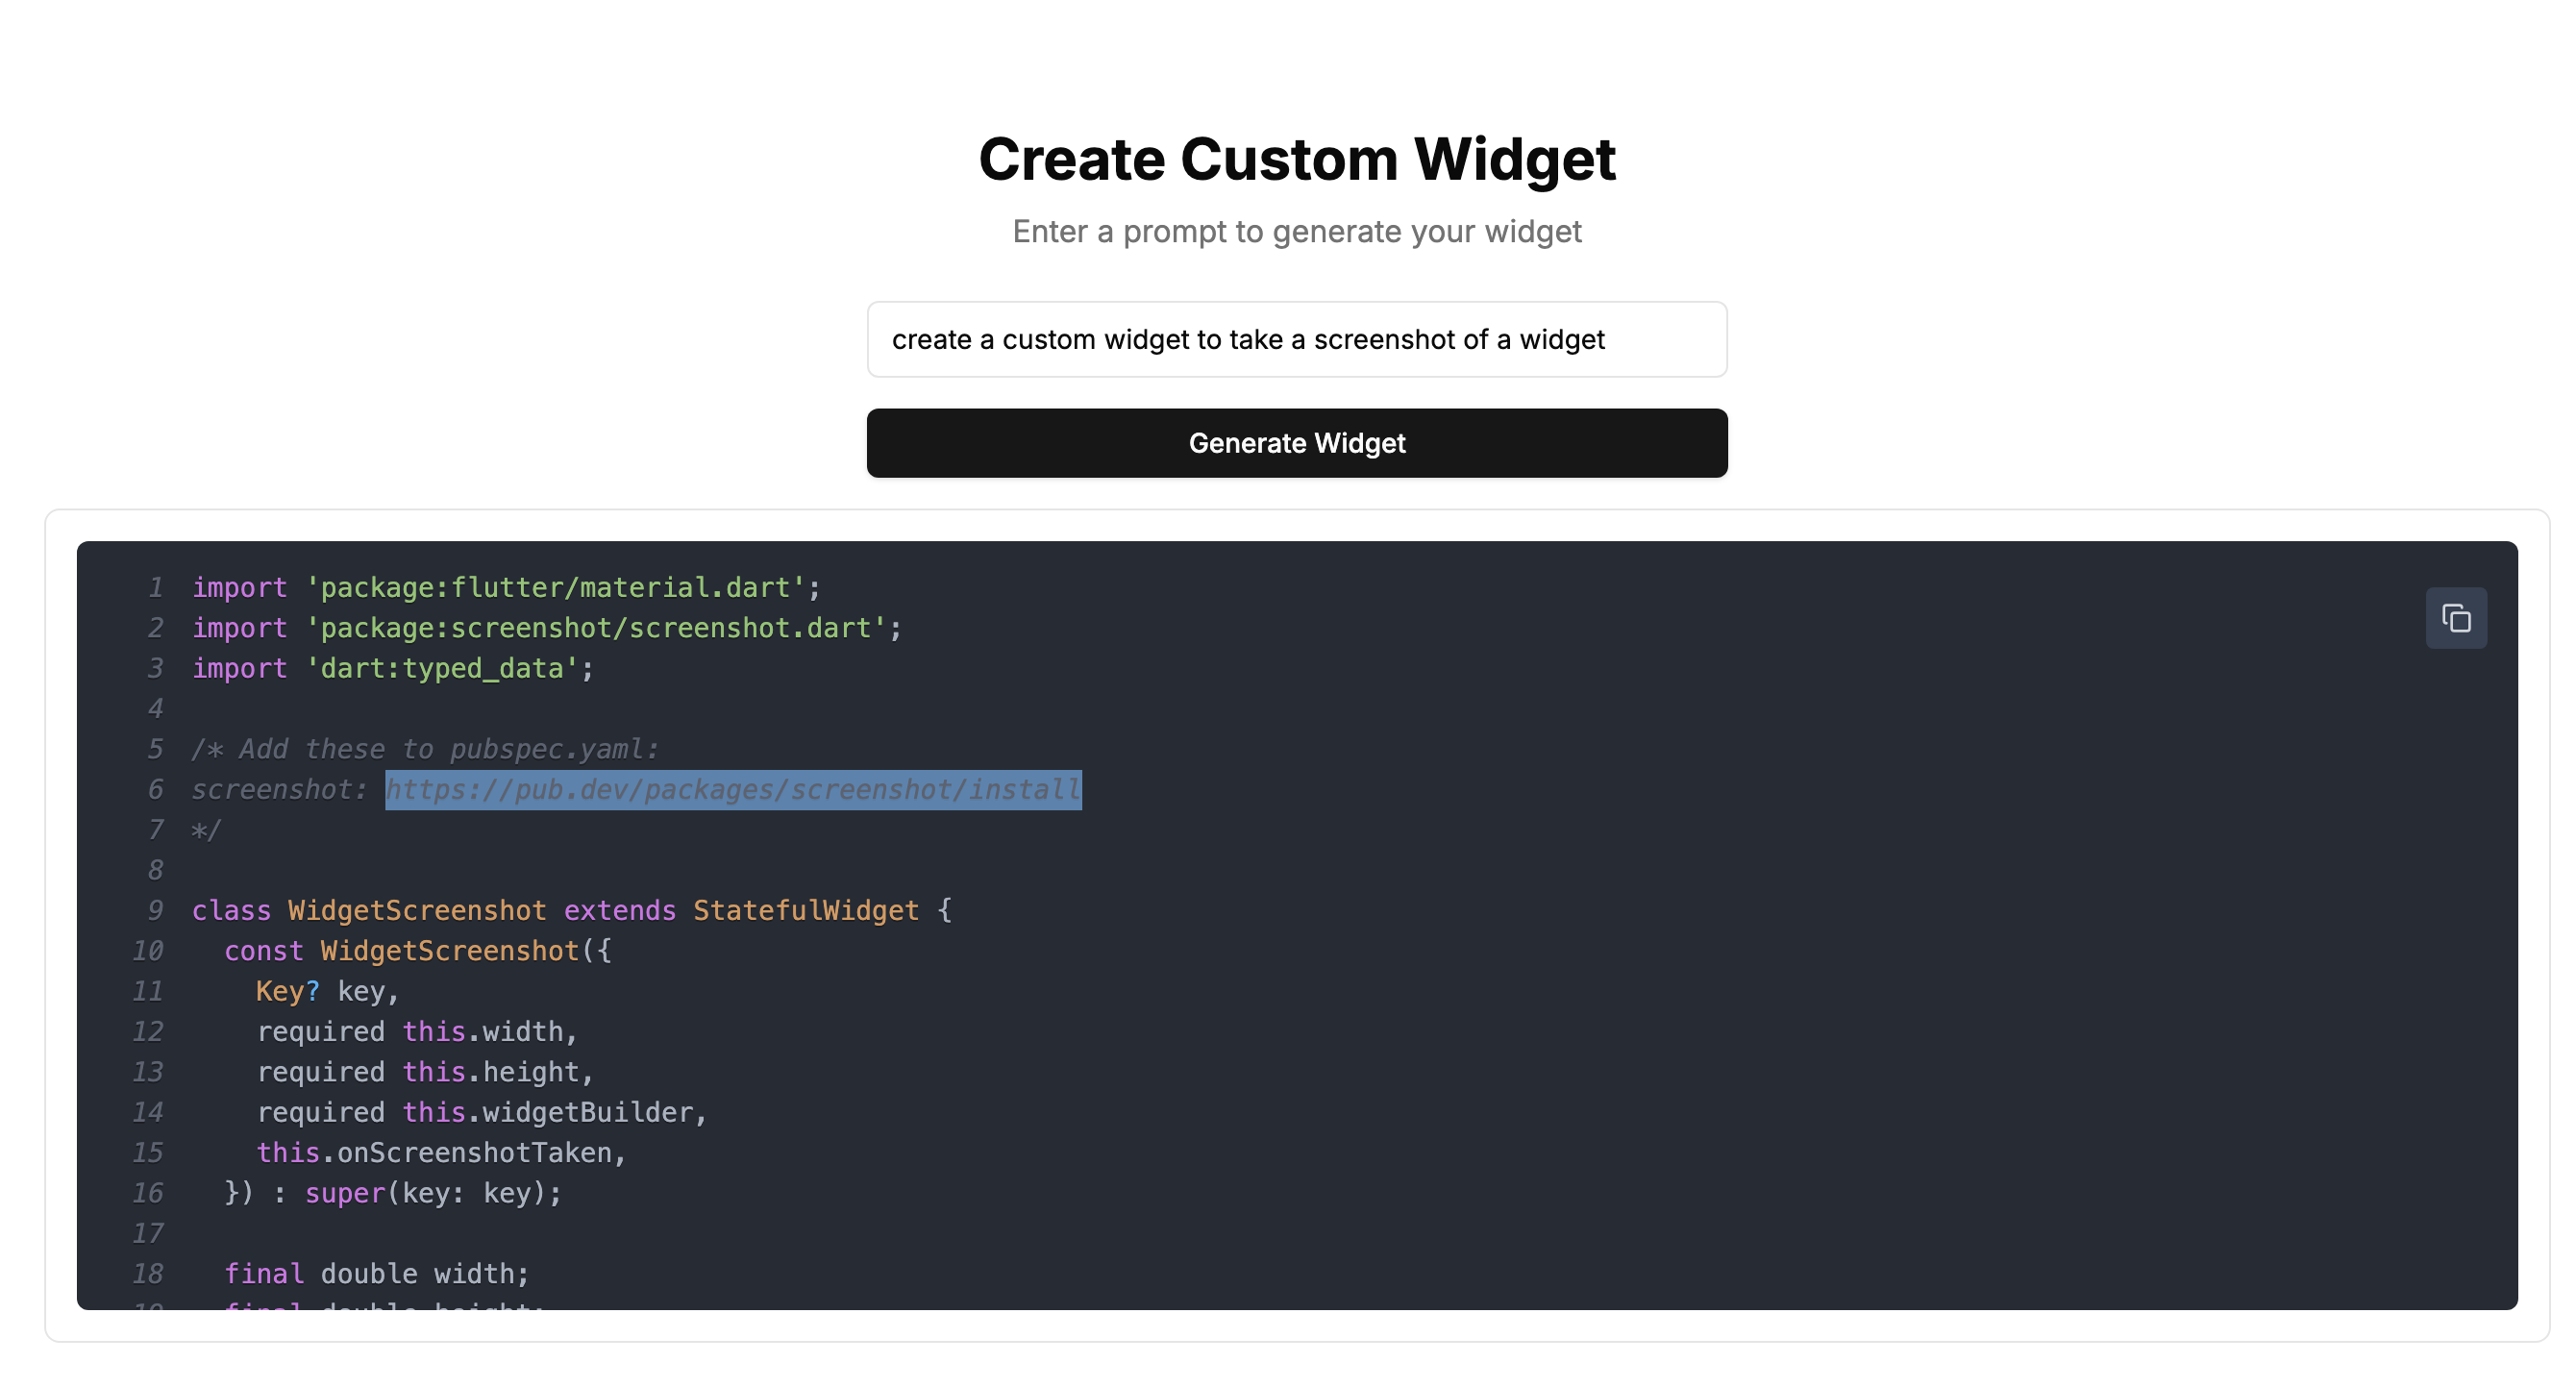
You can try the generator at https://codewhims.com/ Code Whims
I clicked the copy button, went back to Flutter Flow, and clicked Add Widget. Next I copied the code into the editor on Flutter Flow.
// Automatic FlutterFlow imports
import '/backend/backend.dart';
import '/backend/schema/structs/index.dart';
import '/backend/supabase/supabase.dart';
import '/actions/actions.dart' as action_blocks;
import '/flutter_flow/flutter_flow_theme.dart';
import '/flutter_flow/flutter_flow_util.dart';
import '/custom_code/widgets/index.dart'; // Imports other custom widgets
import '/flutter_flow/custom_functions.dart'; // Imports custom functions
import 'package:flutter/material.dart';
// Begin custom widget code
// DO NOT REMOVE OR MODIFY THE CODE ABOVE!

import 'index.dart'; // Imports other custom widgets

/* Add these to pubspec.yaml:
screenshot: ^2.1.0
*/

import 'package:screenshot/screenshot.dart';

class WidgetScreenshot extends StatefulWidget {
  const WidgetScreenshot({
    Key? key,
    this.width,
    this.height,
    required this.screenshotChild,
    this.onScreenshotCaptured,
  }) : super(key: key);

  final double? width;
  final double? height;
  final Widget Function()? screenshotChild;
  final Future Function(FFUploadedFile screenshot)? onScreenshotCaptured;

  @override
  _WidgetScreenshotState createState() => _WidgetScreenshotState();
}

class _WidgetScreenshotState extends State<WidgetScreenshot> {
  final screenshotController = ScreenshotController();

  Future captureScreenshot() async {
    try {
      final Uint8List? capturedImage = await screenshotController.capture();

      if (capturedImage != null && widget.onScreenshotCaptured != null) {
        final timestamp = DateTime.now().millisecondsSinceEpoch;
        final screenshotFile = FFUploadedFile(
          name: 'screenshot_$timestamp.png',
          bytes: capturedImage,
        );

        await widget.onScreenshotCaptured!(screenshotFile);
      }
    } catch (e) {
      print('Error capturing screenshot: $e');
    }
  }

  @override
  Widget build(BuildContext context) {
    return Container(
      width: widget.width,
      height: widget.height,
      child: Column(
        children: [
          Expanded(
            child: Screenshot(
              controller: screenshotController,
              child: widget.screenshotChild?.call() ?? Container(),
            ),
          ),
          ElevatedButton(
            onPressed: captureScreenshot,
            child: Text('Capture Screenshot'),
          ),
        ],
      ),
    );
  }
}
The code has a button that will capture the screenshot when clicked, and return the bytes, so you can use it however you see fit. For this example, I save it to page state.
One thing to note is the default name for the widget is usually NewCustomWidget. You will need to copy the class name from the code and use that as the name. In this case WidgetScreenshot.
Click Save
FlutterFlow should next show this message, asking if you want it to add the parameters for you.
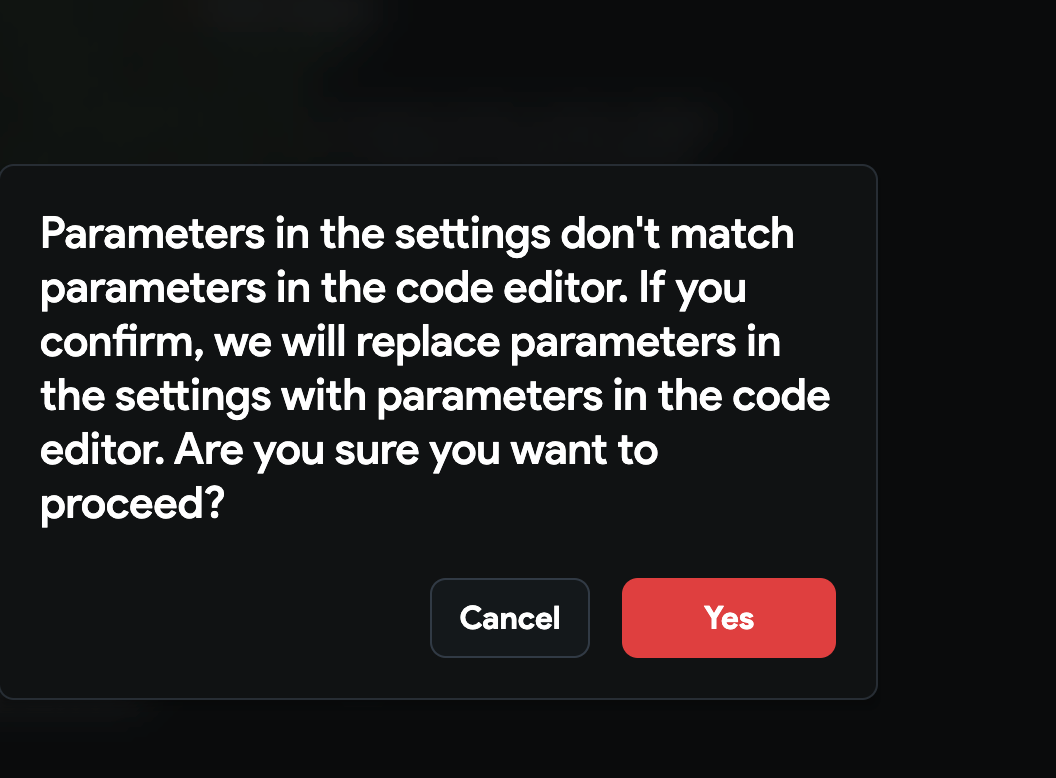
Click Yes.
For the parameters you should see the following
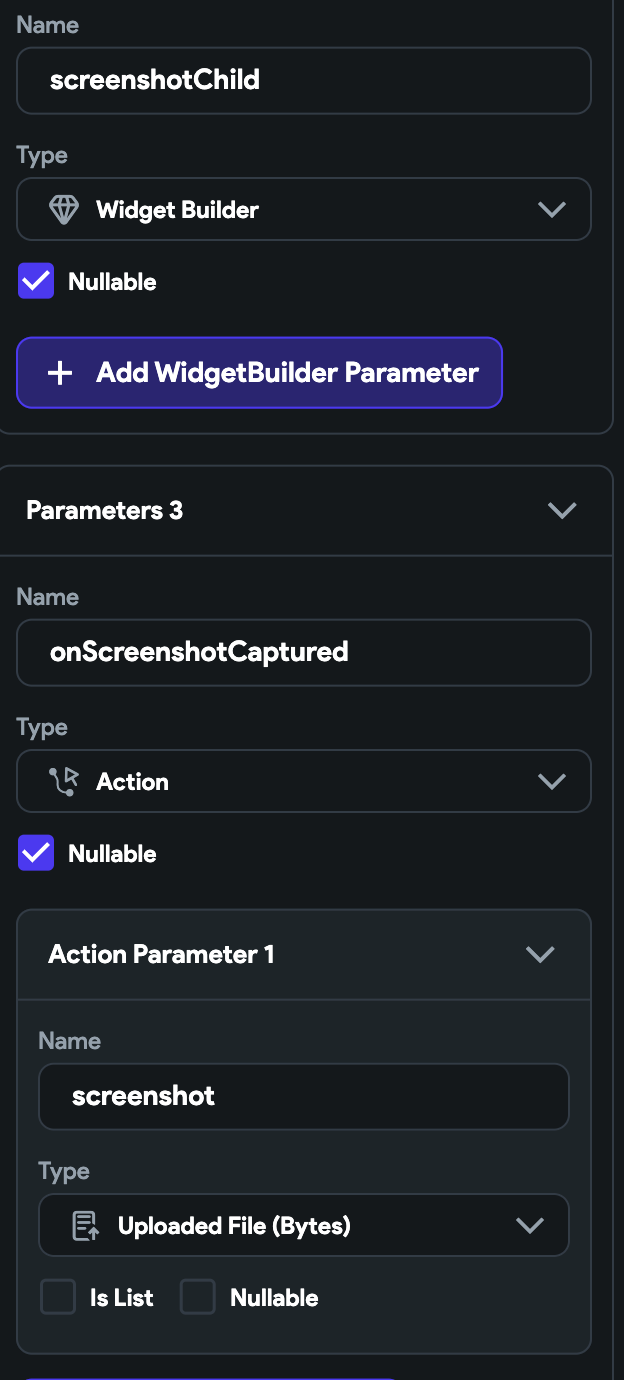
screenshotChild uses the Widget Builder param. This allows you to pass any widget. This must be a custom widget or component, which you can create from any widget.
The next param is onScreenshotCaptured, which is an action parameter that returns an Uploaded File.
I think it’s a good idea to always return a file when working with files. That way you can preview it and handle it however you want with FlutterFlow outside of the code.
Also I checked the Exclude from compilation option.
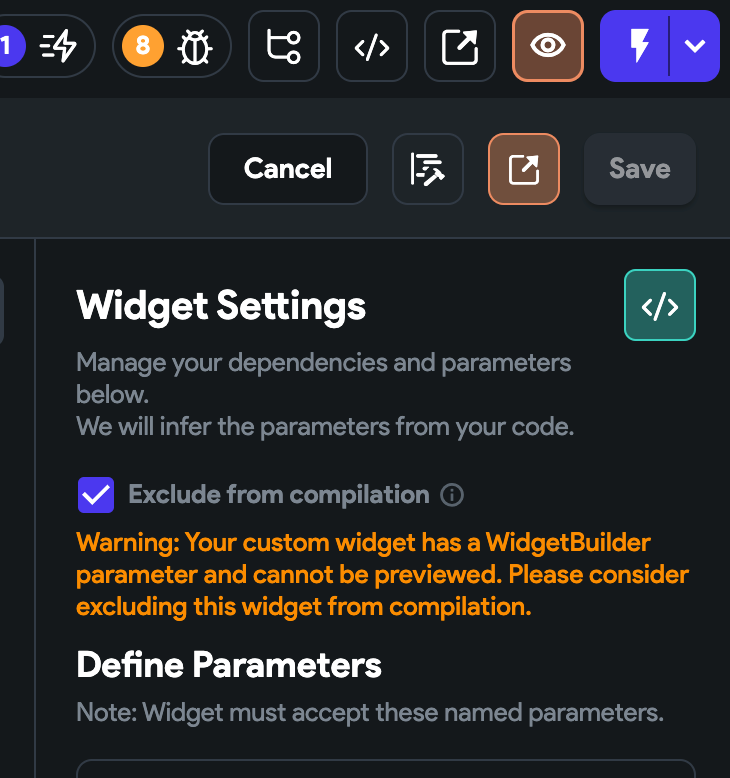
The reason I did this is because when clicking the compile/build button, I get an error stating that it is unknown. If I see the following error, checking Exclude from compilation, and running the app, the custom widget works fine.
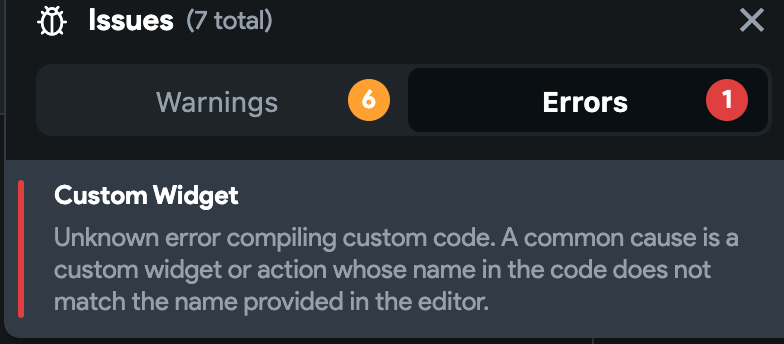
Another way I confirm that it works without using Test mode, is downloading and running the code locally.
If it gave a specific error, it would be an actual issue with the code. Sometimes it is based on how the parameters are defined.
Make sure to also add the screenshot dependency. The code has a link to the latest version in the comments.

Add the widget to your page
Now we can add the widget to the page by dragging it from the widget pallete.
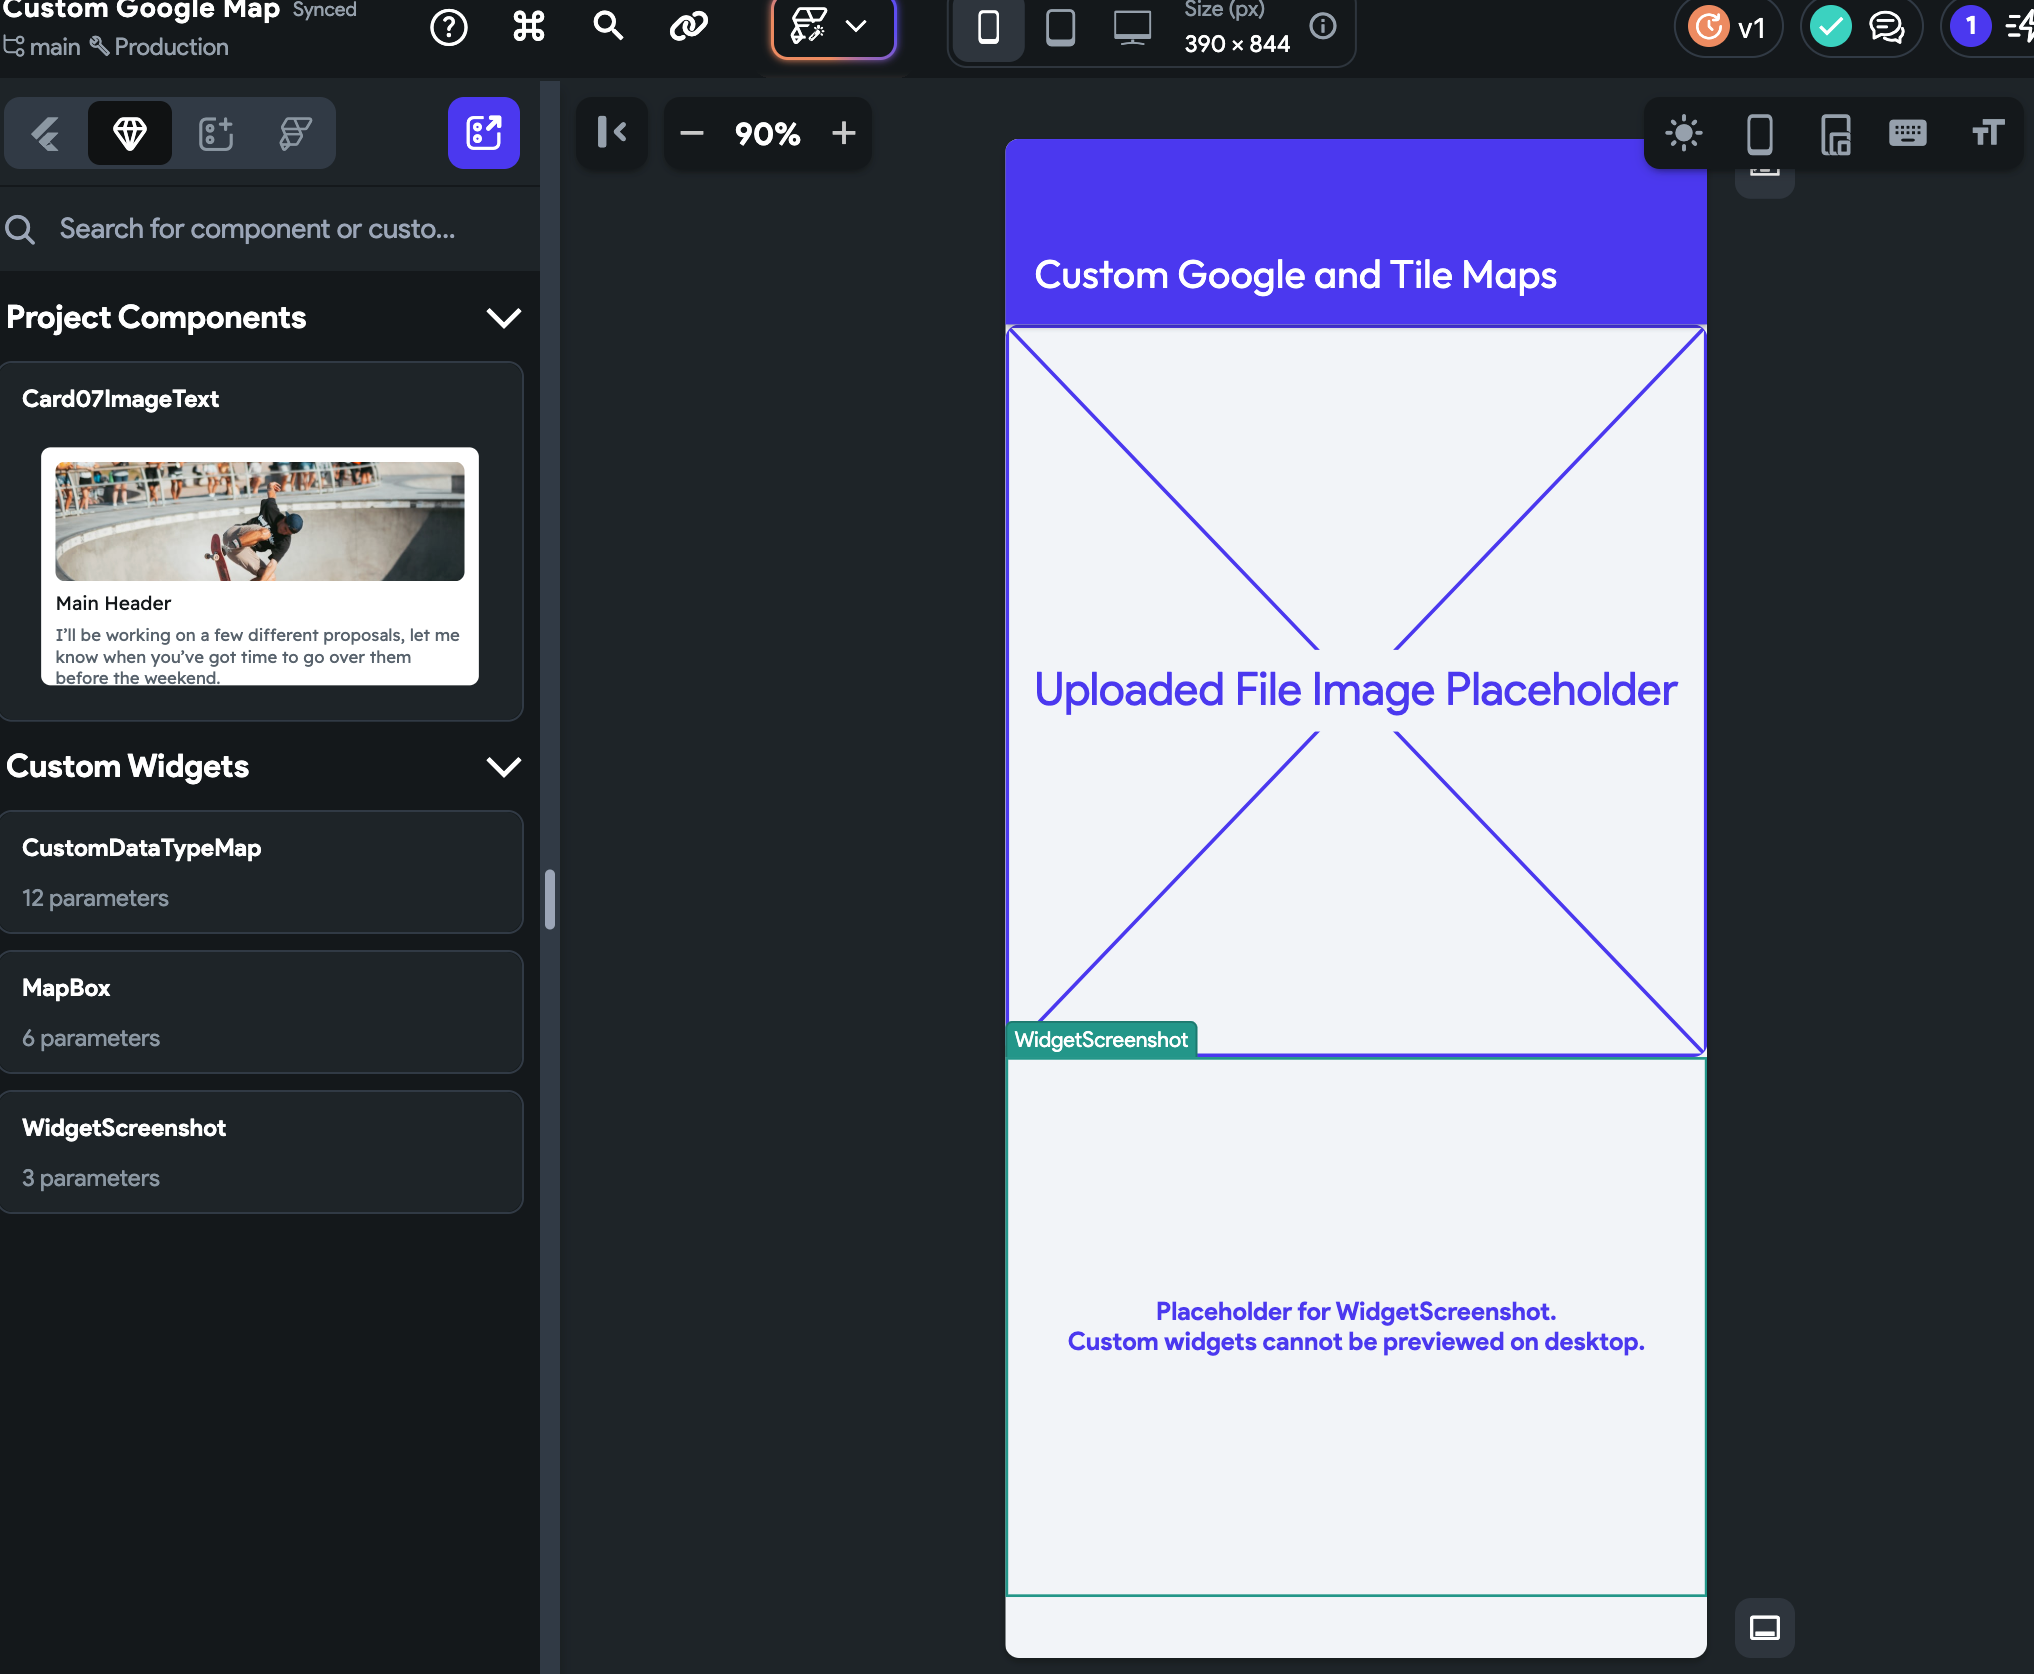
Notice above the custom widget, I have an image widget. I just use this to display the screenshot after capturing the screenshot.
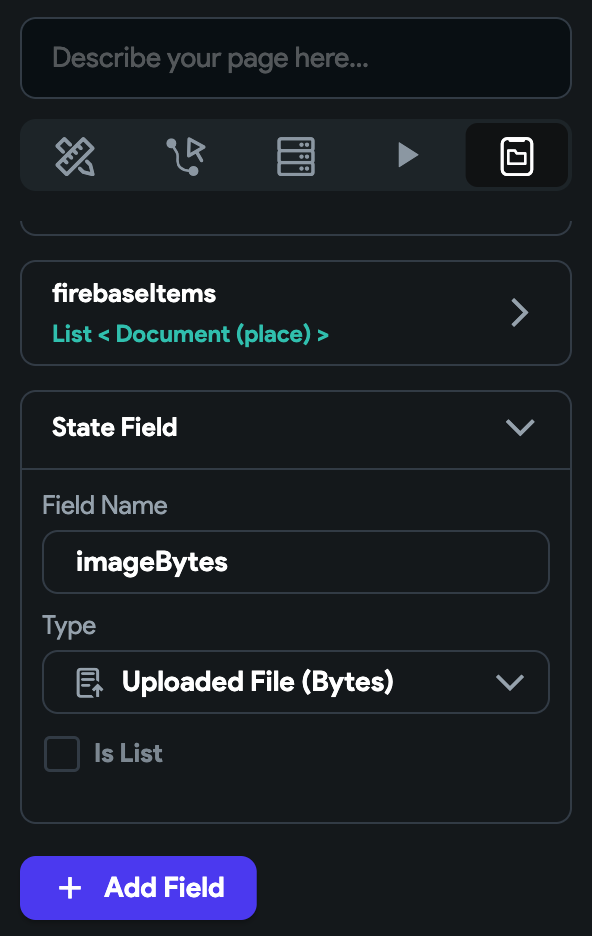
I have a page state variable imageBytes that is of type Uploaded File(Bytes).
For the image I have a visibility condition to only show it if you the imageBytes page state is set.

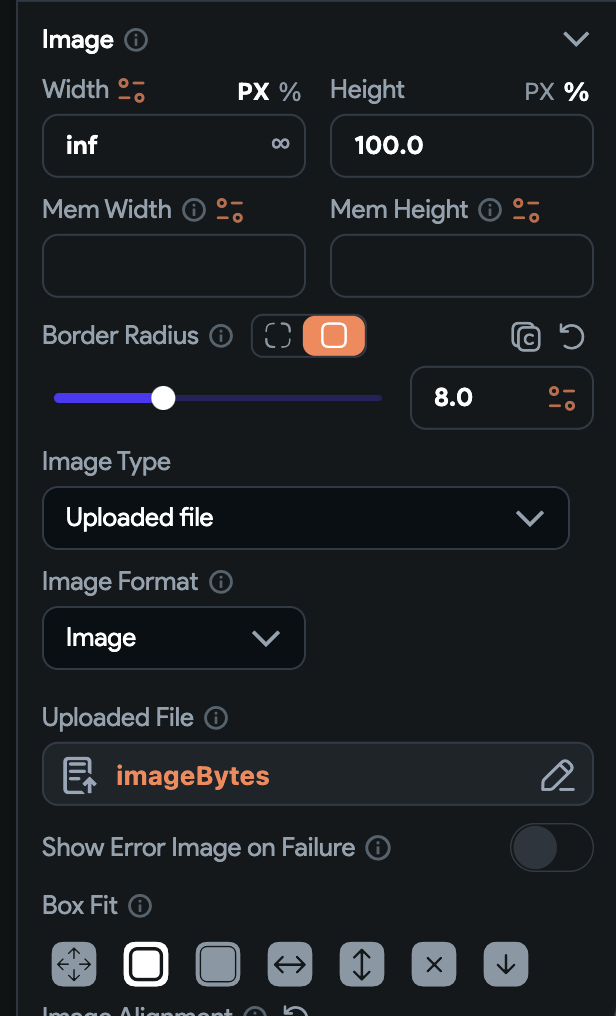
I also have the following properties for the widget. Notice I have Image Type as Uploaded File. We need this option so we can use the imageBytes page state variable to show the screenshot. I also use contain for the Box Fit property.
Custom Widget Properties
Next let us look at the properties for the custom widget.
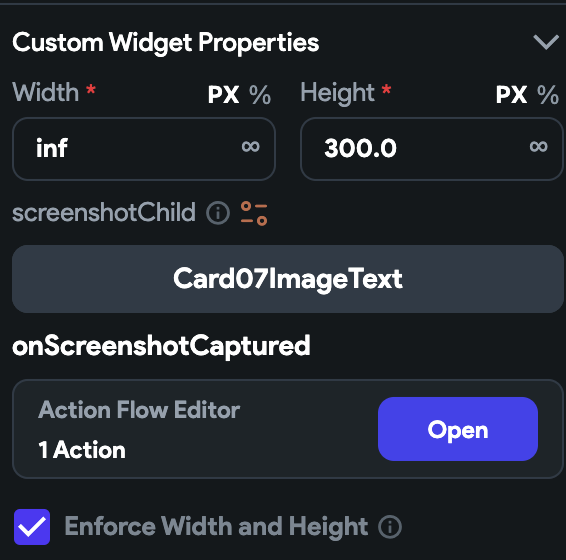
I have inf for the width and height as 300 px. For this example, if I use expanded, it would initially show the card have the height of the screen.
This would in turn make the screenshot the entire screen, which is what we wanted to avoided, so make sure set up the widgets height and width appropriately.
For the screenshotChild, our custom widget to screenshot, I used a premade card component that Flutter Flow gives us.
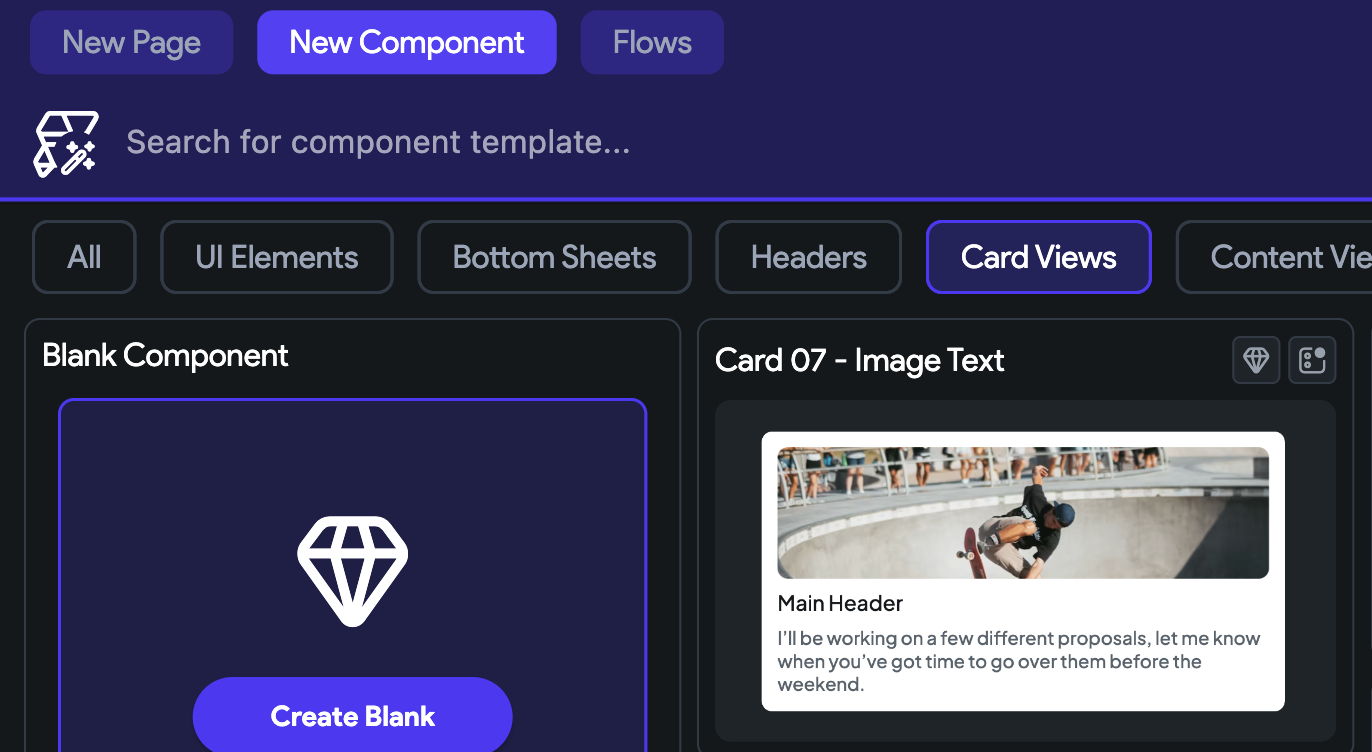
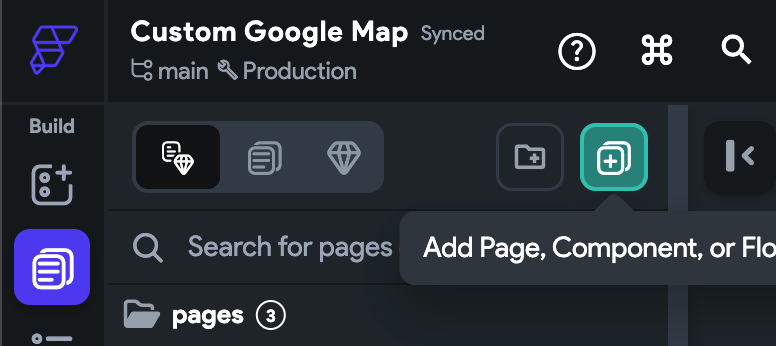
You can access it by clicking the green plus button under the Page Selector tab/menu.
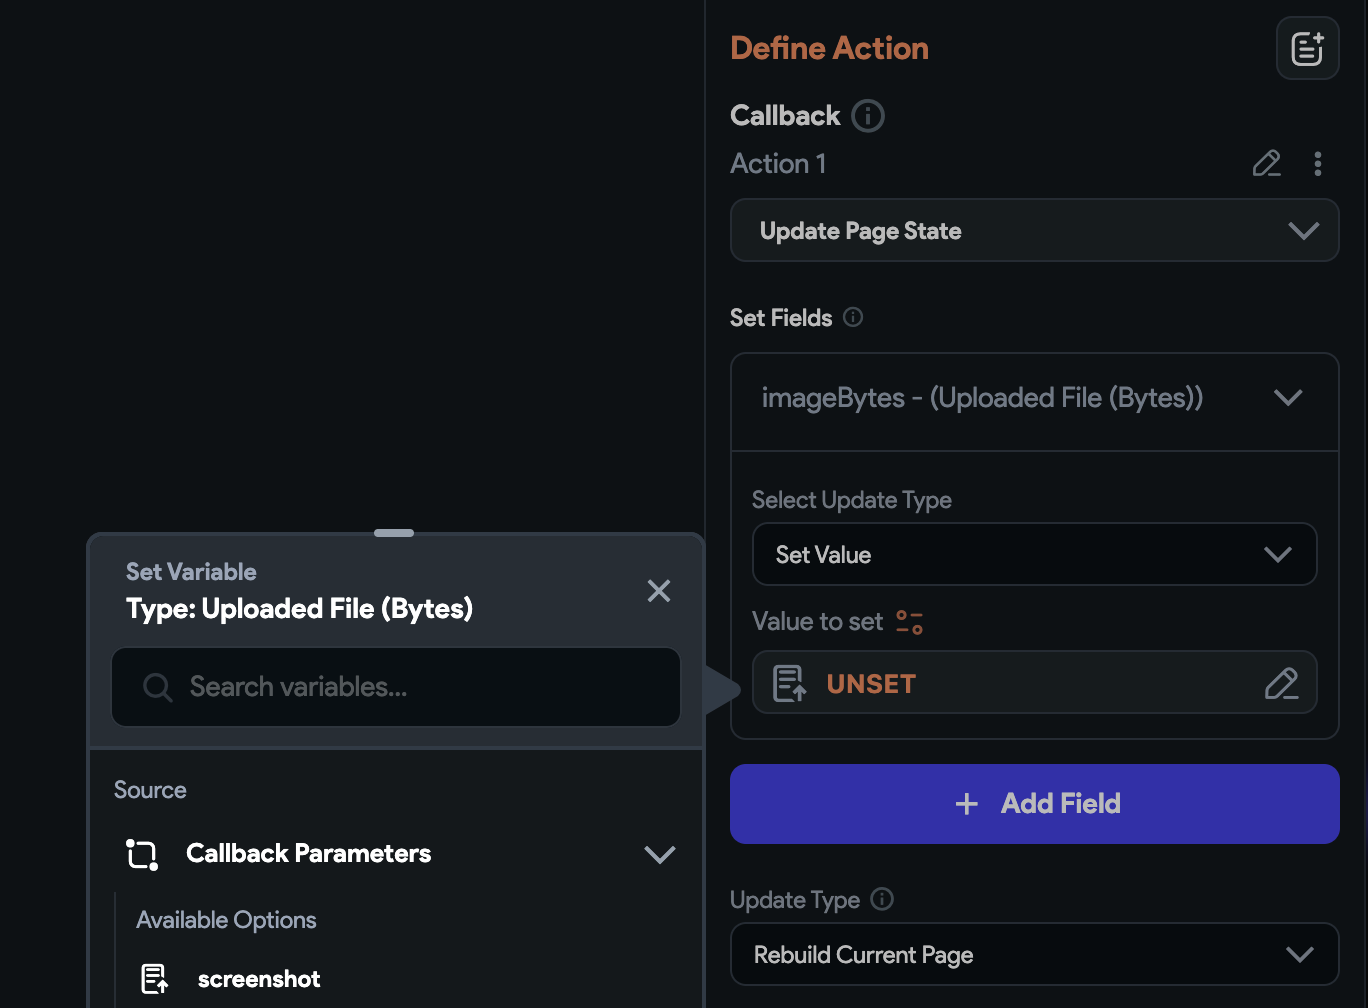
For the action on the custom widget, I am updating page state imageBytes, using the callback parameter screenshot.
Screenshot package on web
A couple of things to note about using the screenshot package on the web.
I got the following error in the browser console when clicking the Capture Screenshot button and running in Flutter Flow’s Test mode.
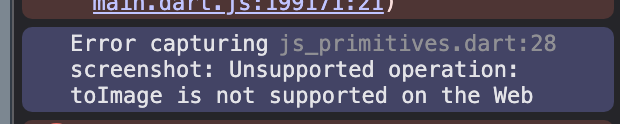
I searched the issues on the packages repo and saw the following mentioned: Web:Unsupported operation: toImage is not supported on the Web · Issue #63 ·…

Flutter Flow has an option to turn on CanvasKit through Settings > Platforms > Advanced Web Settings

I still got the same error when running the app in Flutter Flow’s Test mode. I’m guessing they only enable it when deployed?
I downloaded the code, ran the web version and it worked fine.
Final thoughts
This is should be the final result after clicking the save screenshot button.

Congratulations on implementing your custom widget!
Ready to Build Something Amazing?
Whether you need development expertise or technical consultation, I'm here to help bring your ideas to life.