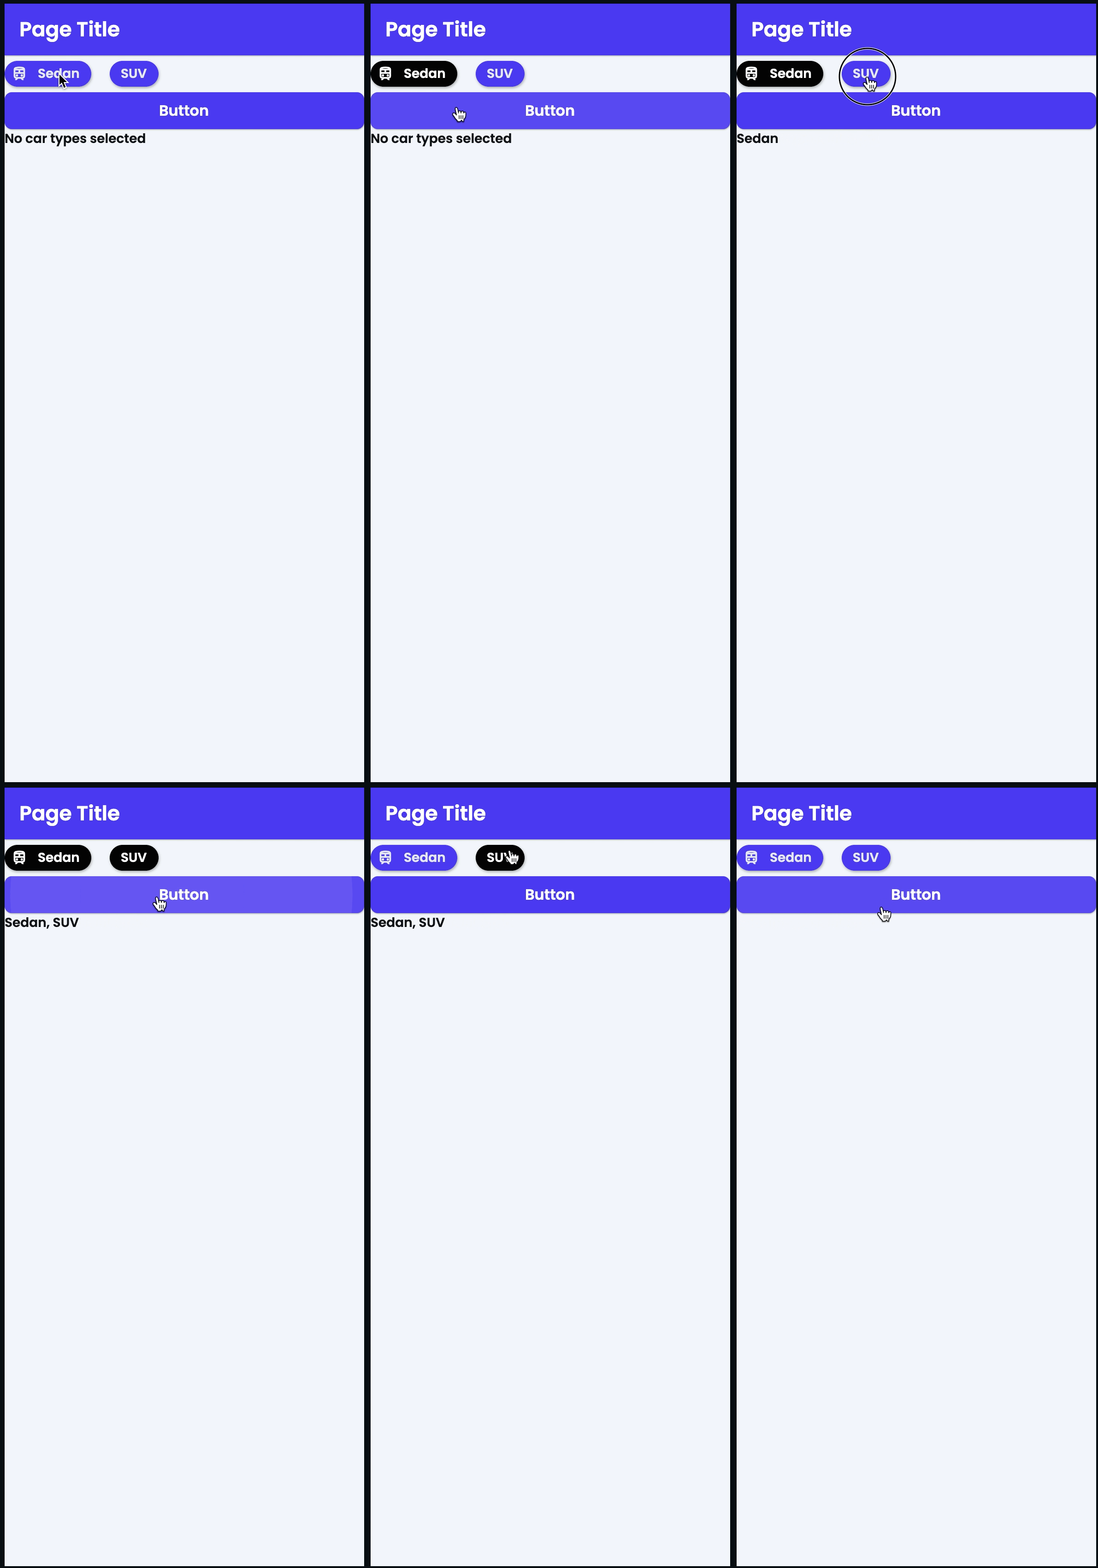
Flutter Flow: Get Values From Multiple-Choice, Choice Chips (Again)
Previously I walked through how to get the value from Multiple-Choice Choice Chips using App State and a custom action. Flutter Flow: Get Value From Multiple-Choice Choice Chips
Now I will show you another way to get the value using Page State and a custom function.
Set up the UI
I am going to set up the same UI as the previous article.
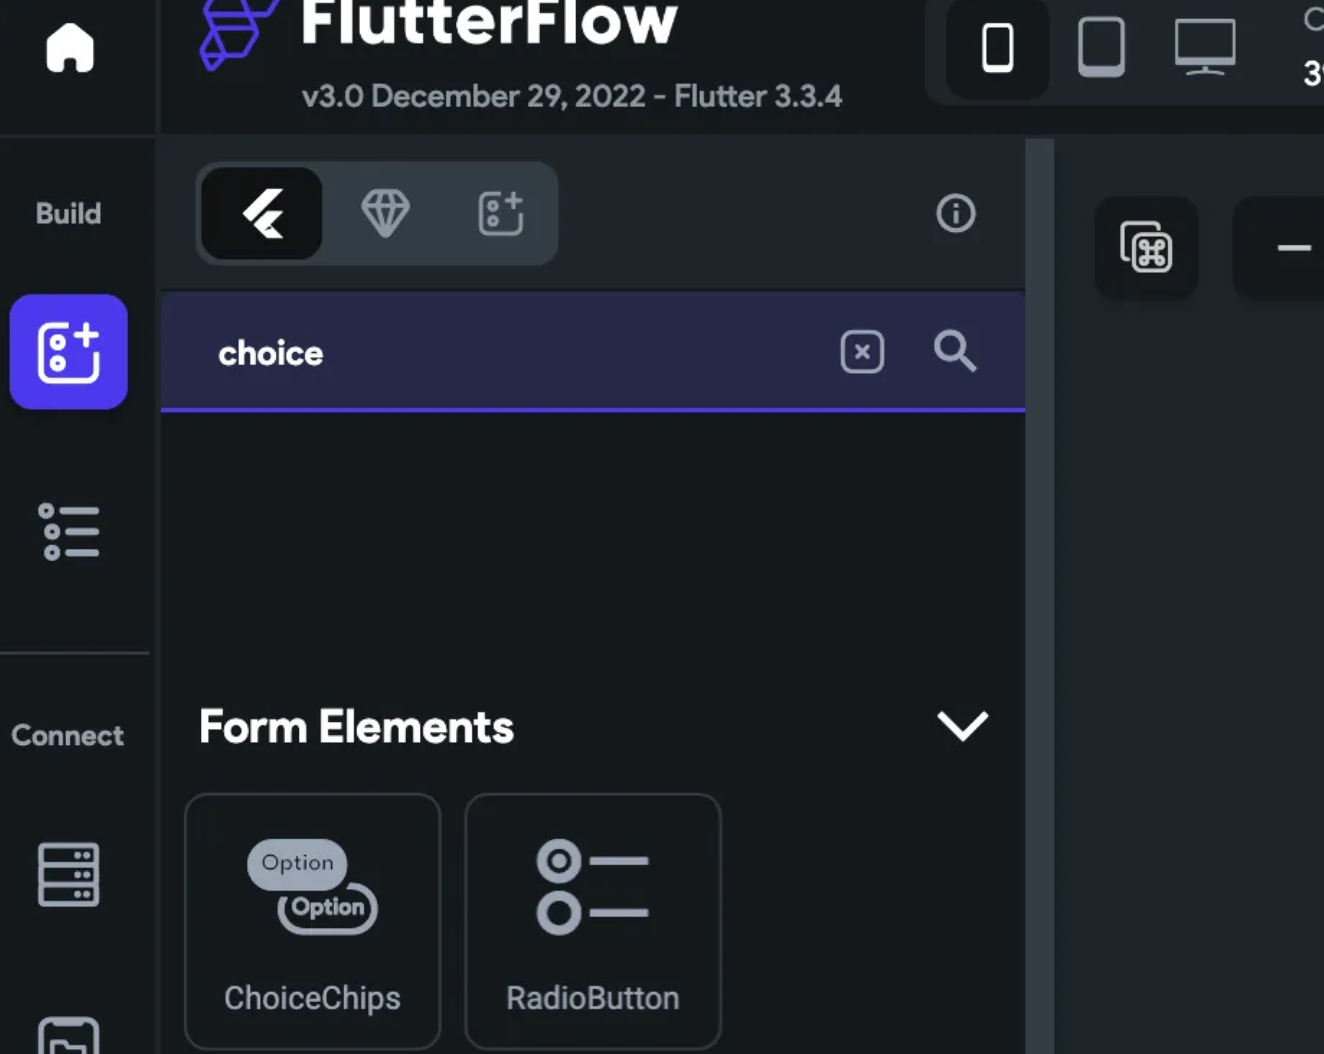
Search for choice chips in the UI Builder and drag it on your blank screen.
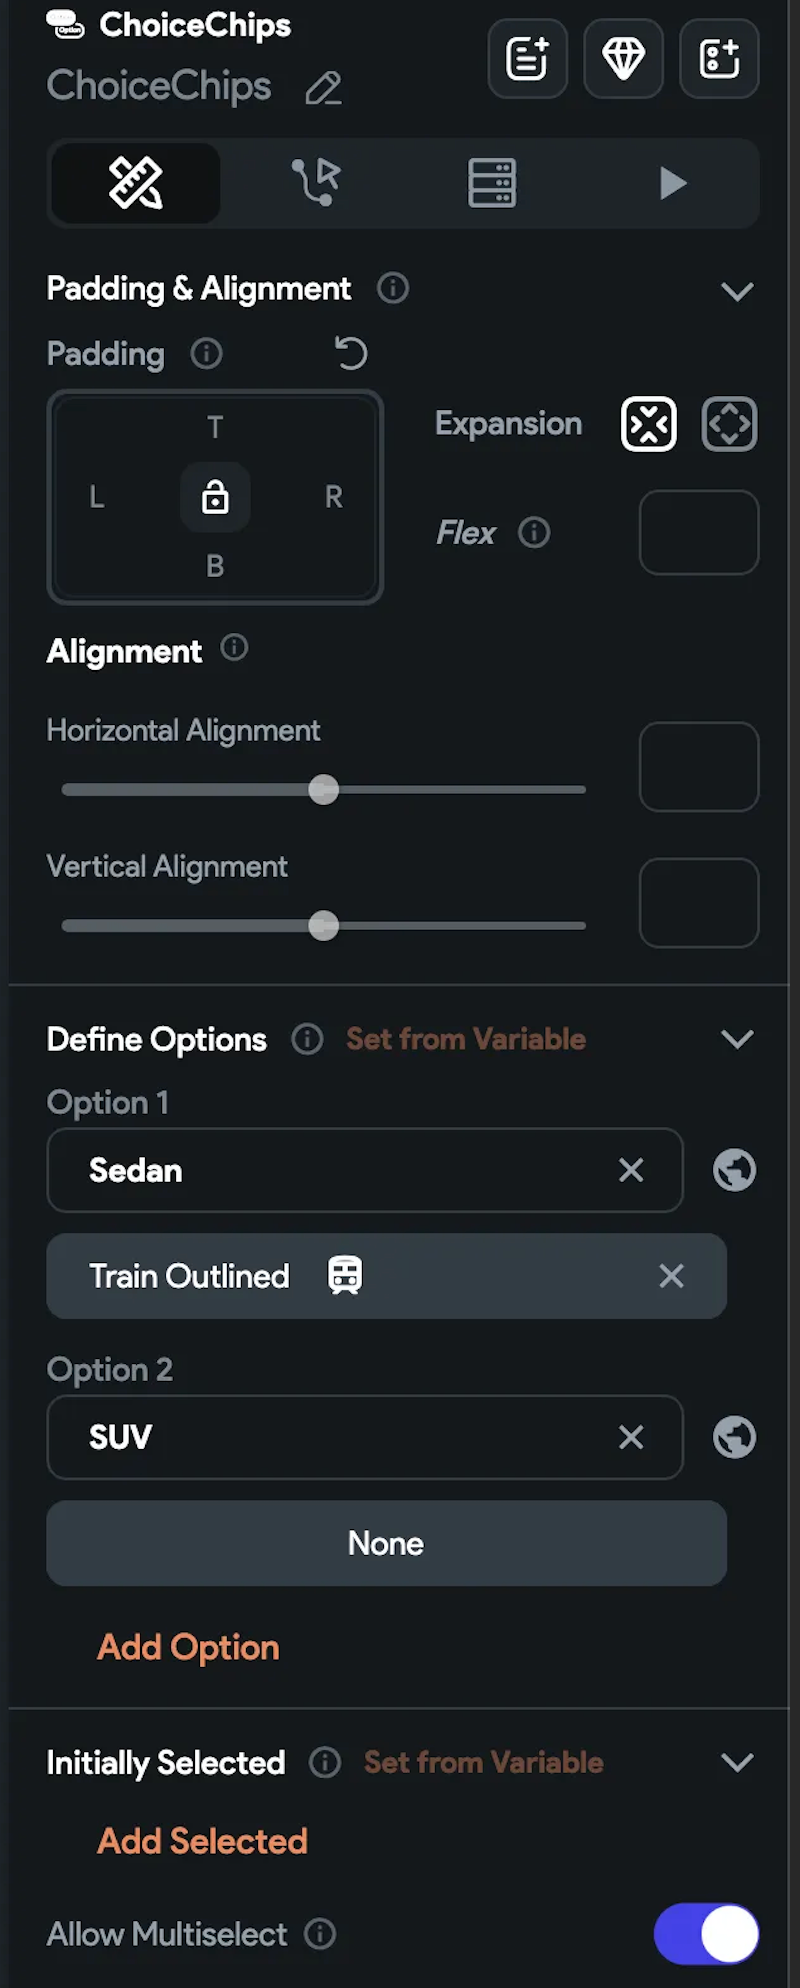
Add multiple options. For this example, I have two types of cars. Sedan and SUV. Also, turn the Allow Multi-Select option on. Save the changes.
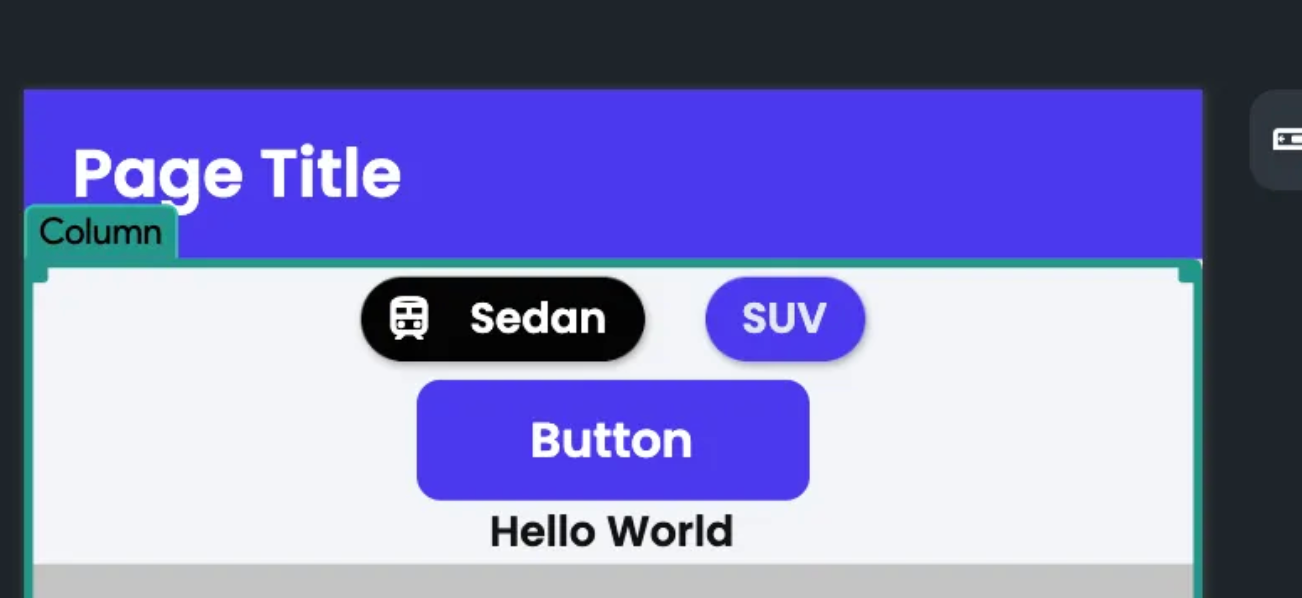
Drag a button and text field under the choice chips. Save the changes.
Create Page State
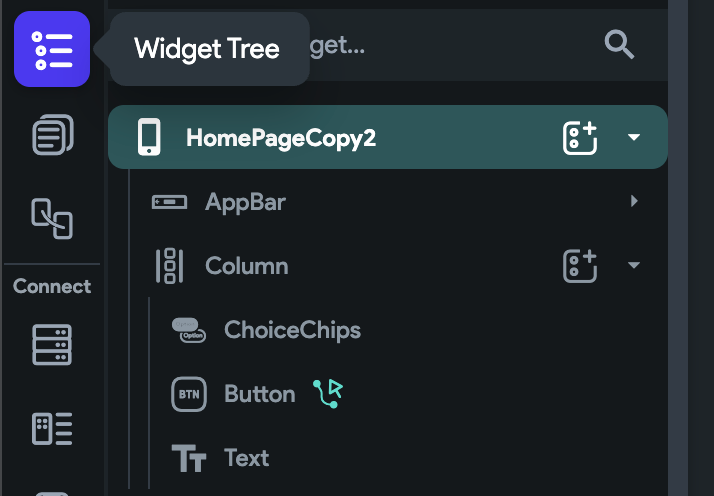
Click the top-level Widget in the Widget Tree to create Page State.
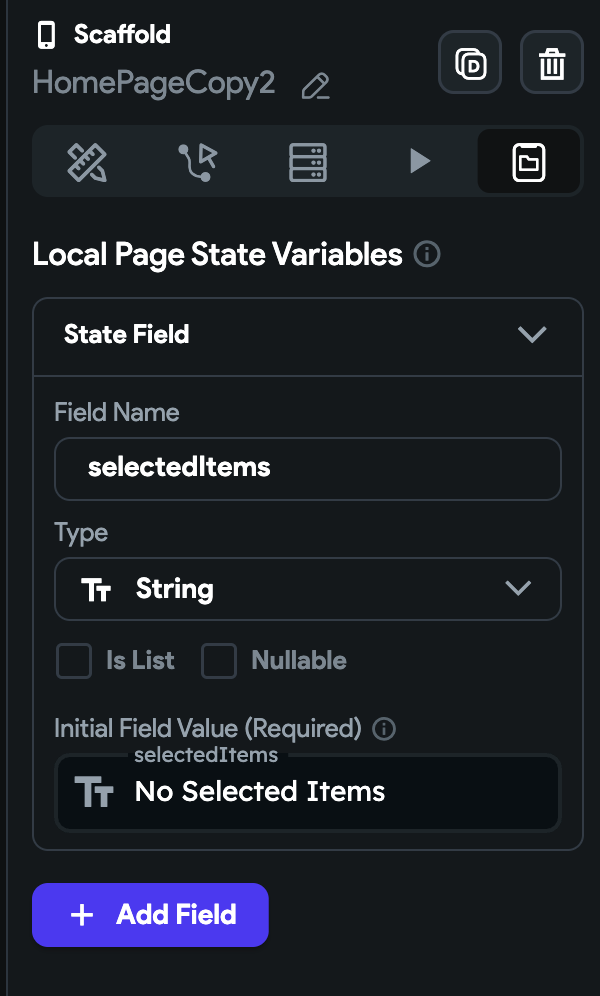
On the far right, click the last tab and add a Local Page State Variable. Give it a name and set the type to String. You can make it nullable and set the Initial Field Value to No Selected Items
Now click the text field and set the value to the selectedItems Page State.

Create a custom function
Now let’s create a custom function to show the selected values in our text field. The choice chips gives a list of strings when multi select is on.
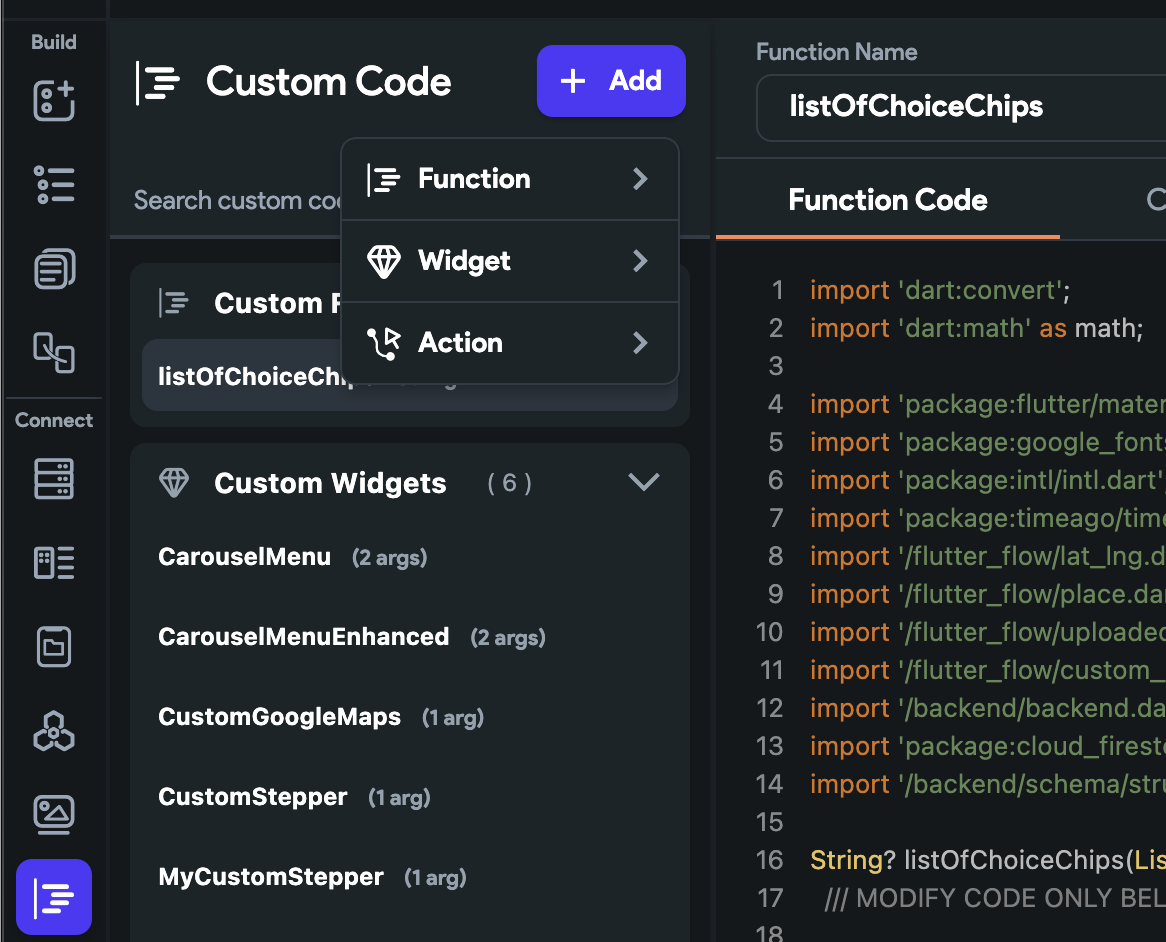
Go to Custom Code, click the purple + Add button, and Click **Function. **Give your function a name in camel case such as listOfChoiceChips.
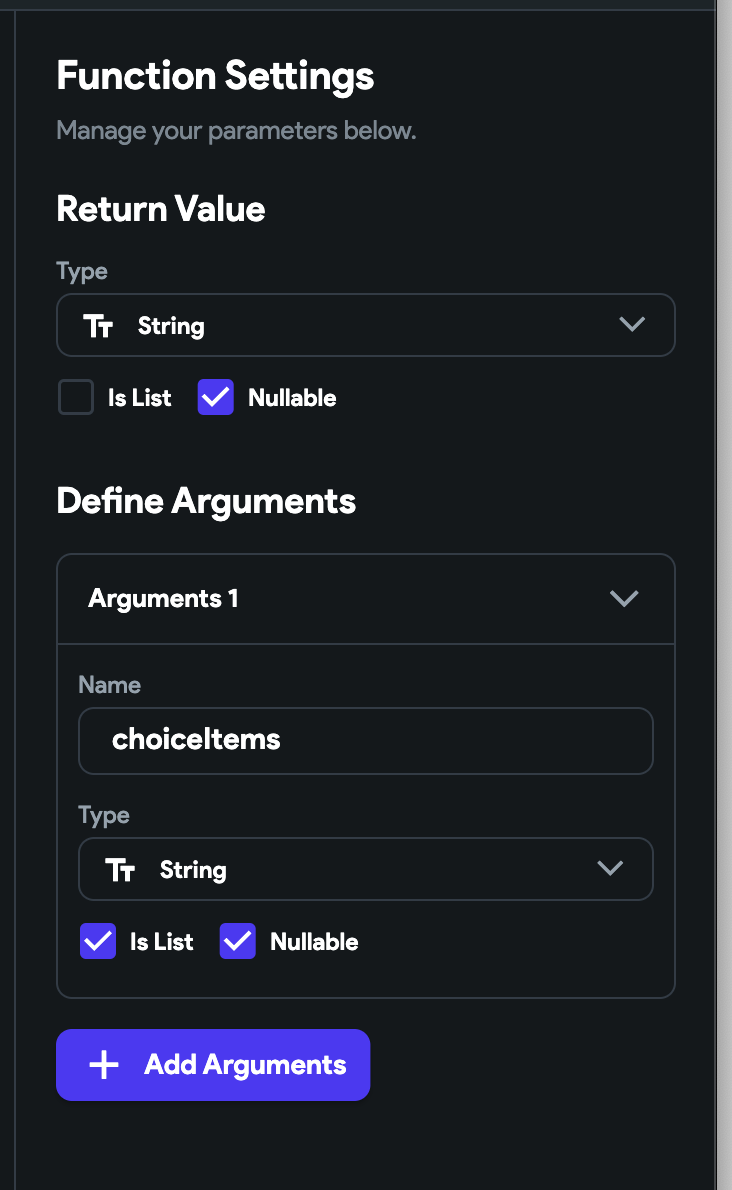
Now go over to right of the screen to Function Settings. Set the Return Value to a String. Create one argument **choiceItems **of Type **String **and check Is List.
Our code is simple, we will reuse some of the code before. Add this line between the comments:
return choiceItems?.join(", ") ?? "No selected Items";
Your final code should look like this:
import 'dart:convert';
import 'dart:math' as math;

import 'package:flutter/material.dart';
import 'package:google_fonts/google_fonts.dart';
import 'package:intl/intl.dart';
import 'package:timeago/timeago.dart' as timeago;
import '/flutter_flow/lat_lng.dart';
import '/flutter_flow/place.dart';
import '/flutter_flow/uploaded_file.dart';
import '/flutter_flow/custom_functions.dart';
import '/backend/backend.dart';
import 'package:cloud_firestore/cloud_firestore.dart';
import '/backend/schema/structs/index.dart';

String? listOfChoiceChips(List<String>? choiceItems) {
  /// MODIFY CODE ONLY BELOW THIS LINE

  return choiceItems?.join(", ") ?? "No selected Items";

  /// MODIFY CODE ONLY ABOVE THIS LINE
}
Save the function.
Create an action for the Button
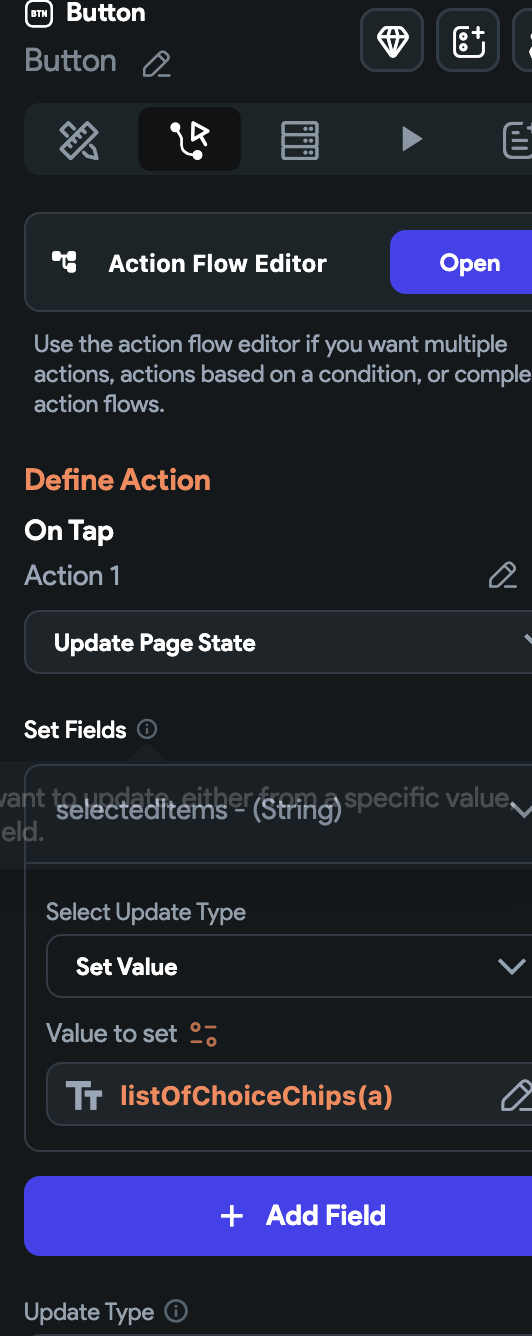
Go back to our page, click the Button, and Click the Actions tab. For On Tap click Update Page State. Click Add Field.
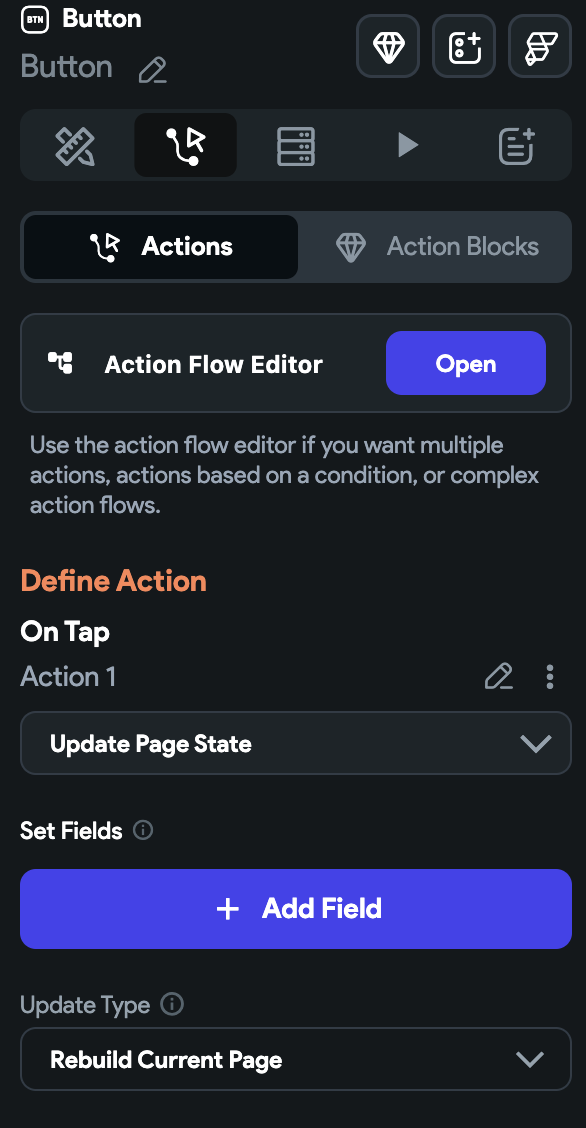
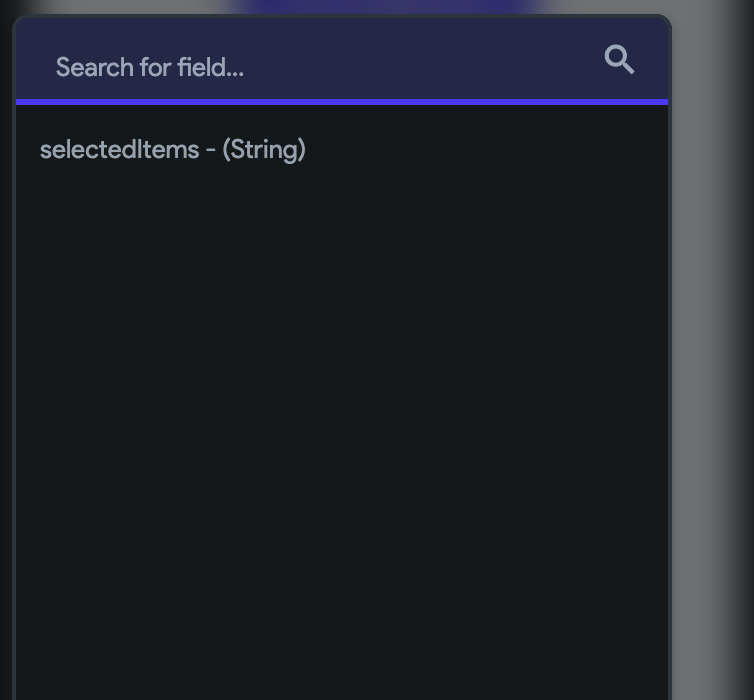
Click the selectedItems Page State Variable.
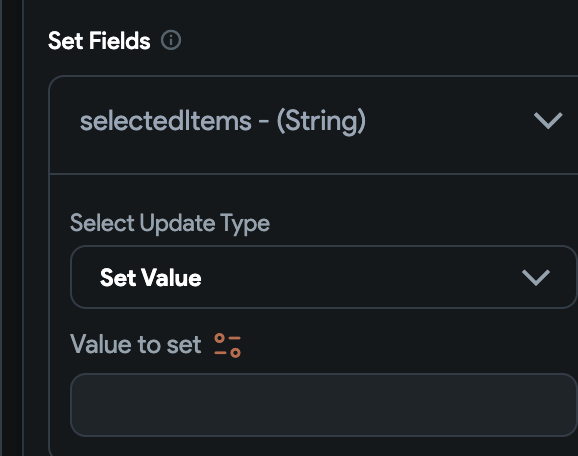
Choose Set Value as the Update Type.
For Value to set, click the orange icon and find our listOfChoiceChips custom function.

For the choiceItems Function Argument, click UNSET or the orange icon, and under Widget State choose our ChoiceChips
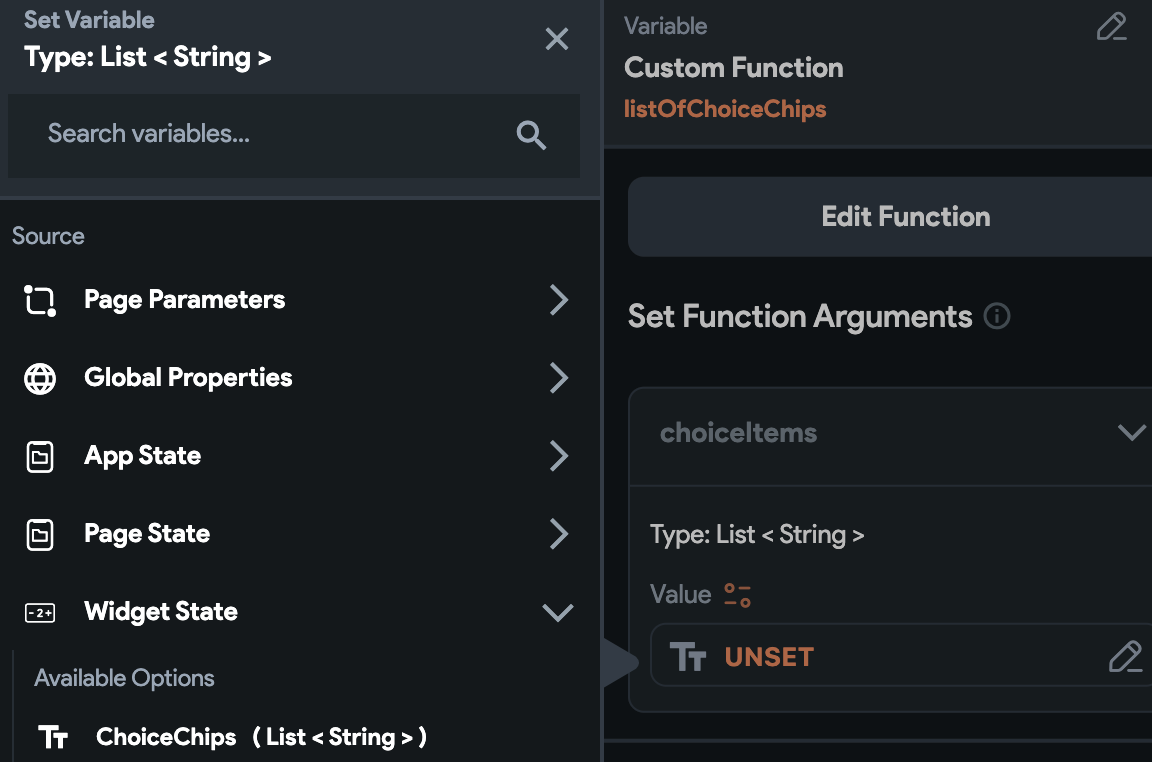
Click Confirm. The Action for the button should now look like this.
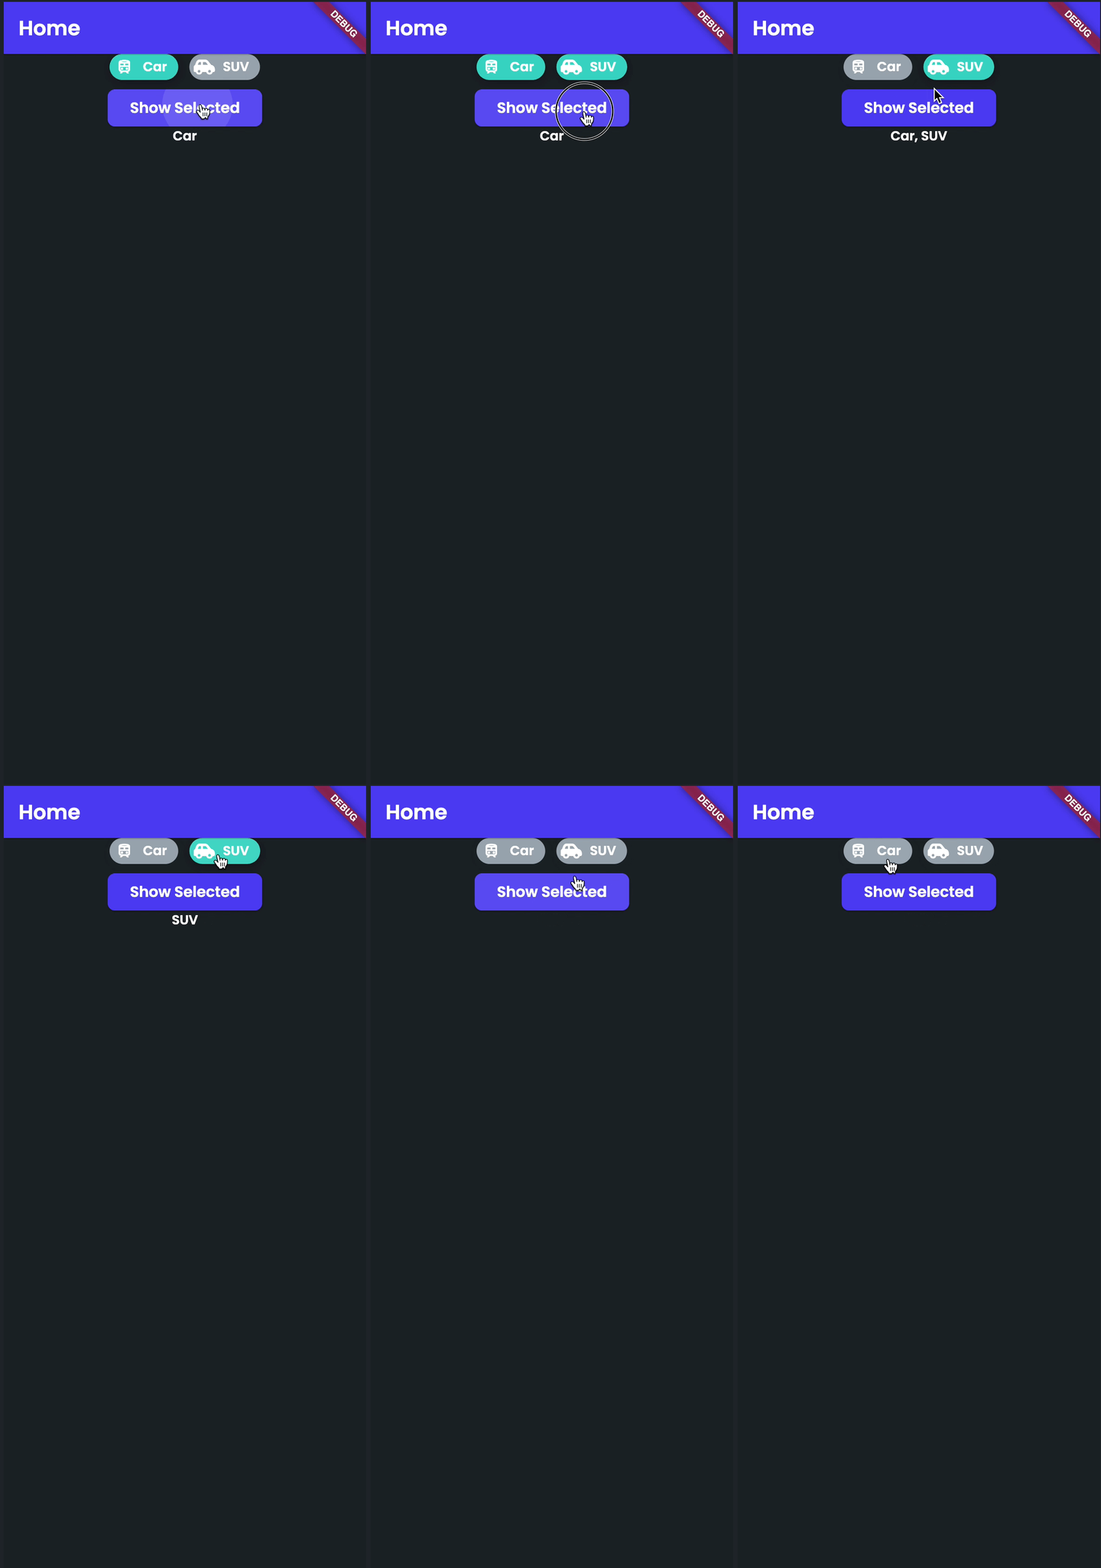
Run the app in test mode
You can generate any widget including maps with custom markers, polylines, polygons, etc at https://codewhims.com/
Ready to Build Something Amazing?
Whether you need development expertise or technical consultation, I'm here to help bring your ideas to life.