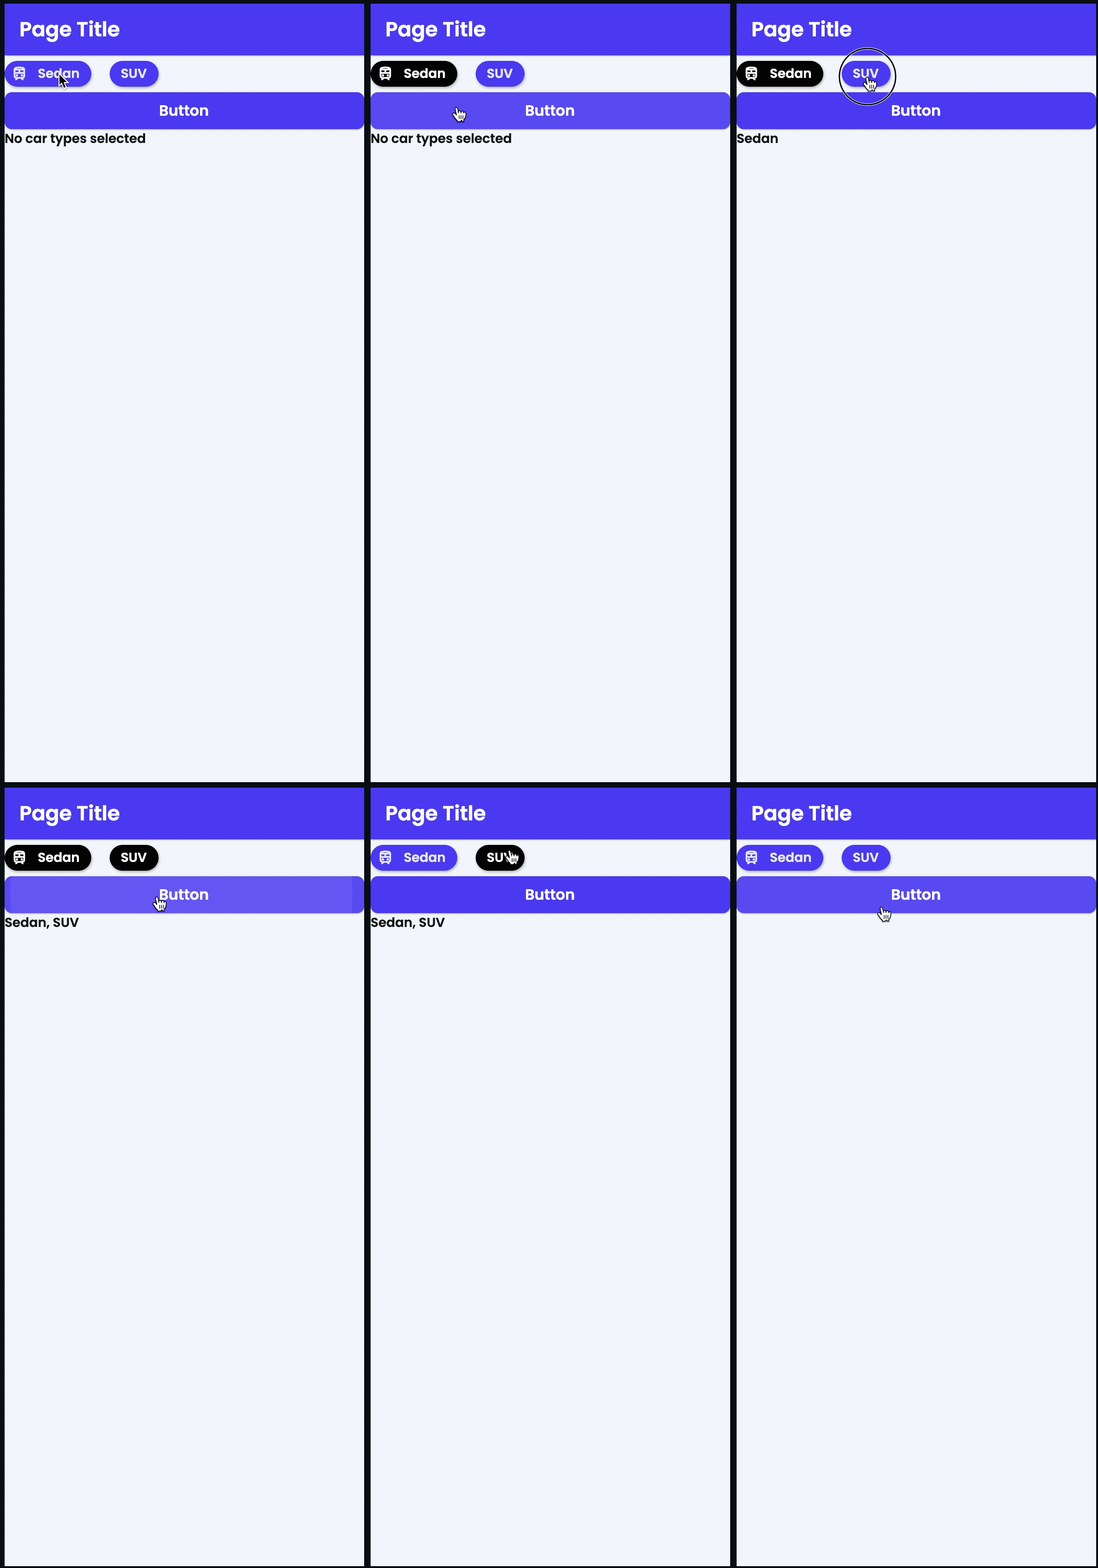
Flutter Flow: Get Value From Multiple-Choice Choice Chips

There is currently no built-in way in Flutter Flow to get the list of values from multiple-choice choice chips. I will show you an approach I took to solve this.
What are Choice Chips?
Choice Chips are material chips that let you choose multiple options. FlutterFlow’s implementation is a wrapper around Flutter’s choice chips with additional functionality. ChoiceChips ChoiceChip class - material library - Dart API
Example
I will walk through a small example to accomplish this. Start with a blank page and go to the UI Builder in FlutterFlow.
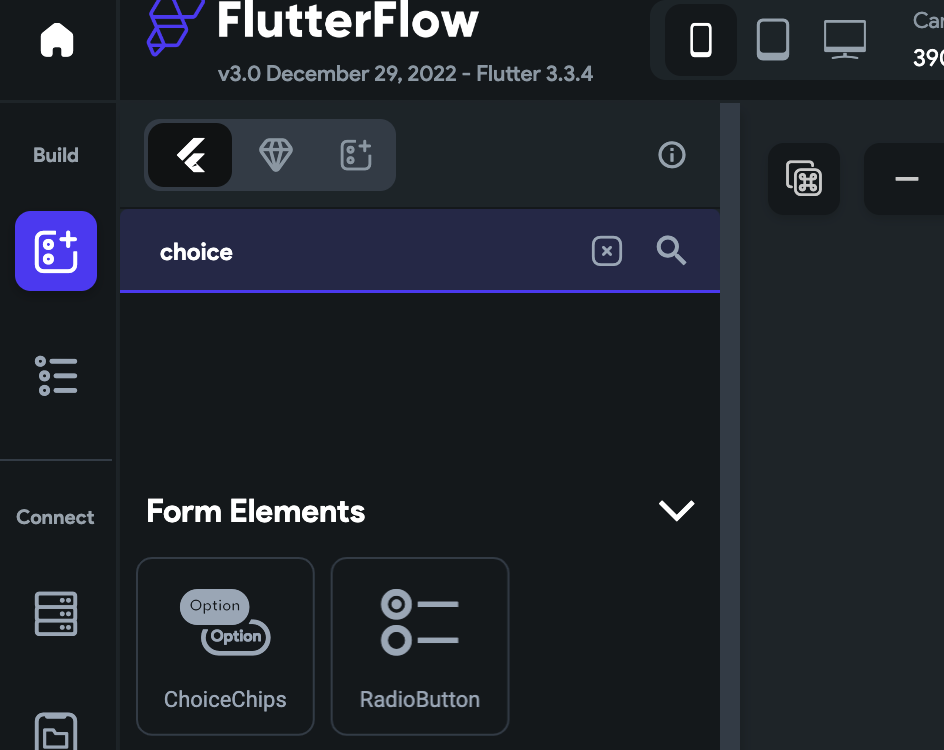
Search for choice chips in the UI Builder and drag it on your blank screen.
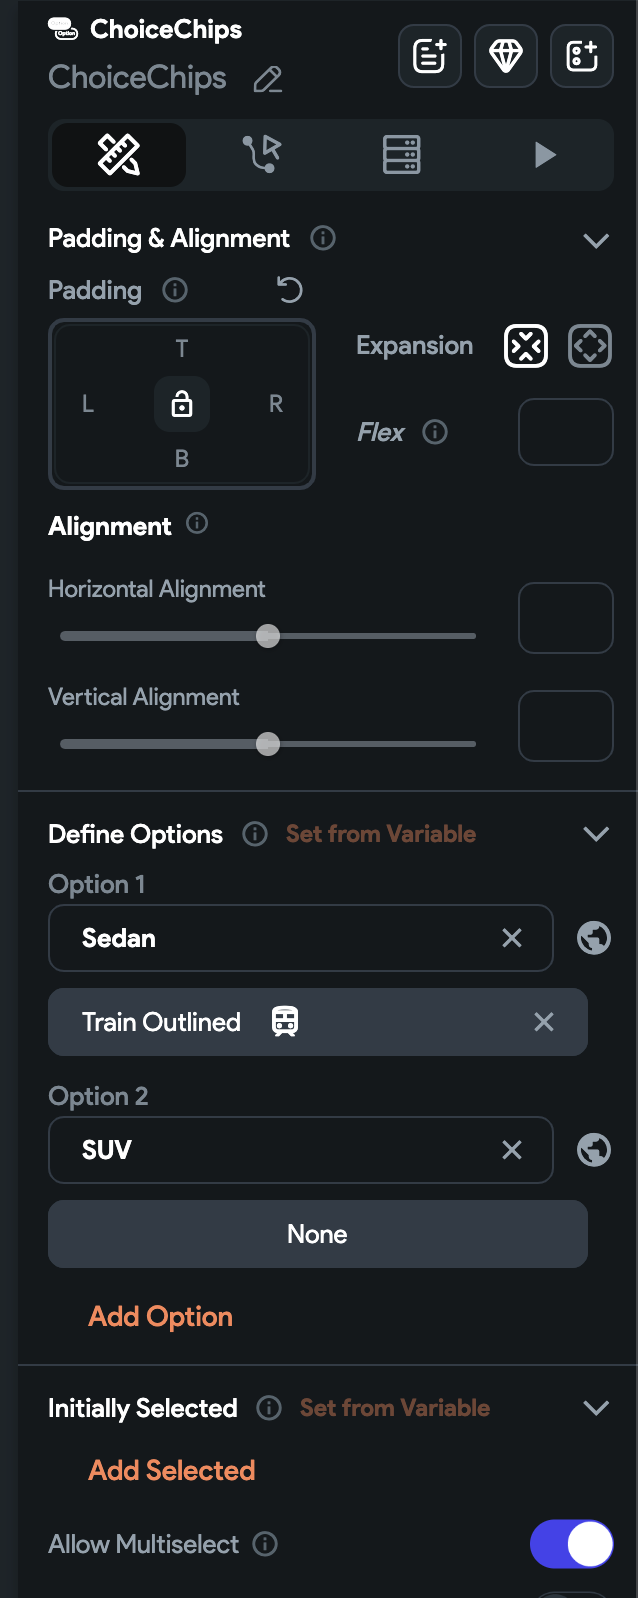
Add multiple options. For this example, I have two types of cars. Sedan and SUV. Also, turn the multiple-choice option on. Save the changes.
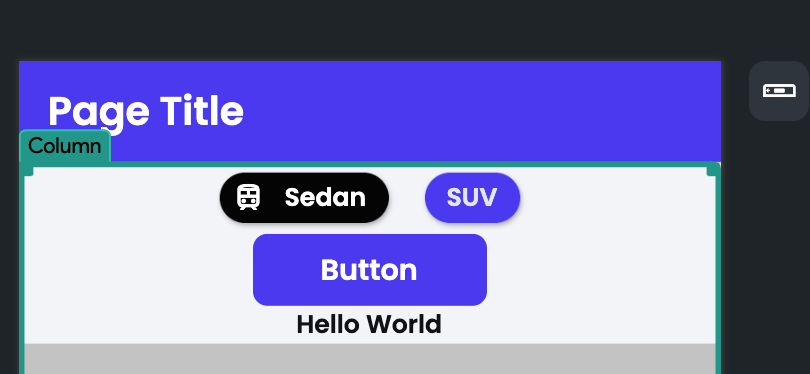
Drag a button and text field under the choice chips. Save the changes.
Note: Local State is now called App State in Flutter Flow
Now go to the Local State tab on the left-hand side of the screen. Create a local state of a list of strings. You may optionally choose to persist it.
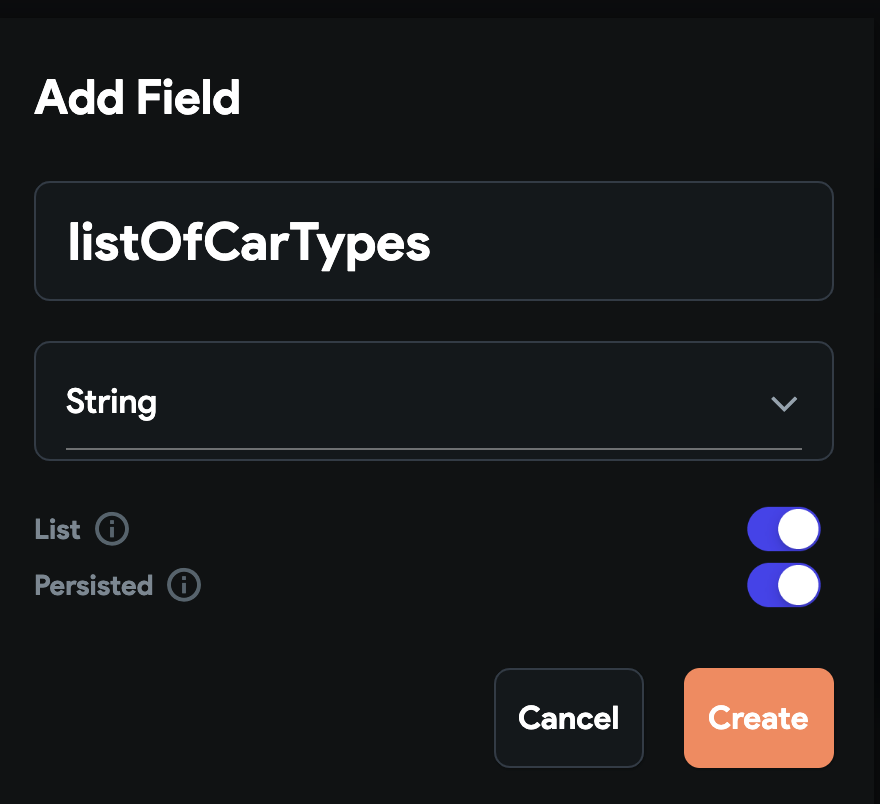

Also, create a string local state to save the single string of car types. Save the changes.

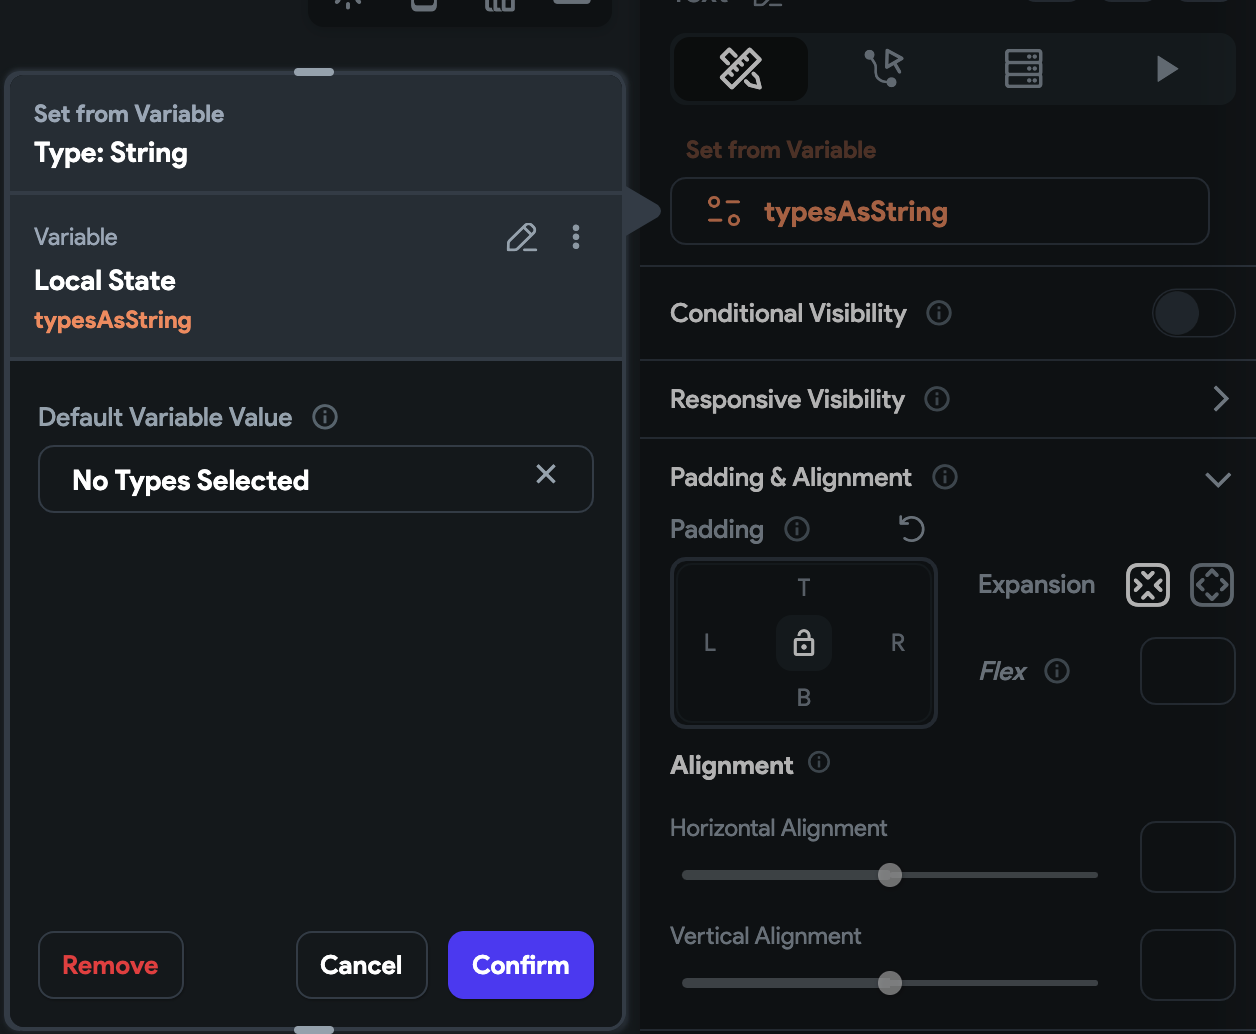
Go to the UI builder and set the text field to the local state string variable. Save the changes.
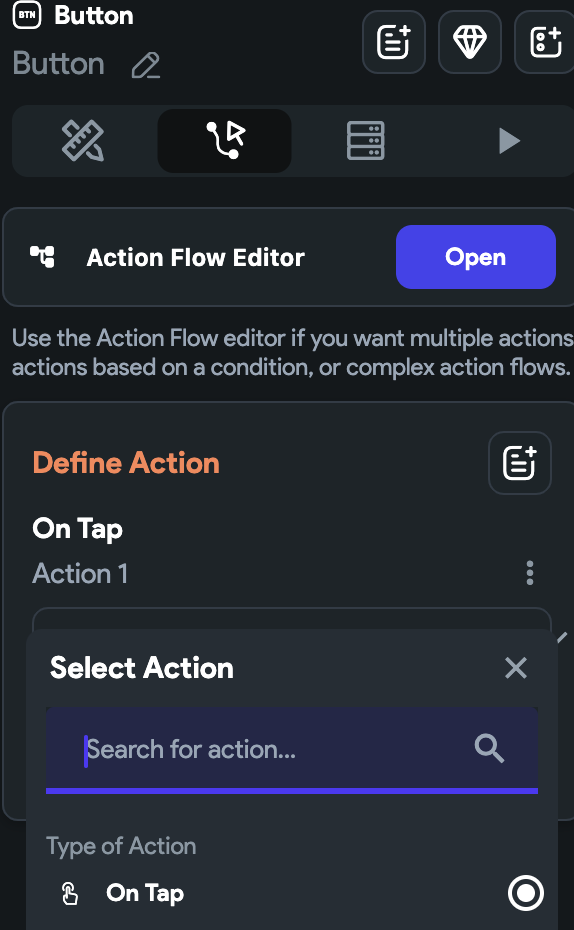
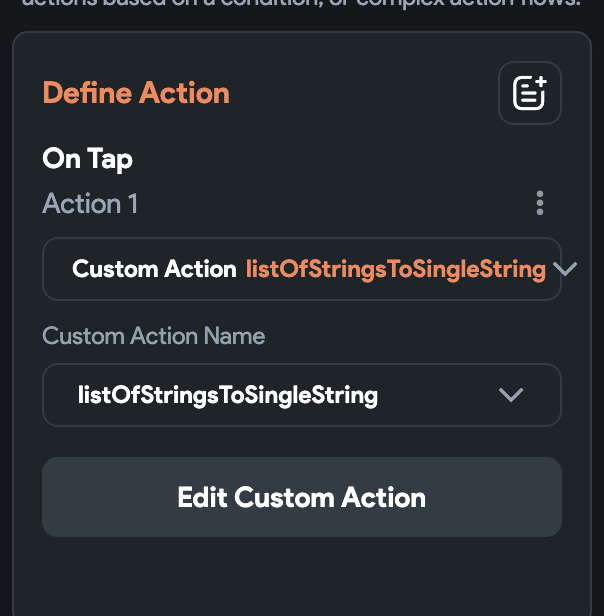
Click on the button so that we can create an action for it. Choose On Tap as the action.
Scroll to the bottom to create a new action. You may also click on the Custom Code tab on the left to create an action.
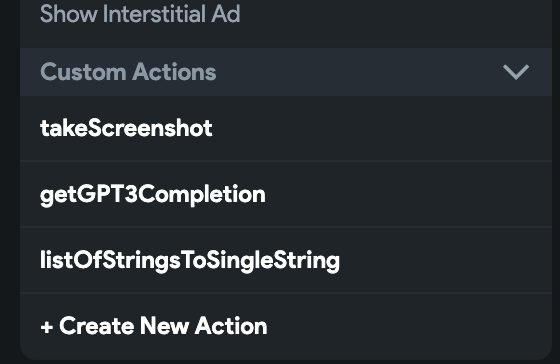
For the custom action, I downloaded and looked at the flutter flow source code to get an idea of how they handle updating state. For this custom action, we are creating an app state variable and using that to update the state. We are setting the single string state from the local string list state. Save and compile this custom action.
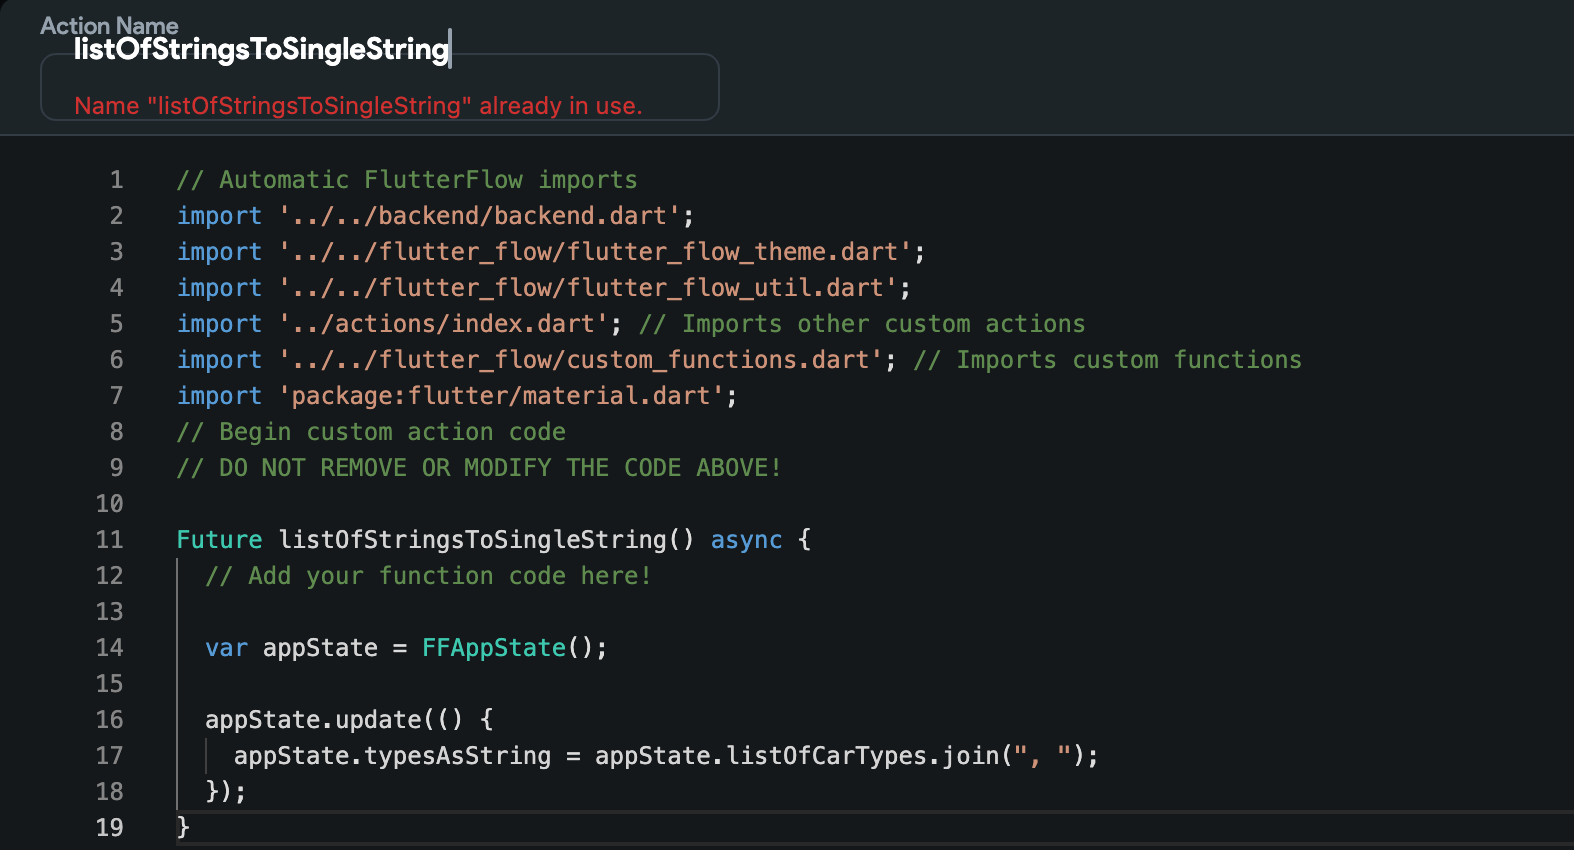
Now go back to the button and ensure the action is used when tapping it.
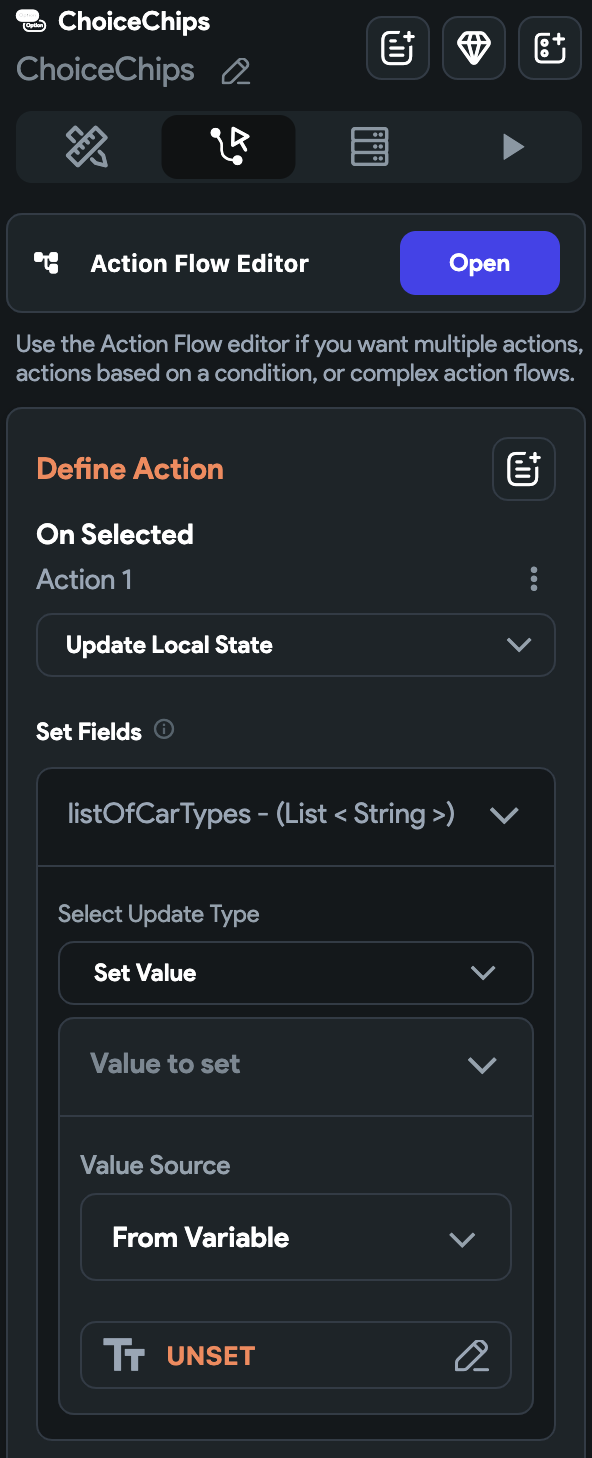
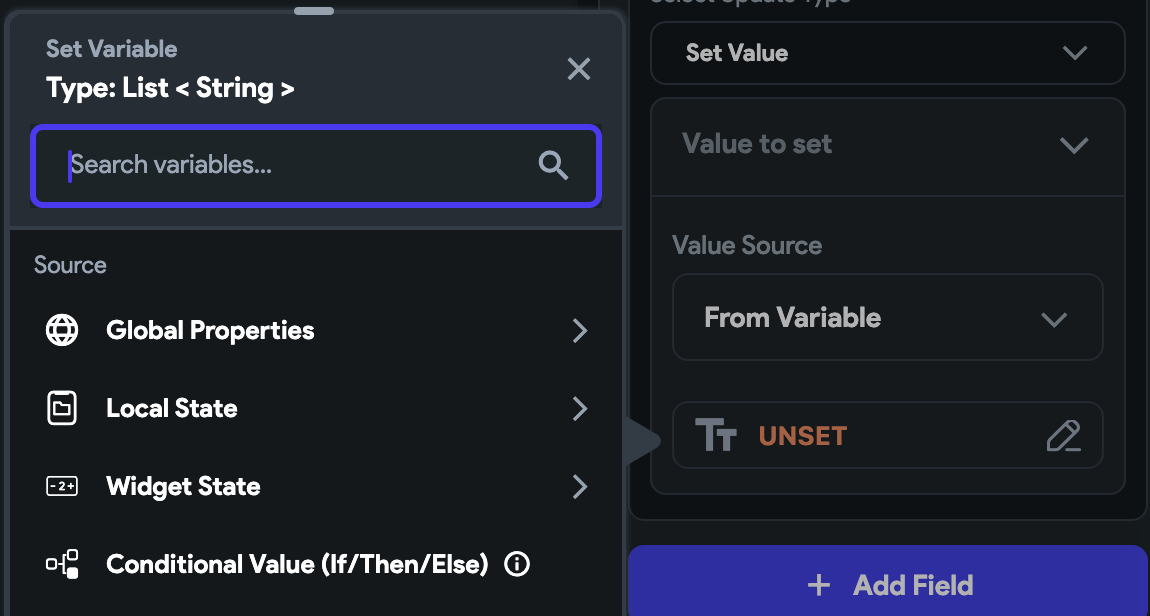
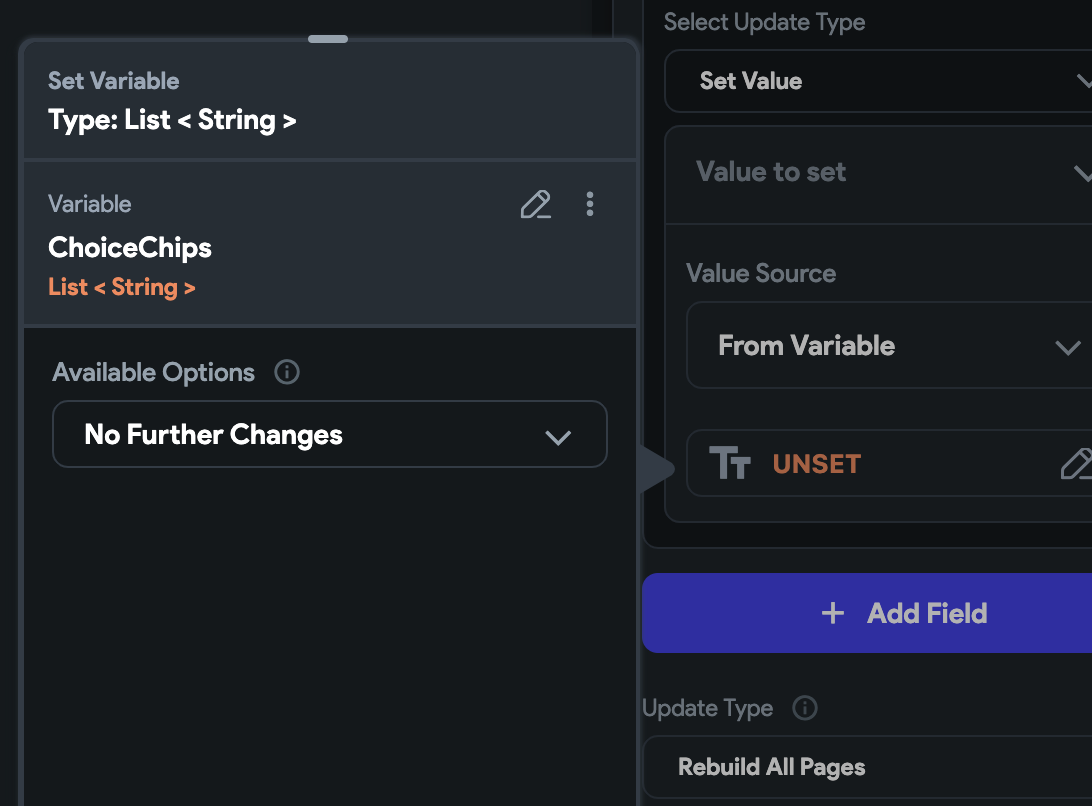
Click on the choice chips so that we can create an action for this. Choose On Selected and click Update Local State. For the Set Fields option, choose the list of strings local state. For the update type, choose Set Value. For the Value Source choose From Variable.
Now click the orange Unset text and choose Widget State. Now choose the Choice Chips. Save the changes.
Now run the app, choose some choice chips, and click the button. The list of options should update the Text widget. This is a small example, but their are probably a lot more useful cases, such as making API requests using the local state values.
Source Code
{% gist https://gist.github.com/cmcoffeedev/6aa8356fa2b586187303cdf1398d0c0b.js %} You can generate any widget including maps with custom markers, polylines, polygons, etc at https://codewhims.com/
Check out my other Flutter Flow articles
FlutterFlow Stepper Form with Firebase Firestore Flutter Flow: Get Value From Multiple-Choice Choice Chips Flutter Flow: Carousel Menu Flutter Flow: Migrating the Carousel Menu to use data types Flutter Flow: Adding Custom Markers for Google Maps Flutter Flow: Use Supabase to show custom markers on Google Maps
Ready to Build Something Amazing?
Whether you need development expertise or technical consultation, I'm here to help bring your ideas to life.