
Create 24/7 Youtube Radio with Azuracast and FFMPEG
Create a 24/7 Youtube Radio with AzuraCast and FFmpeg
Intro
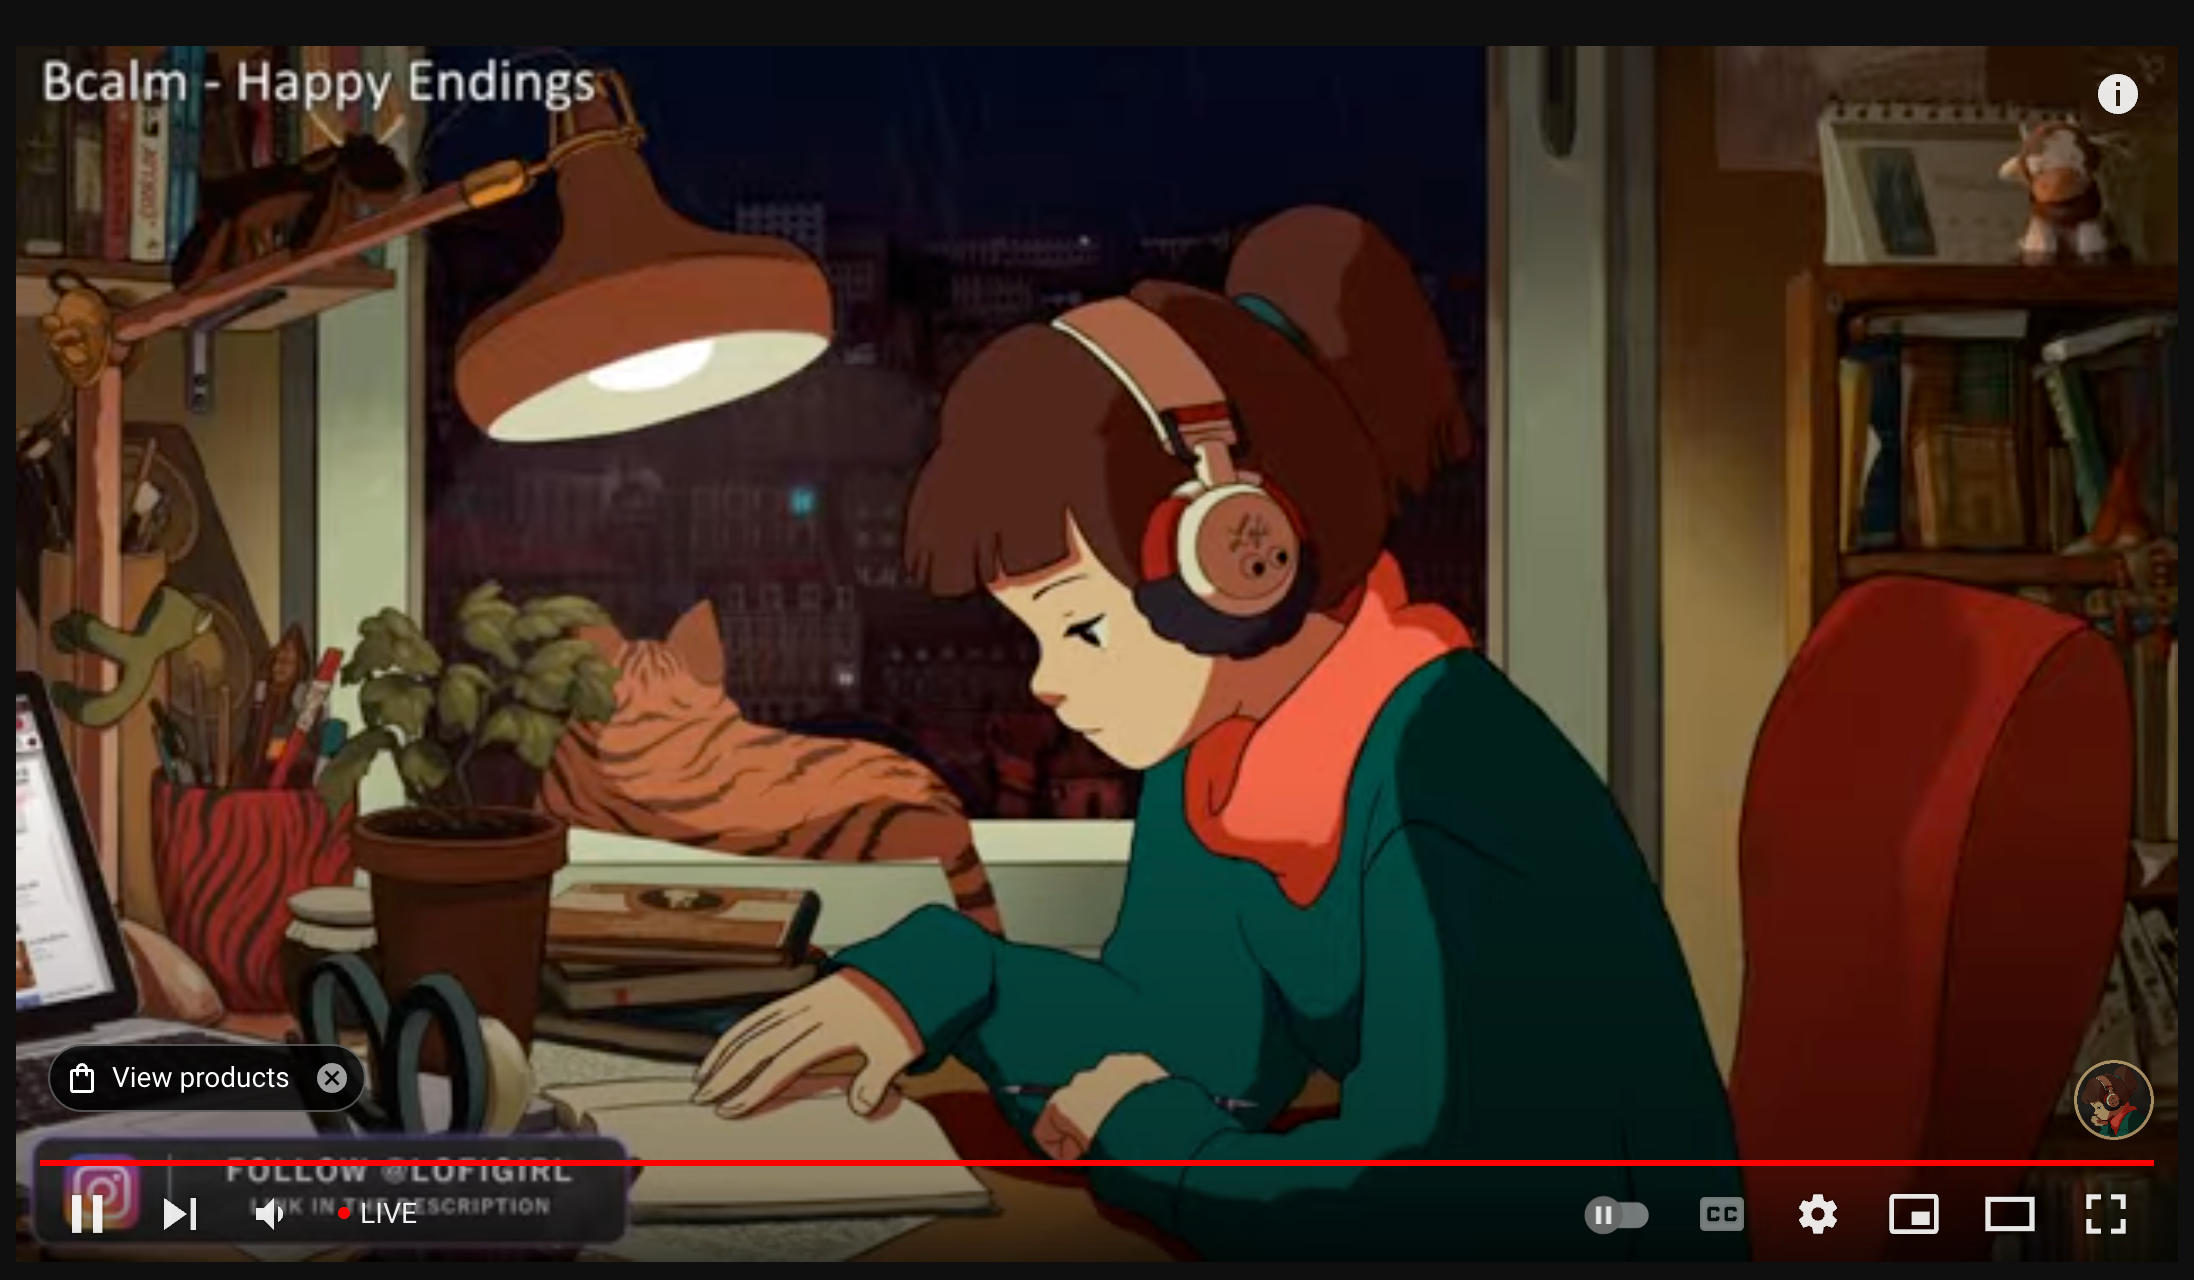
The Code Pioneers channel inspired me to create a 24/7 online Youtube radio with animations and lo-fi music.
https://www.youtube.com/c/CodePioneers
What Options are there to stream an audio file with a GIF?
I wanted to figure out what solution I wanted to use to stream a gif and audio to my youtube channel. I’ve done this previously using OBS. Code Pioneers has a tutorial using this solution and a service called OhBubble.
There is also an option to use AzuraCast with FFmpeg. This is the option I went with. AzuraCast FFmpeg
Shout out to this tutorial for help with this idea: How to create your 24/7 YouTube online radio
Following this tutorial, I realized I needed more insight into setting some of this up. I will be taking this opportunity to document what I learned.
I also recently found other good tutorials on different approaches. I will list these and other resources at the end.
Pricing
You could use a personal computer, raspberry pi, etc. Using a hosting provider, you may pay at least $25 monthly to run it smoothly. You can also easily google free hosting credits online for most hosting providers. OhBubble does cost a little more, but they also have decent pricing.
I also have a Digital Ocean referral link that gives you $200 credit. DigitalOcean | The Cloud for Builders
Setting Up Your Server
In this tutorial, I will use an Ubuntu server DigitalOcean. The steps are the same for each hosting provider after you ssh into the server.
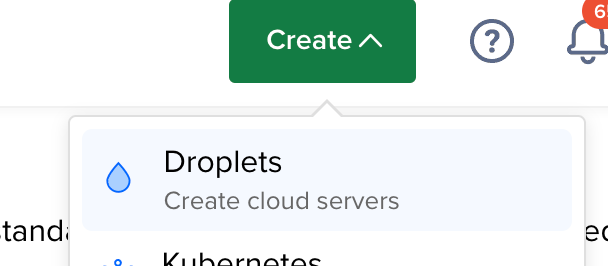
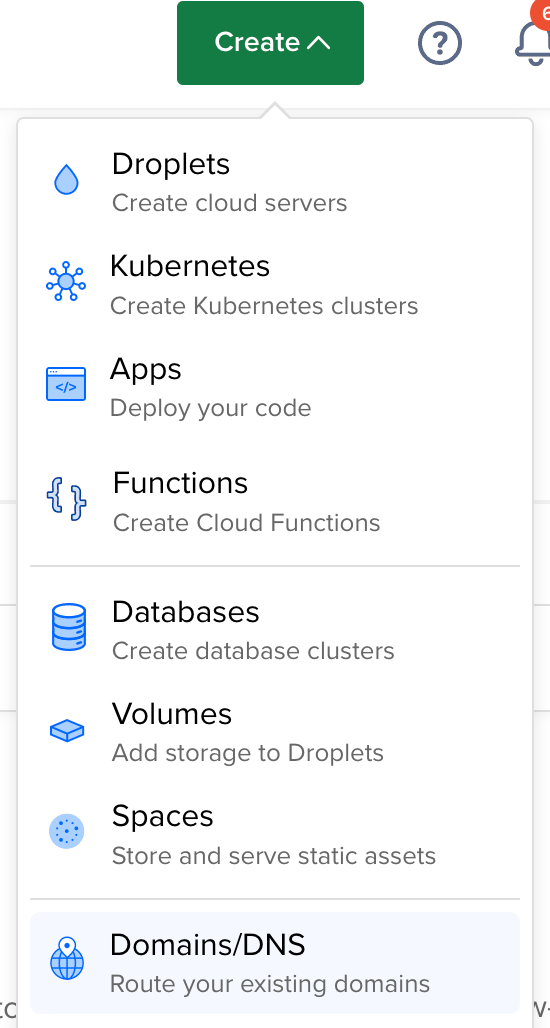
In Digital Ocean, at the top right, click the green Create button. Then choose Droplets from the dropdown
Choose Ubuntu
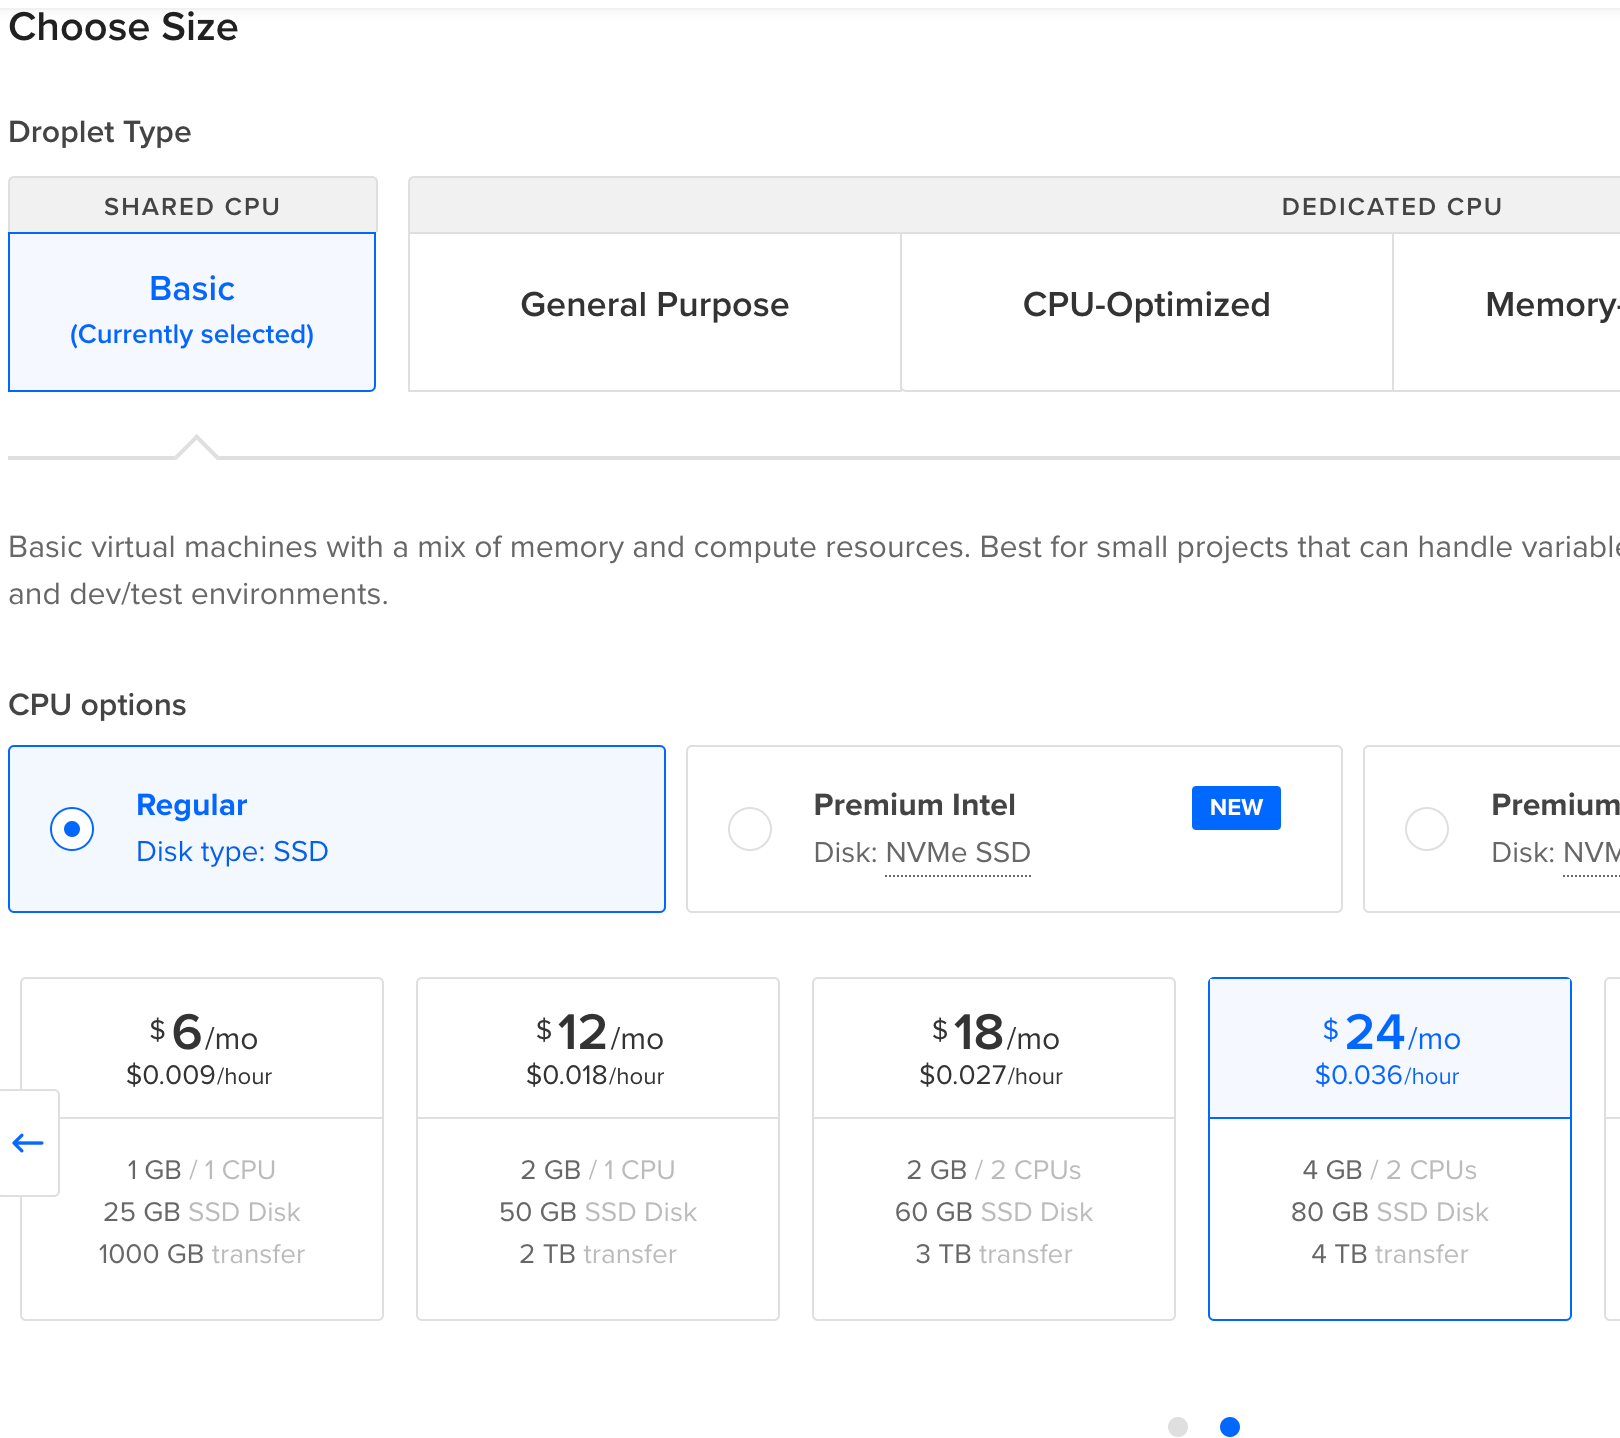
I’m using the basic $24/month server for this example. You may be able to get away with a smaller droplet. Digital Ocean lets you scale up your server after you create it.
Login to your server
Install the Azura Cast docker container
There are one-click installs on marketplaces for DigitalOcean, Vultr, etc, but I ended up following their documentation on installing Azura Cast using docker. Docker Installation Guide
To install AzuraCast using their Docker container, you will need to have Docker installed on your server or local machine. Azuracast has a docker script that handles all of this for you . Run these commands or throw them in a bash script. I will provide a bash script as well as a Github gist.
First, let’s create a new user. I will give it the name azuracast.
adduser azuracast
Now let’s give the user sudo privileges.
usermod -aG sudo azuracast
Now let’s switch to the new user.
su - azuracast
Update the server using the following command.
#update server
sudo apt update
Setup Azuracast
Let’s also create a new directory and go to that directory
mkdir -p /var/azuracast
sudo chown -R azuracast:azuracast /var/azuracast/
cd /var/azuracast
Now, let’s get Azura Cast’s docker script and install the Azura Cast docker container
curl -L https://raw.githubusercontent.com/AzuraCast/AzuraCast/main/docker.sh > docker.sh
chmod a+x docker.sh
./docker.sh install
The script will ask you if you want to install Docker. Type y and press enter.

It will also ask to install docker-compose. Type y and press enter.

It will ask to switch to the stable release. For this example, I’ll choose type n and press enter.

The installation process of the container will now start.
It will now ask what language. English is the default so I will just press enter.
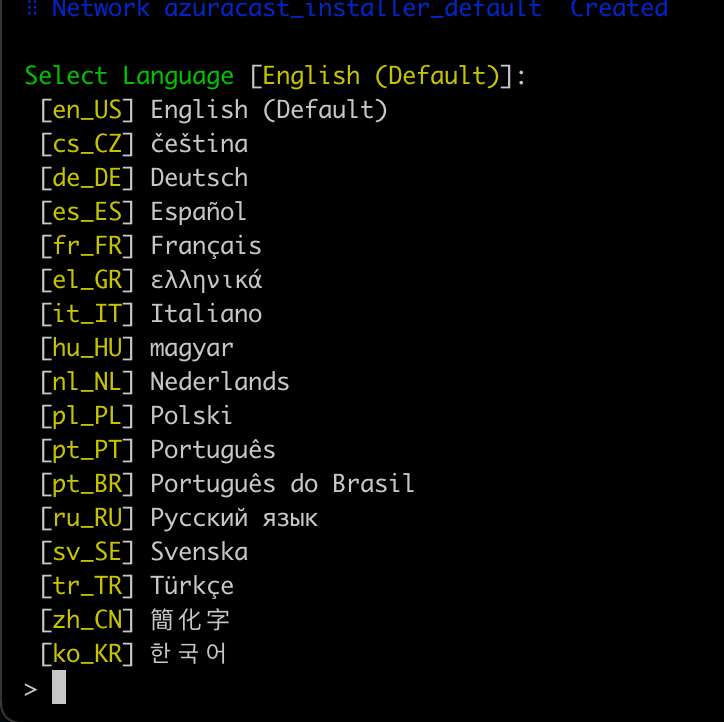
It will now ask if you want to customize ports used for Azura Cast. I don’t want to, so I’ll just press enter again.
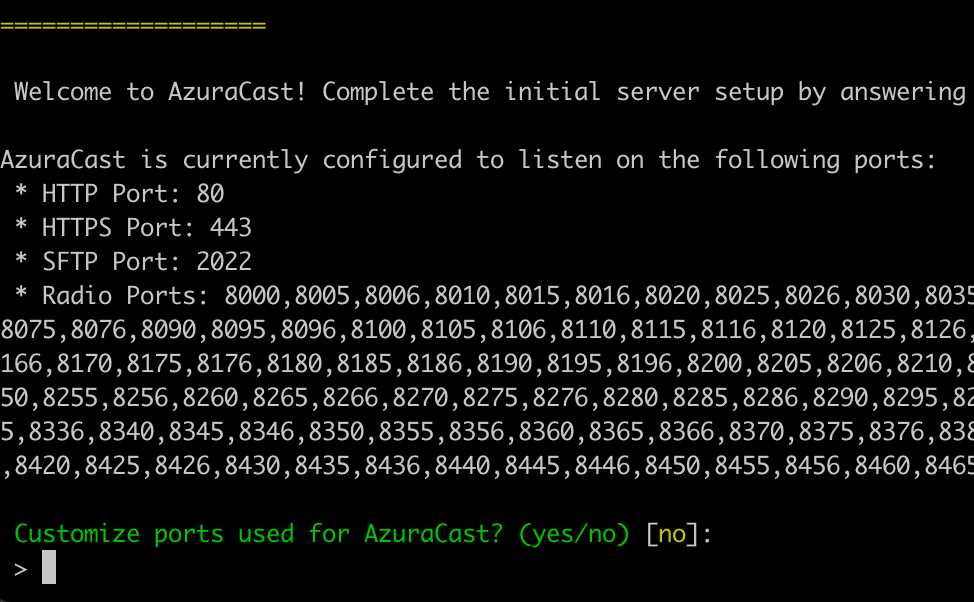
I will also ask if you want to enable custom plugins. I chose not to so I just pressed Enter.

It then asks if I want to enable web-based Docker image updates. I do want to enable this. The yes option is chosen by default, so I will press enter again. I didn’t notice this the first time I installed it, so I typed y and pressed enter.

It will finish doing all of the installation and setup. Then you will see that the installation is complete.
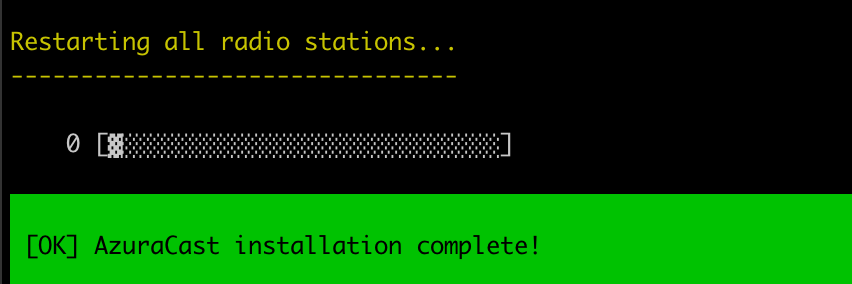
You can now go to your droplet’s (server) IP address and see the page to sign up.
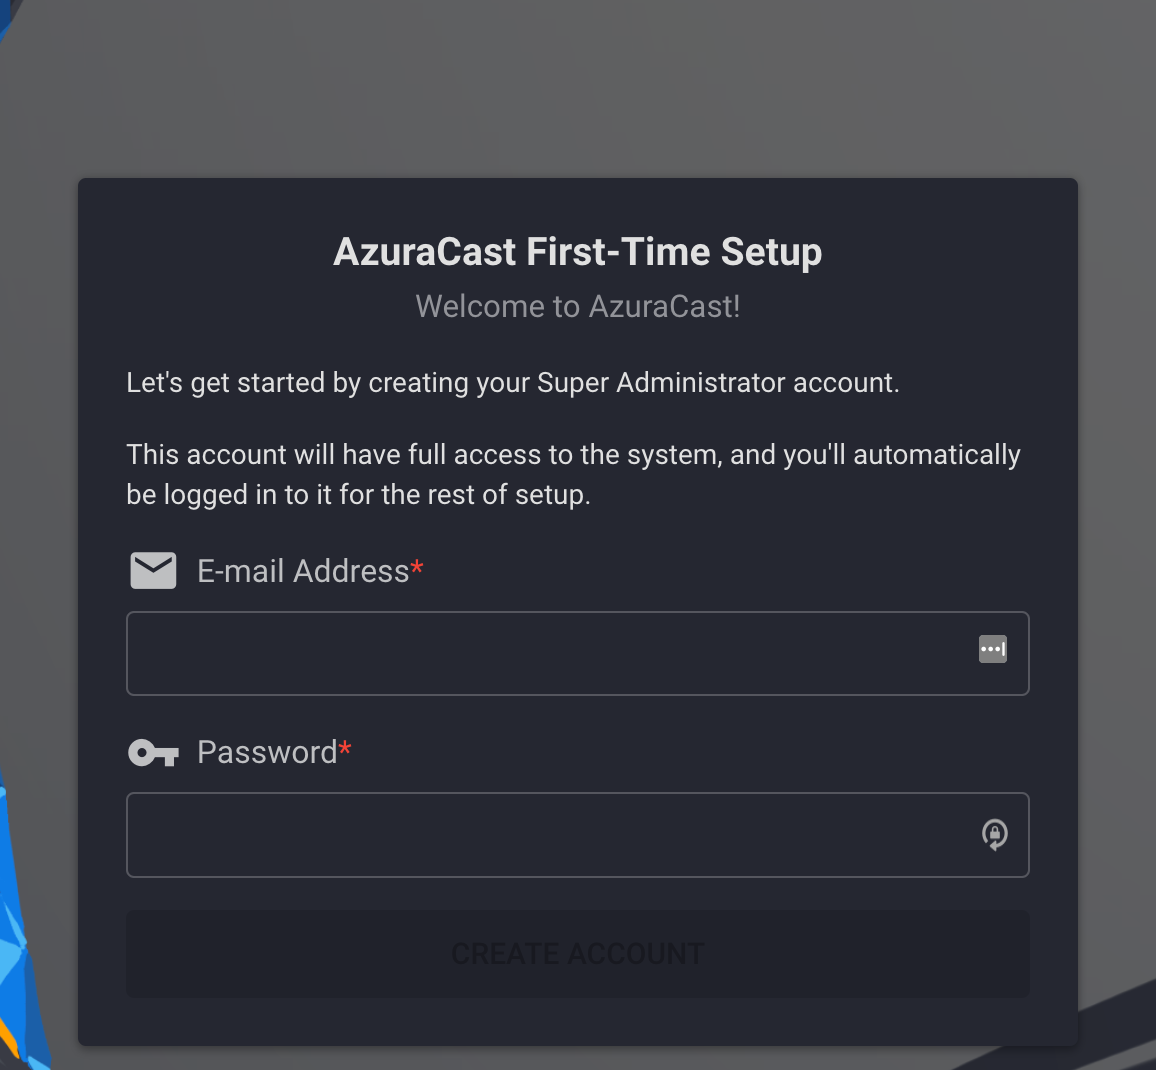
After registering, it will prompt you to create a station.
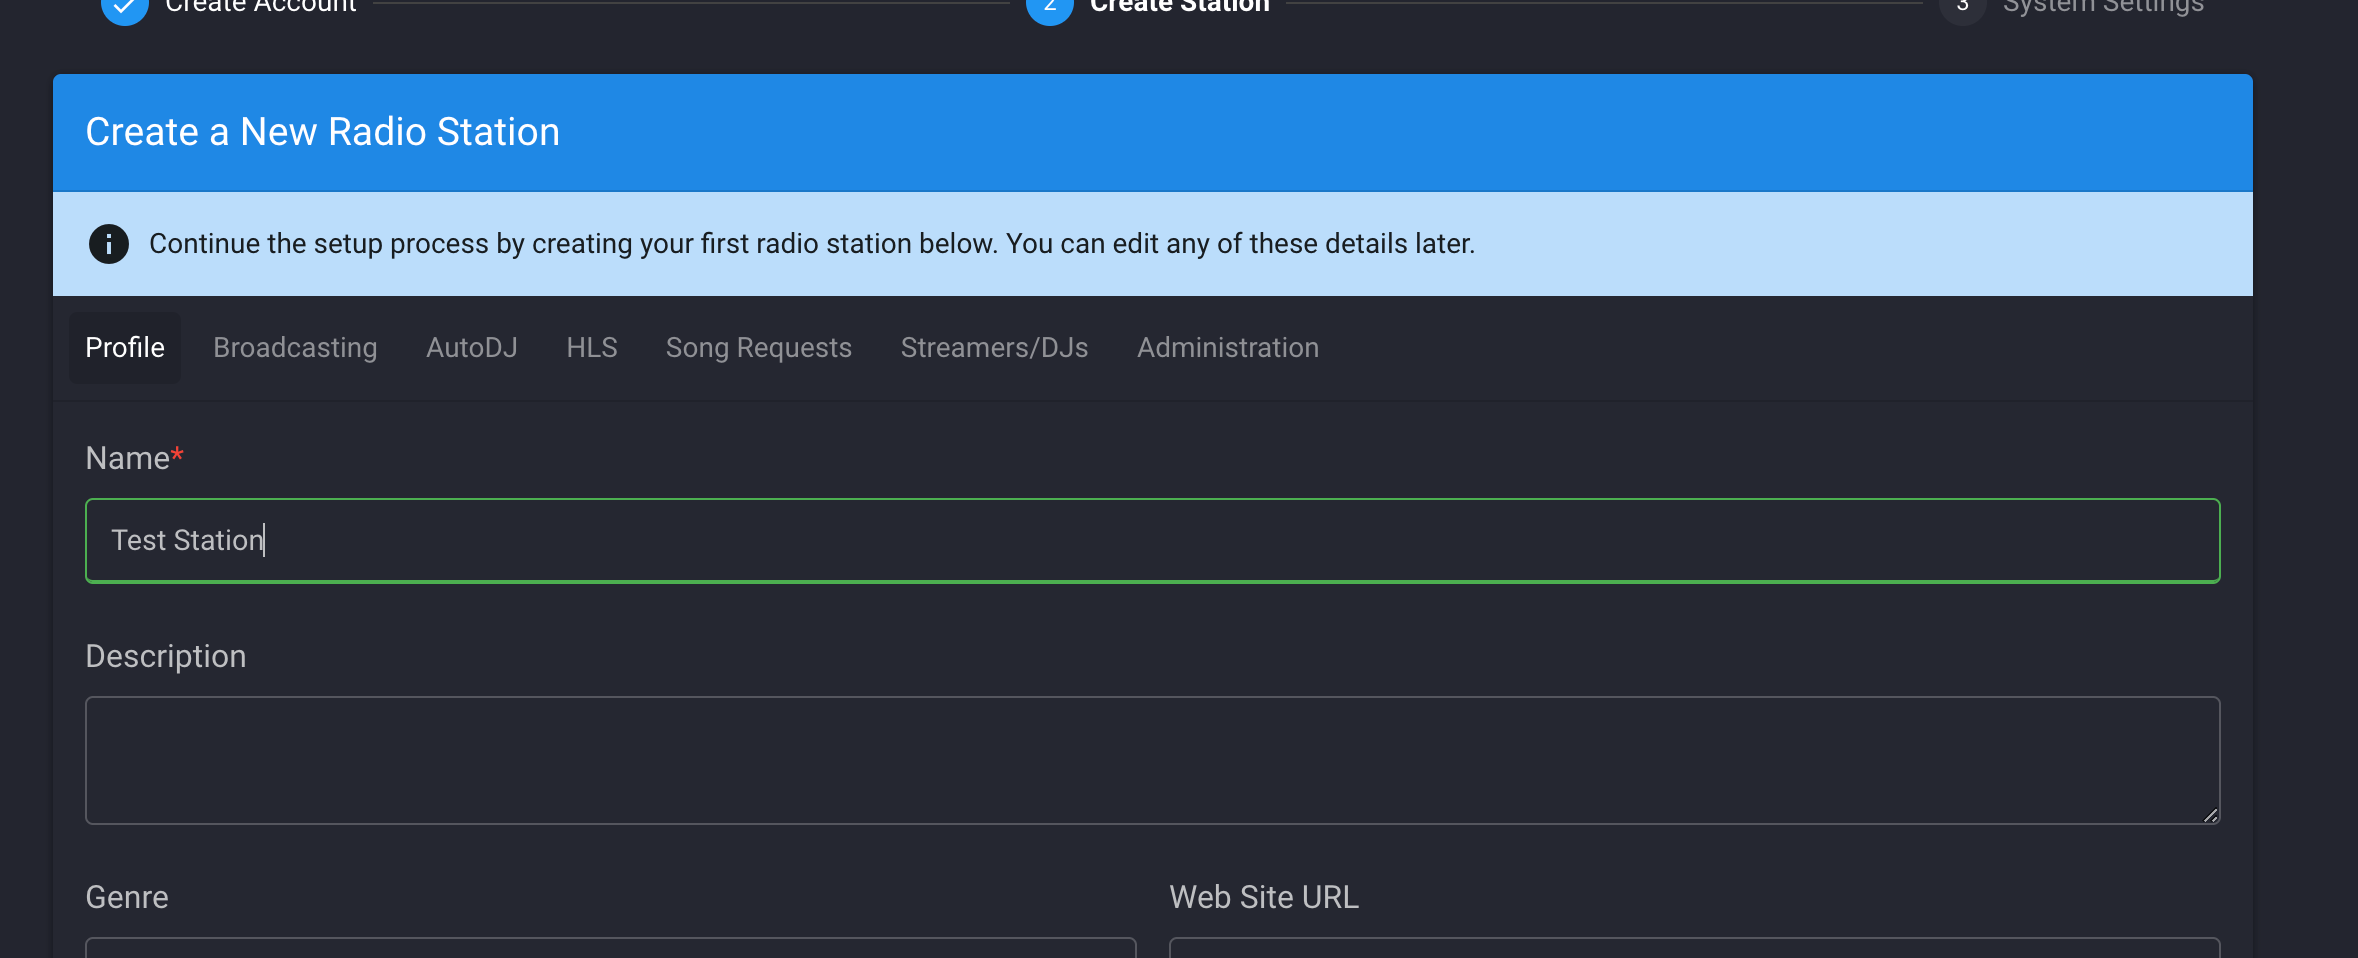
I just gave it a name and pressed Create and Continue.
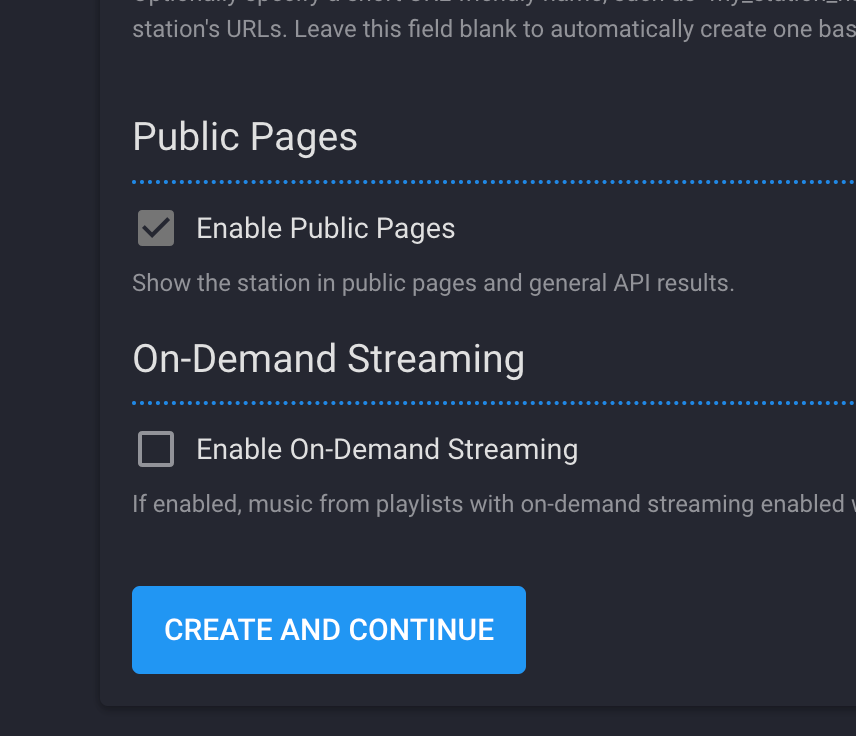
It will next ask you to give the site url. For now we will just put the IP address. I will show you how to add a custom domain soon.
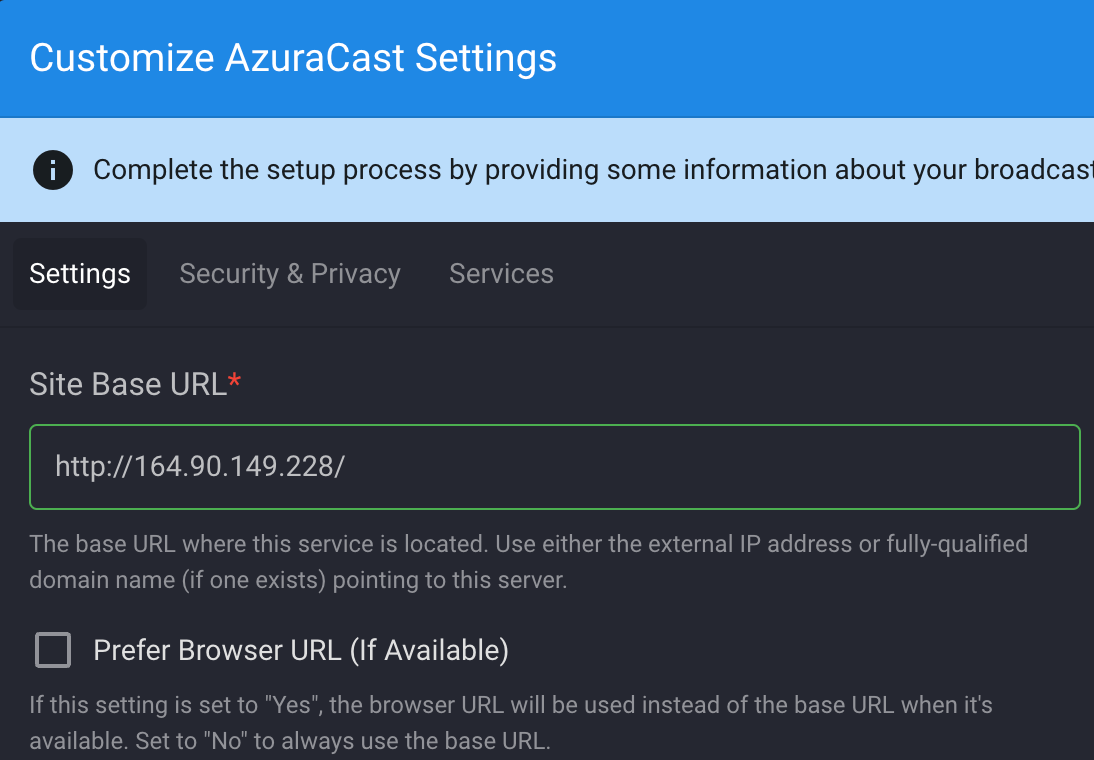
Click Save and Continue.
Adding music to your radio station
On the next screen, at the bottom right, click Manage.

Now click the Media menu on the left and choose Music Files.
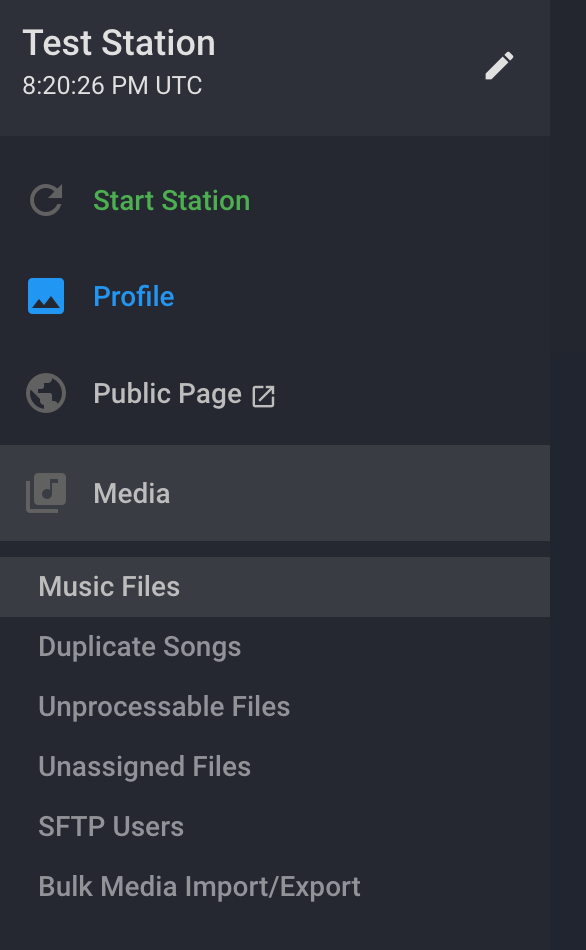
Now click or drag your music files here:

I used music from the Youtube Audio library to stream there. Be aware of licenses if the music is not your own.
Next, click the checkbox to select all music files.
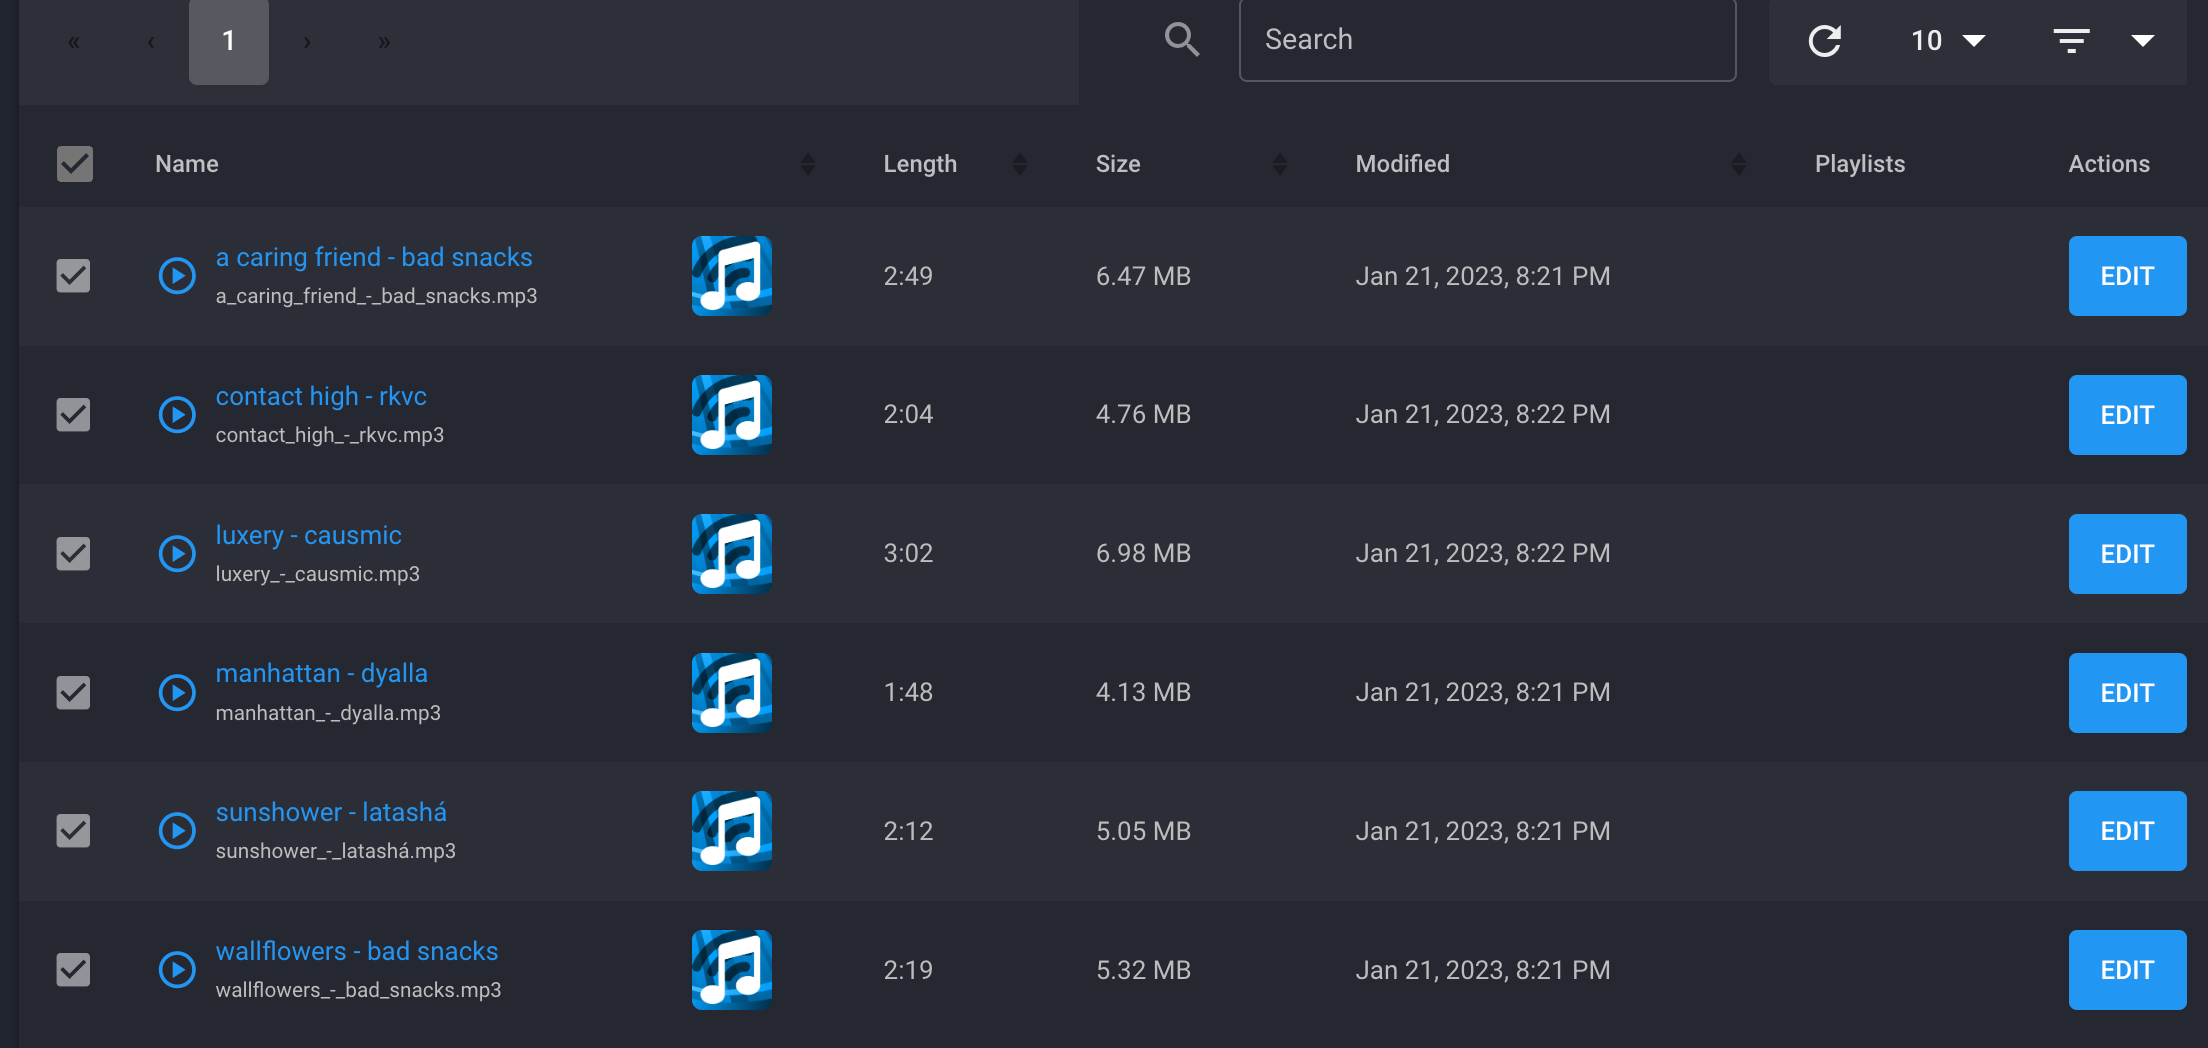
Click Playlists, create or choose an existing playlist**, **then click **SAVE. **I will just be using default for this example.
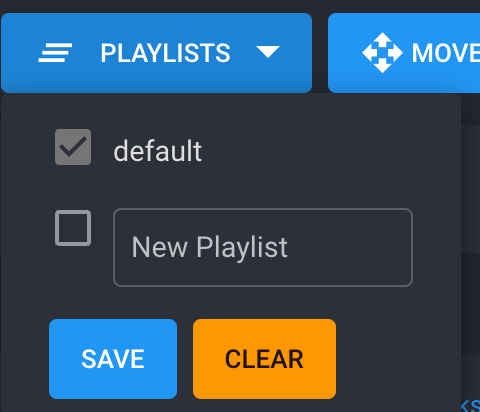
Starting the station
At the top right, click Start Station.
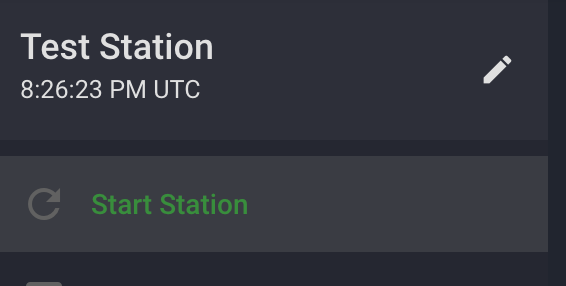
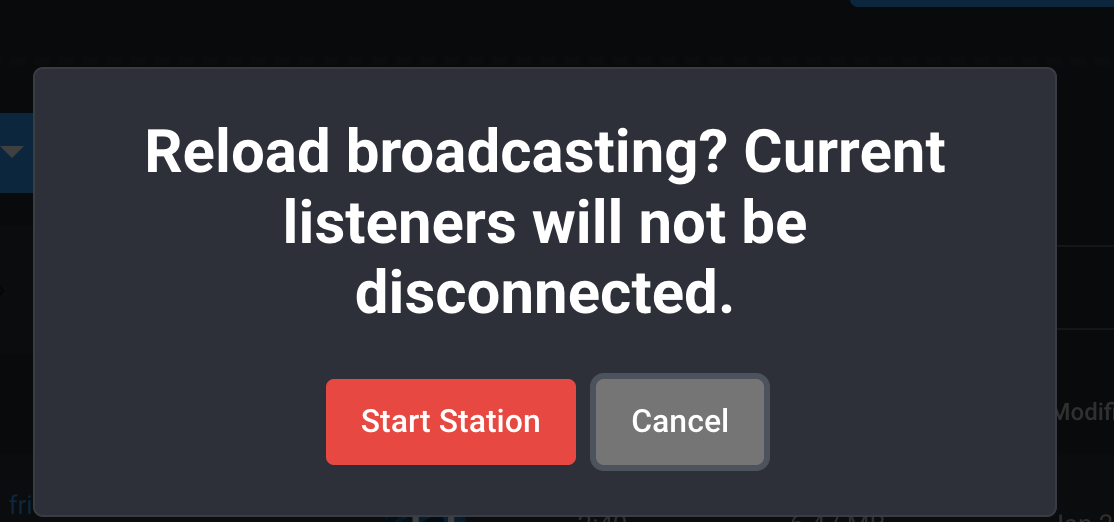
Click Start Station on the popup that shows.
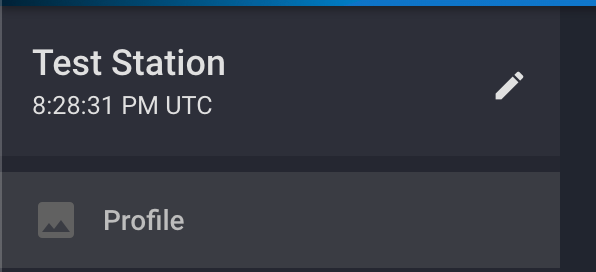
Now click on the Profile menu option.
Under Streams, you will see the url to your radio station. Click the url. You will hear your songs streaming.
Add a custom domain
First, you must point your domain to Digital Ocean name servers. Digital has straight forward guides on how to do this for popular name registrars such as GoDaddy, Namecheap, Bluehost, etc. Point to DigitalOcean Nameservers From Common Domain Registrars | DigitalOcean Documentation
Go back to Digital Ocean and the green Create button again. Choose Domains/DNS from the dropdown.
Now enter your domain and choose a project.

If you don’t have a project, you can create one by clicking **New Project **on the left side menu.
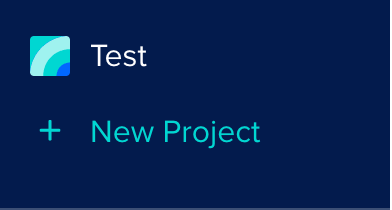
It should now take you to the screen to create DNS records. If not, click on the domain.
Now lets’ create an A record. Enter @ as the hostname, and choose your server under Will Direct To.
Then click Create Record.

Now click on the Azuracast Logo on the top left.

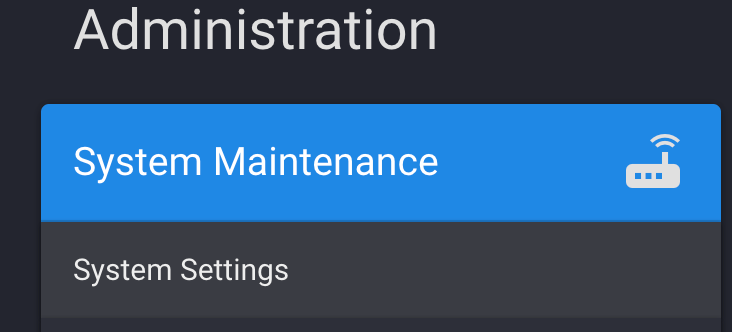
Click Administration

Click System Settings under System Maintenance
Change the site URL to your domain. Make sure to use HTTPS instead of HTTP. Also, check Use Web Proxy for Radio and Use High-Performance Now Playing Updates.
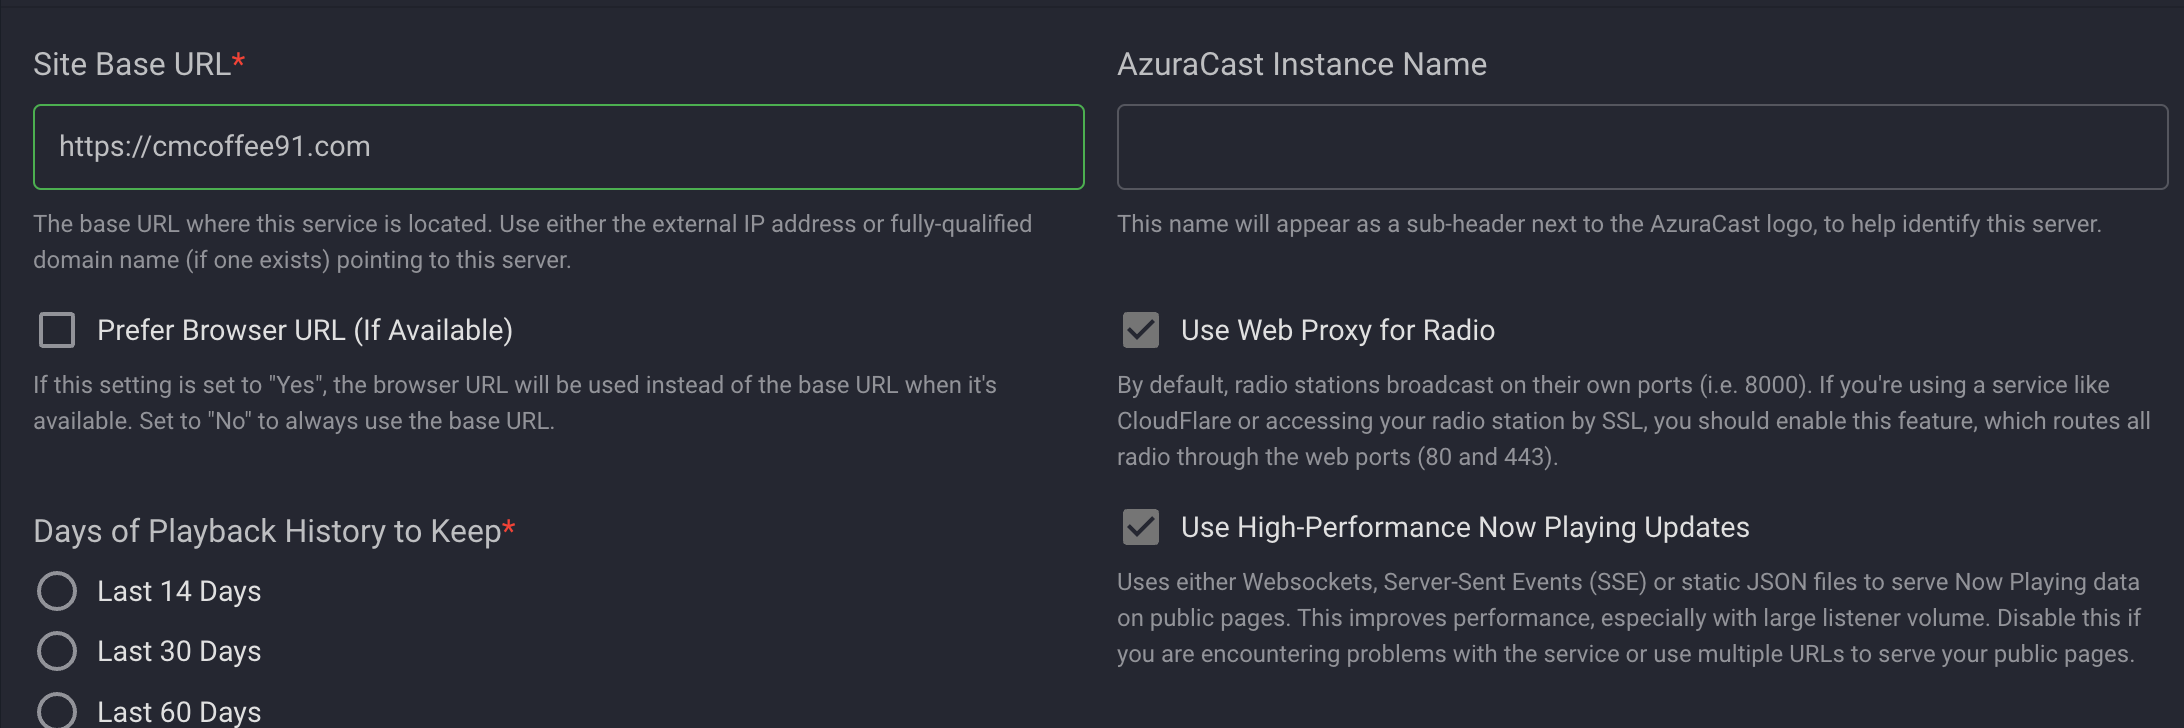
Click Save Changes.
Now click on the services tab and enter your domain under Domain Name(s) in the LetsEncrypt section.
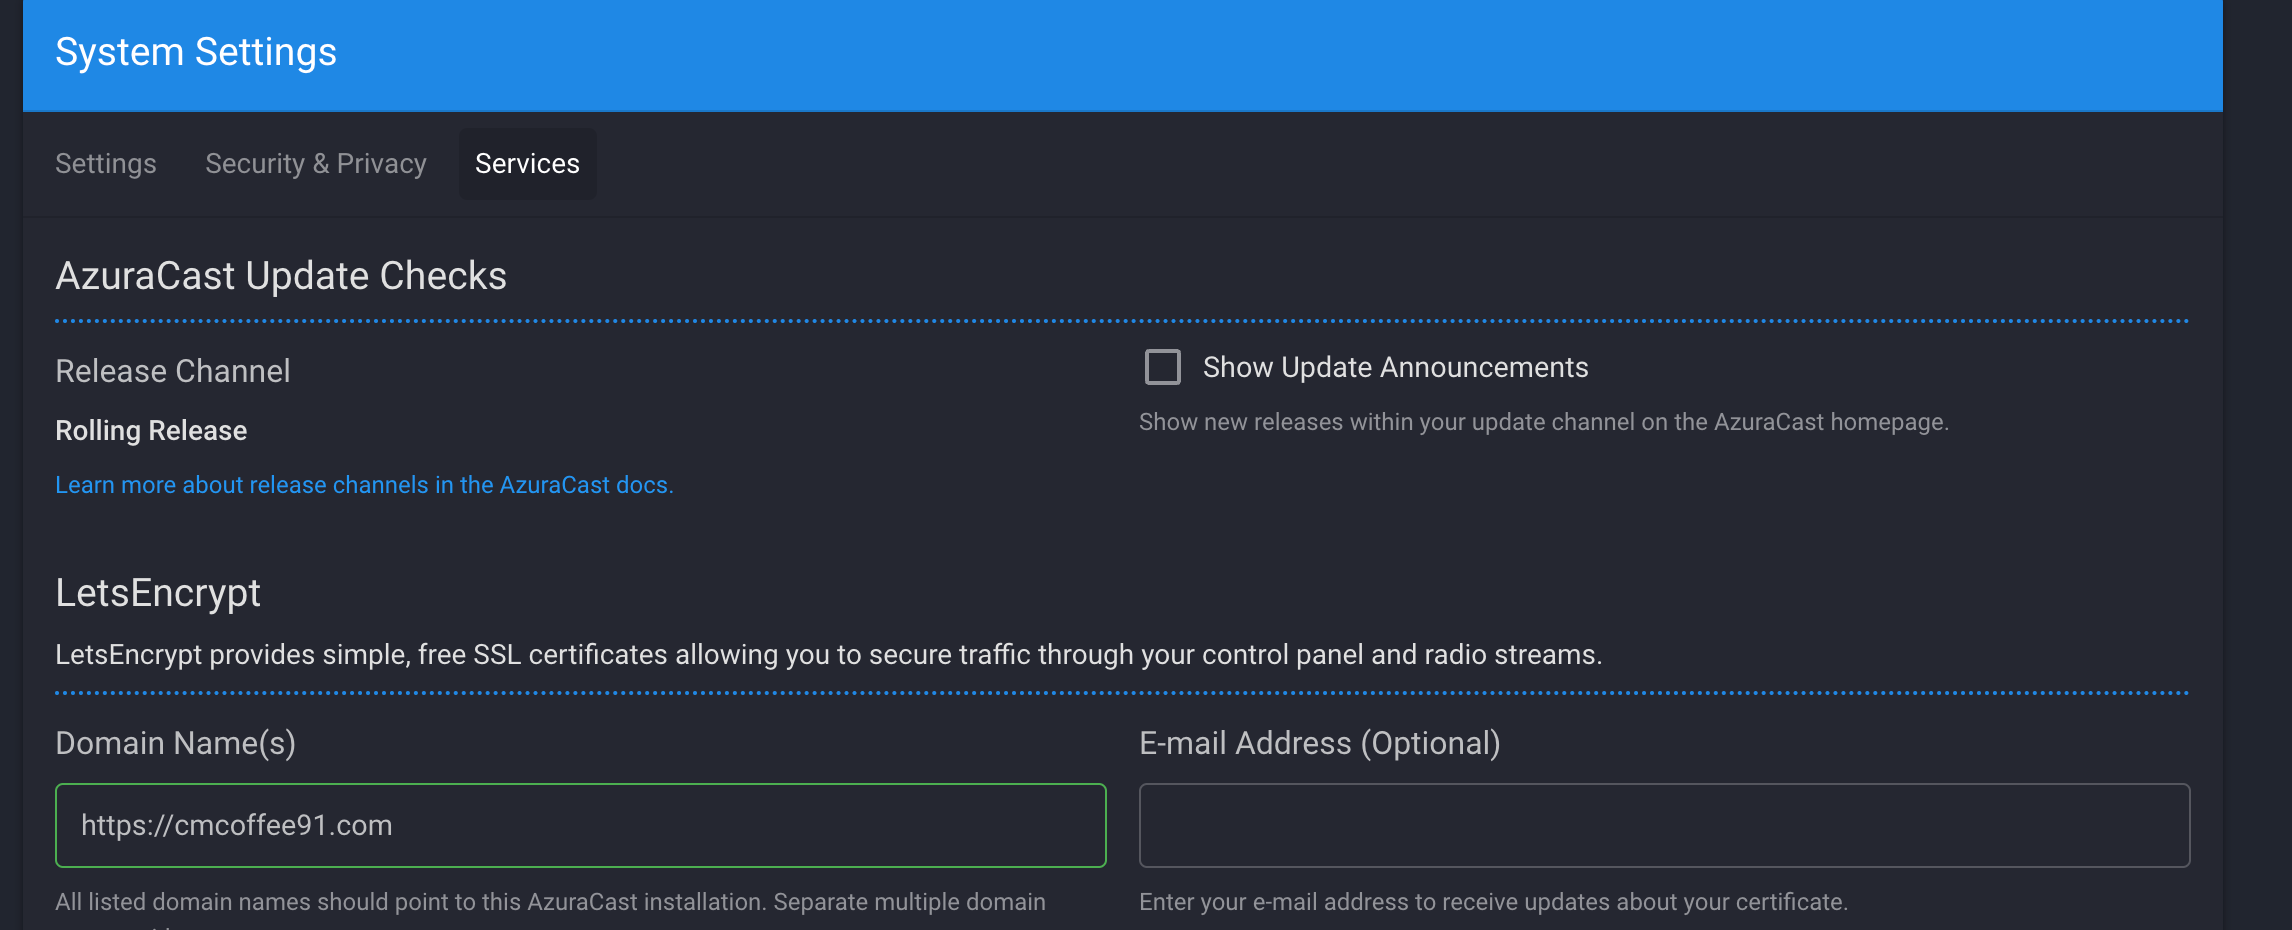
Click Save Changes.

You can log in using your domain. The changes may take awhile. Make sure to set up your DNS settings in advance.
Also, you may need to reboot your server and restart the container. You can reboot the server by ssh to it and entering the following command.
reboot
Wait about a minute and ssh back into it. Now go to the azuracast folder we created earlier and restart the docker container. You may accomplish this using the following command:
cd /var/azuracast && ./docker.sh restart
Install FFmpeg
sudo apt install ffmpeg
Create a script in vim/vi. You can also create this using any text editor and upload it using a program such as filezilla.
vi yt_radio.sh
Insert this into your script. This is the script from the mentioned article I was inspired by.
#! /bin/bash

VBR="1500k"
FPS="24"
QUAL="superfast"

YOUTUBE_URL="rtmp://a.rtmp.youtube.com/live2"
KEY="your-youtube-stream-key"

VIDEO_SOURCE="/var/azuracast/video/lofi.gif"
AUDIO_SOURCE="http://localhost/radio/8000/radio.mp3"

ffmpeg \
    -nostdin \
    -re -f lavfi -i "movie=filename=$VIDEO_SOURCE:loop=0, setpts=N/(FRAME_RATE*TB)" \
    -thread_queue_size 512 -i "$AUDIO_SOURCE" \
    -map 0:v:0 -map 1:a:0 \
    -map_metadata:g 1:g \
    -vcodec libx264 -pix_fmt yuv420p -preset $QUAL -r $FPS -g $(($FPS * 2)) -b:v $VBR \
    -acodec libmp3lame -ar 44100 -threads 6 -qscale:v 3 -b:a 320000 -bufsize 512k \
    -f flv "$YOUTUBE_URL/$KEY"
Notice that the video source is a gif. This can also be a video, but a gif is more efficient. You can read about it more in the mentioned article above.
Also, notice I created a video folder. To do that, enter the following command.
mkdir video
Then you can use SCP, sftp, etc, to upload your video or gif to that directory. There are also GUI applications such as FileZilla to do this.
As mentioned in the other article, he said we could create a service to keep this running in case of an unexpected familiar. I was unfamiliar with this at the time, but after some research, I learned how.
I used the following article as a guide: Creating a Linux service with systemd
We could also rewrite the bash script using Node.js. Then we could use PM2 to keep it running. I may write an update on how to do this as well.
Create a service
To create a service we will create a new file. Run the following command.
vi /etc/systemd/system/ytstream.service
Insert this as the service.
[Unit]
Description=Youtube stream service
After=network.target
StartLimitIntervalSec=0
[Service]
Type=simple
Restart=always
RestartSec=1
User=azuracast
ExecStart=sudo /bin/bash /var/azuracast/yt_radio.sh

[Install]
WantedBy=multi-user.target
Make sure to specify the user. It also won’t work as root, so make sure you have created another user.
Save this file and run the following commands.
systemctl start ytstream
systemctl enable ytstream
The first command starts your service. The second command makes it automatically restart on boot. You may also stop the service using the following command:
systemctl stop ytstream
Reboot your server to test this out
Congratulations, you have a Youtube radio that runs 24/7
Join Medium with my referral link. Your membership fee directly supports Christopher Coffee and other writers you read. You’ll also get full access to every story on Medium. Join Medium with my referral link - Christopher Coffee