How To Set Up a Free Business Email Using Your Domain
Setting up a professional email will help you stand out with your career and business. So instead of chris@gmail.com, I can use chris@mycompanyname.com. I personally have a professional email that I use on my portfolio site and LinkedIn. This also helps keep my personal email separate and a little safer.
I’ll show you how to create a professional email using Zoho. They are a well-known company with a suite of business applications. They give you 5 free emails starting out and you just pay $1 per extra email after that.

Setting Up Your Domain With Zoho Mail
Of course, if you don’t have a domain, you will need one to get started. I purchase my domains using https://namecheap.com. Zoho also allows you to purchase a domain after signing up.
Click the link below to get started using Zoho:
Email Sign up – Create a new email account with Zoho Mail
You will need to fill out this form and use your phone number or email to verify your account.

Next, verify your account:

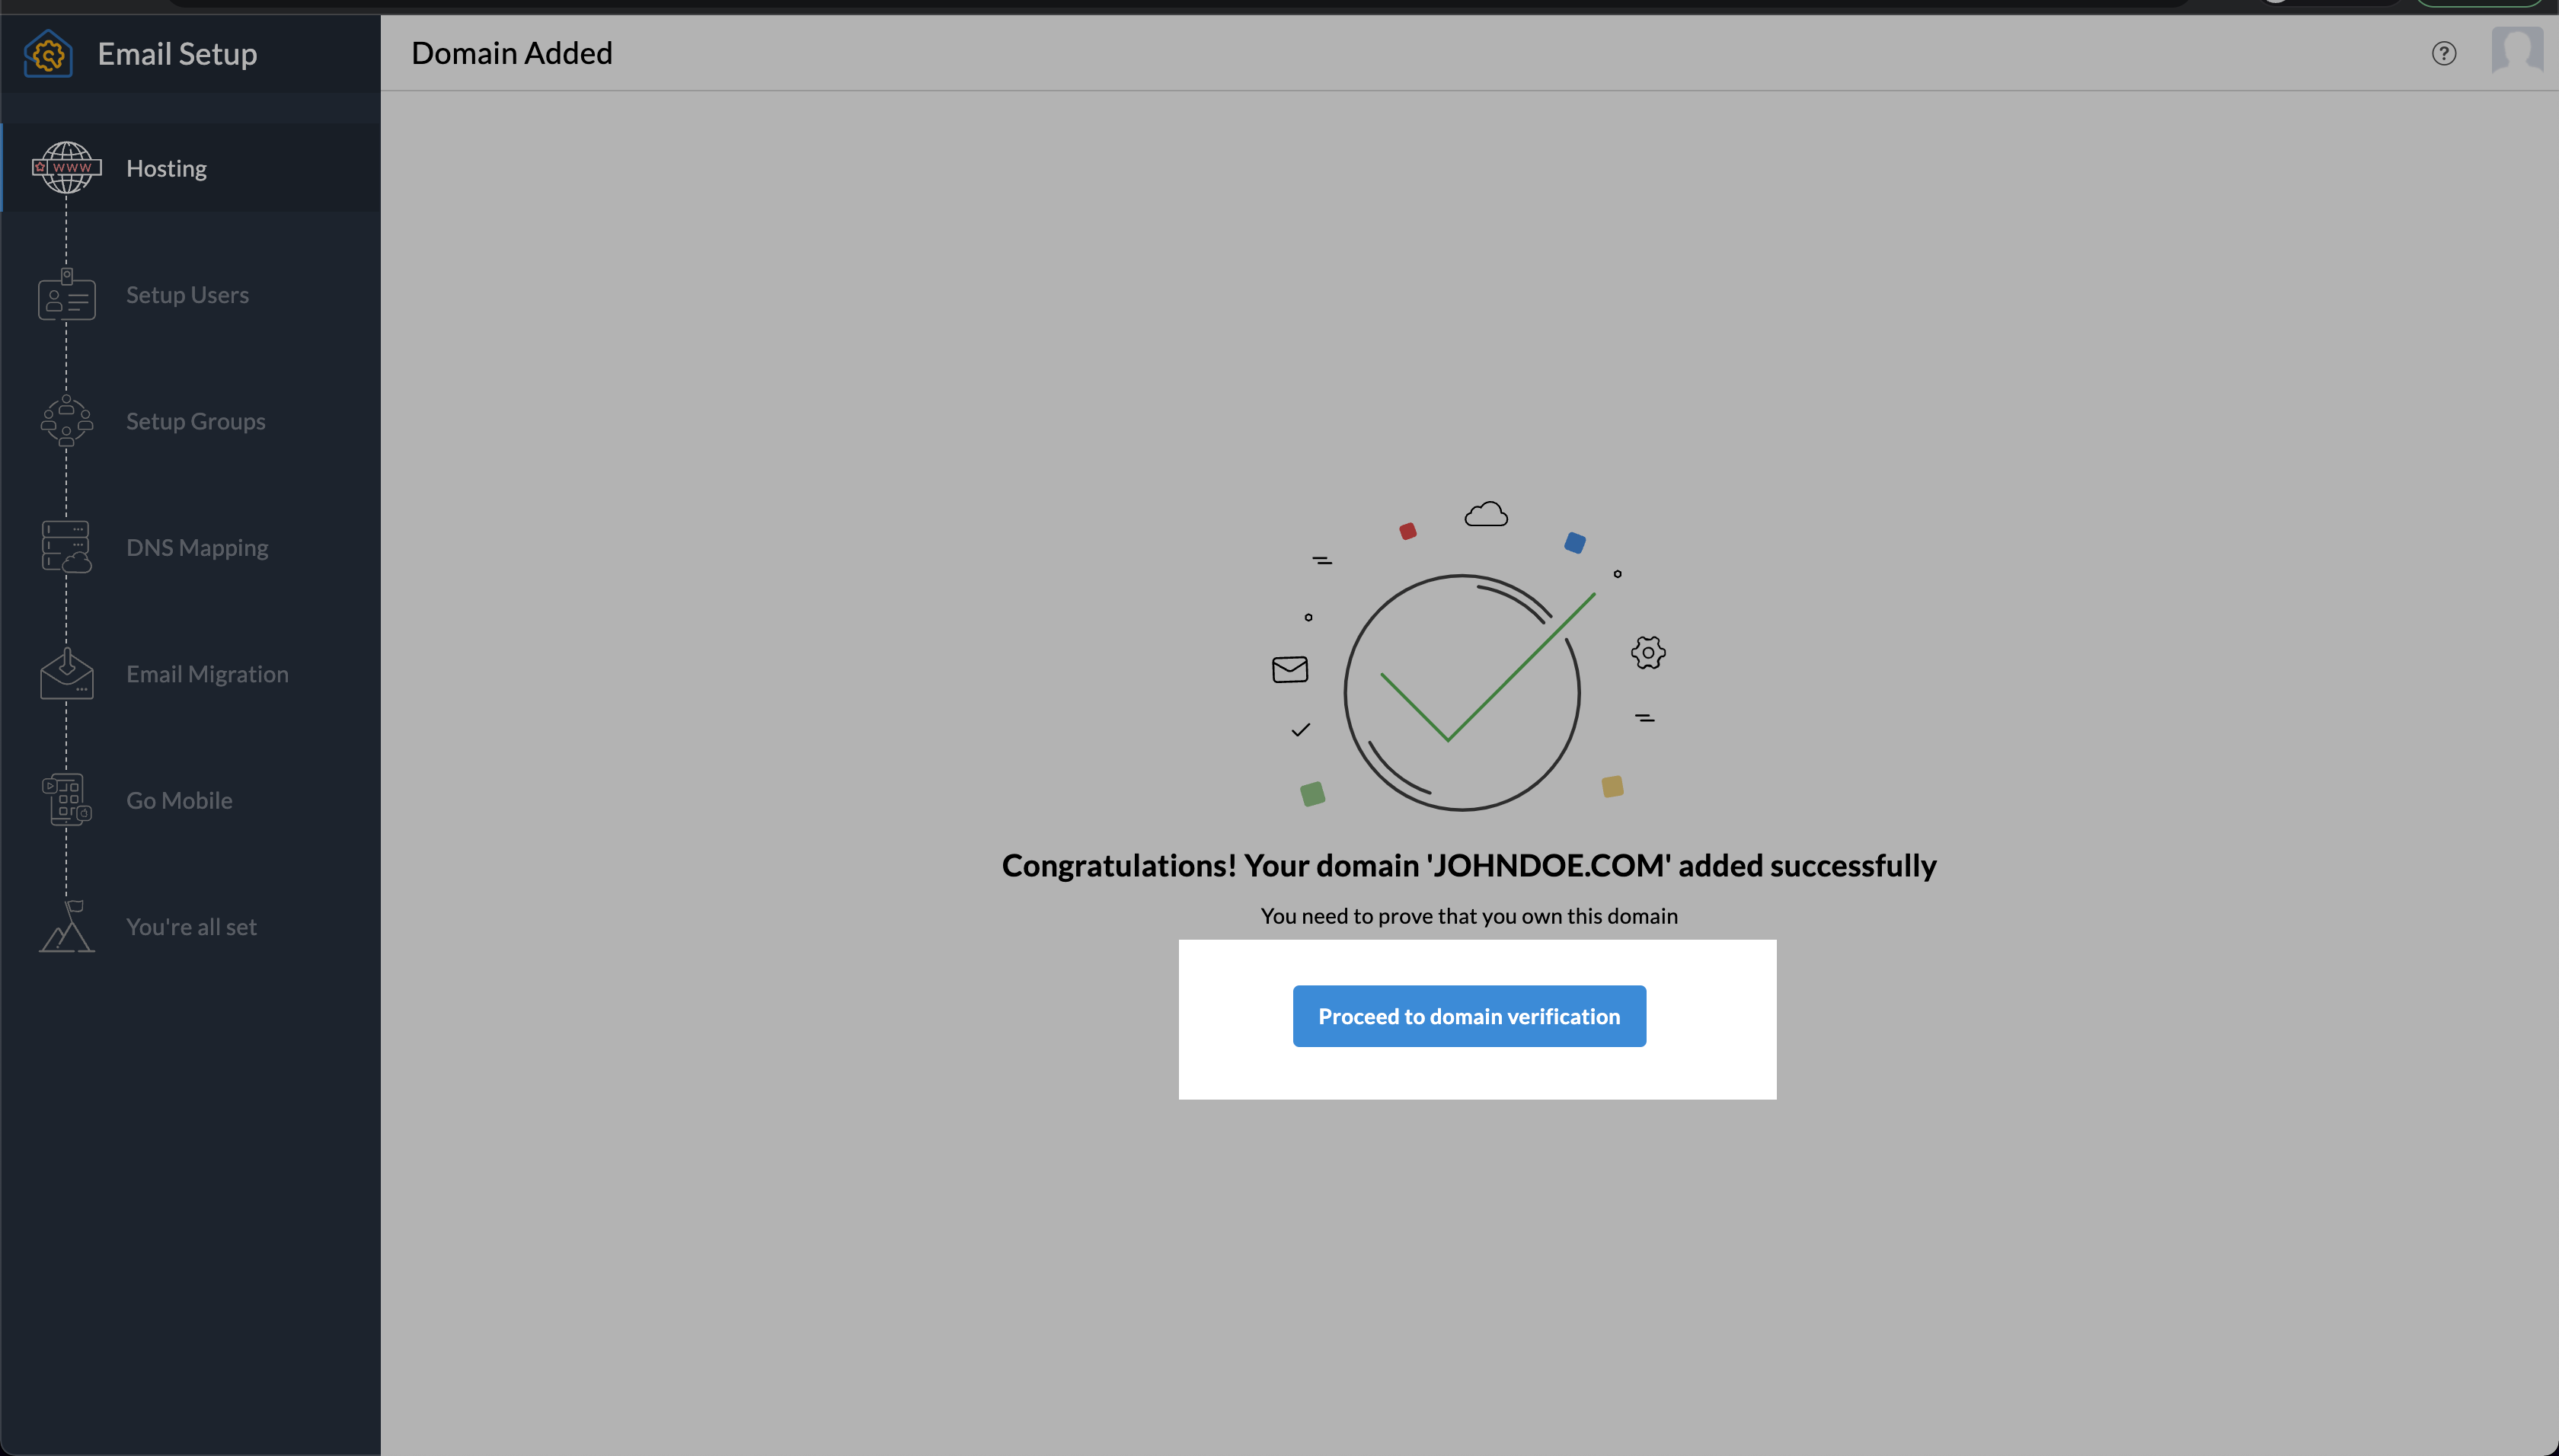
You will get a welcome screen after verifying. You can click on the “Add Now” button if you already have a domain or “Buy Now” to buy one. I’ll assume you have bought one so click Add Now.


Click the Proceed to domain verification button.
Zoho can usually detect where your domain is hosted. I have my domain pointed to Digital Ocean, so it tries to help me out. Either way, the steps are the same across the board.

You can visit this link for specific instructions on where to find where to copy these values here:
Domain Verification – Email Hosting with Zoho
I’ll walk through Digital Ocean, but it will be the same thing to copy and paste across the board.
I’ve found on Digital Ocean where I need to create records. I chose the TXT tab to add a TXT record and added the value I copied. For the hostname using “@” (without quotes of course).

I will click “Create Record” to create my TXT record. Now we need to go back to Zoho and click the “Verify TXT record” button.

You will now choose your administrator email. You can use your name, “info”, “support”, etc.

Click the “Create” button. You can add more users if you would like. Let’s go to DNS Mapping by clicking next on the “Setup Users” and “Setup Groups” pages.

You see we need to add 3 MX records, and 2 TXT Records. Let’s work from the bottom up.
We need to add a TXT record. First copy :
zmail_domainkeyNow set this as the host in Digital Ocean. You will set the value in the Value field.
Now let’s copy:
v=spf1 include:zoho.com ~allThis is the last TXT Record to add. Set the host name as “@” (without quotes”).

Now let’s add all three MX records. In Digital Ocean we can click on the MX tab.


Now you can click “Verify All Records”. Depending on the TTL you set when adding the records, it may take a while to verify some of them. I usually keep the defaults when using Digital Ocean.
You also do not have to wait to verify the records. The emails will work without staying on this page. They may also ask you to verify on the desktop when you log in, but not necessary.

If you do choose to wait for verification, you will get this message.

Congratulations, you have set up your first professional email!
Join Medium with my referral link. Your membership fee directly supports Christopher Coffee and other writers you read. You’ll also get full access to every story on Medium.
Join Medium with my referral link – Christopher Coffee
